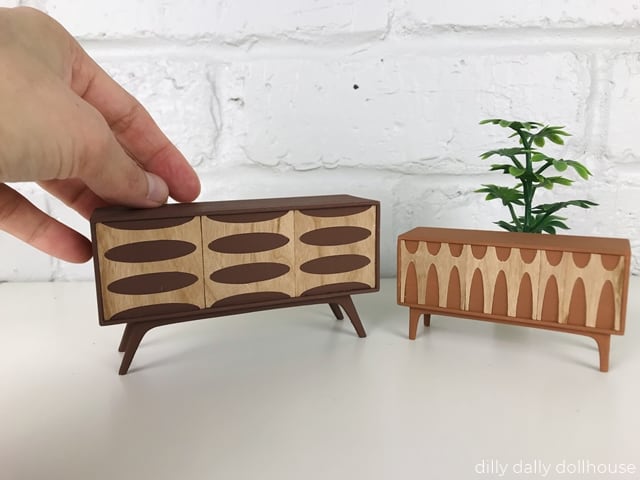
I believe that I think every room (miniature or full 1:1 scale) needs some sort of cabinetry to make it look finished. A credenza is a great way to do that, and to add a certain style into a scene. This mid-century miniature credenza features a variety of faux decorative panels that you simply glue on, as well as different leg options. Because there are no working doors or drawers, putting it together is pretty fast!
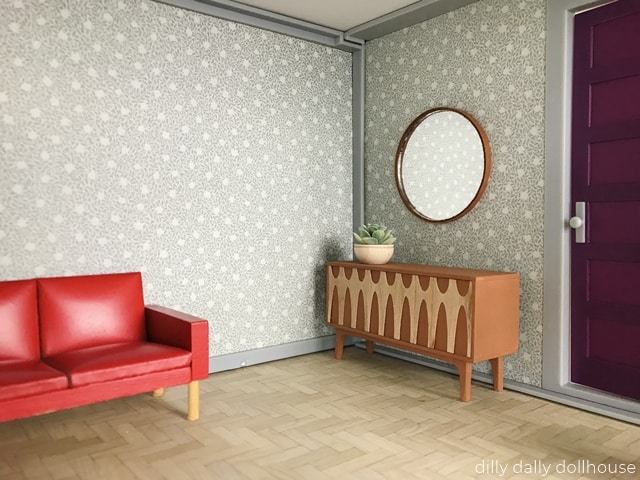
DESIGN NOTES FOR MID-CENTURY MINIATURE CREDENZA
There are 3 different decorative panels to choose from, and they can be placed horizontally or vertically. There is also a set of drawer fronts, which I think would look great placed in the middle panel.

In addition, there are 3 different leg options. You can see two of them on the finished pieces pictured here, and the other one has an “H” shape.

The measurements are designed to work with 1/16″ thick material for the body and legs, and cardstock-thickness for the decorative panels.
Get the SVG files from my Etsy shop!
- SVG file for 1:12 scale mid-century miniature credenza
- SVG file for 1:16 Lundby scale mid-century miniature credenza
IMPORTING THE SVG FILES INTO CRICUT DESIGN SPACE
To import the SVG file into Cricut Design Space, head on to this post or watch this video on YouTube.
TOOLS & MATERIALS TO MAKE MINIATURE CREDENZA
- Cricut Maker and…
- Purple StrongGrip Mat, Knife blade for cutting the basswood
- Green StandardGrip Mat, Fine-point blade for cutting the cardstock panels
- 1/16″ basswood sheet (see cutting list below)
- I recommend MidWest Products basswood sheets in 8″ wide if you can find them, or at least 6″ wide (on eBay)
- Alternatively, chipboard can be used
- Wood cardstock or plain cardstock
- Wood glue
- Sandpaper in various grits (I use mainly 150 and 220, sometimes 400)
- Paint, stain, and optional sealer
Cutting List for Miniature Credenza
On your primary 1/16″ material (basswood or chipboard), cut the following:
- 2 pieces of Top/Bottom
- 1 piece of Inner Bottom
- 2 pieces of Side
- 2 pieces of Inner Side
- 4 pieces of Legs
- If using basswood, cut 2 along the grain and 2 across the grain
On the wood cardstock, cut 3 pieces of decorative panels
ASSEMBLING THE MINIATURE CREDENZA
Whether you prefer video or written instructions, I’ve got you covered!
Step 1: Cut and label all pieces
Use a pencil, so the markings can be erased or covered easily with paint. Sand all cut edges so they’re smooth and even. If you plan to stain, I suggest doing it now!
Step 2: Make the legs
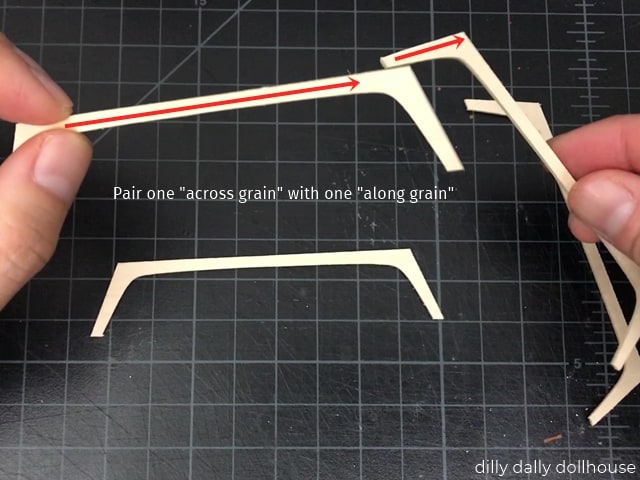
Glue together 2 pieces of the legs, and make 2 sets. If you are using basswood like I do, glue one “across grain” with one “along grain”. This helps to strengthen the pieces.
Step 3: Make the body
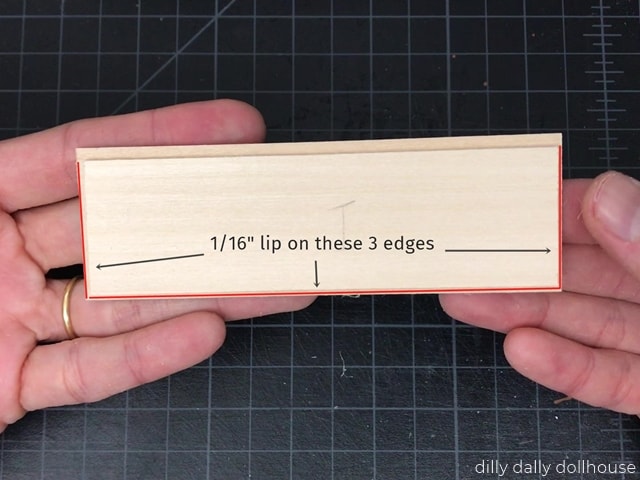
Glue the inner bottom to the Bottom piece, leaving 1/16″ lip along the 3 edges.
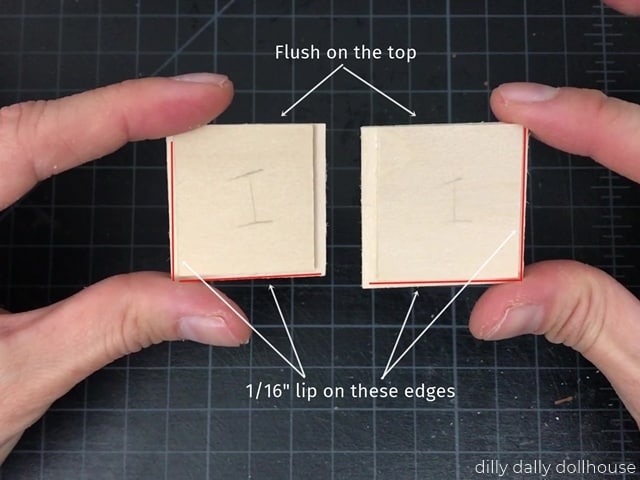
Glue the inner side to the Side piece, leaving 1/16″ lip along two edges. The top of the side should be flush. Make another one with mirroring direction.
Attach the sides to the bottom piece.
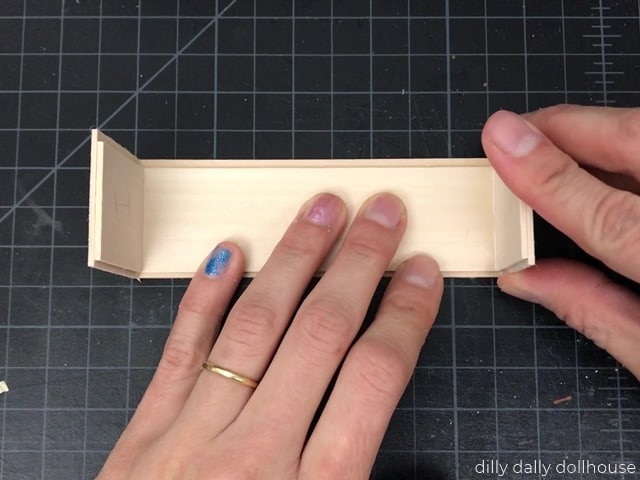
Then attach the back, front, and top pieces.
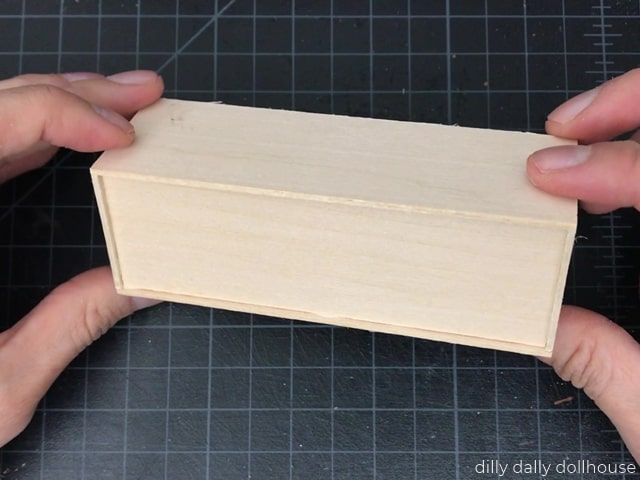
Sand off the cut edges to round them off slightly and give a softer look. Then you’re ready to paint!
Step 4: Put on the legs and and panels
Glue on the legs at the bottom, as centered as possible.
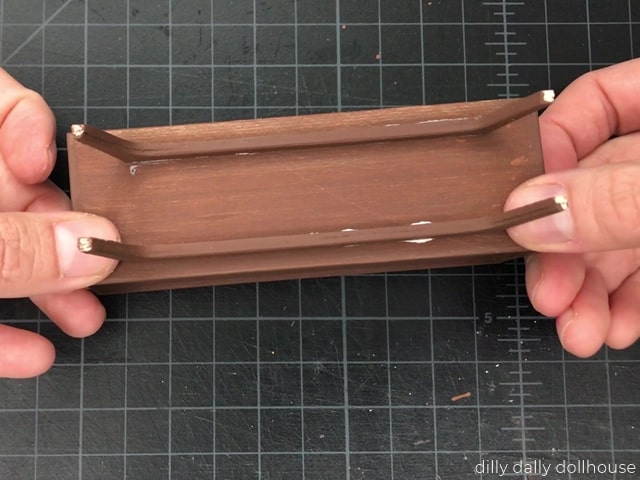
I left my panels unpainted to highlight the shapes. Simply glue them to the front. That’s it!
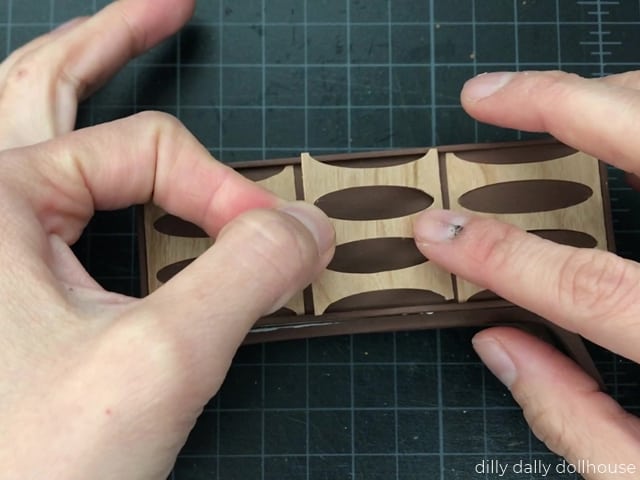
COMPLETE!
RELATED PROJECTS
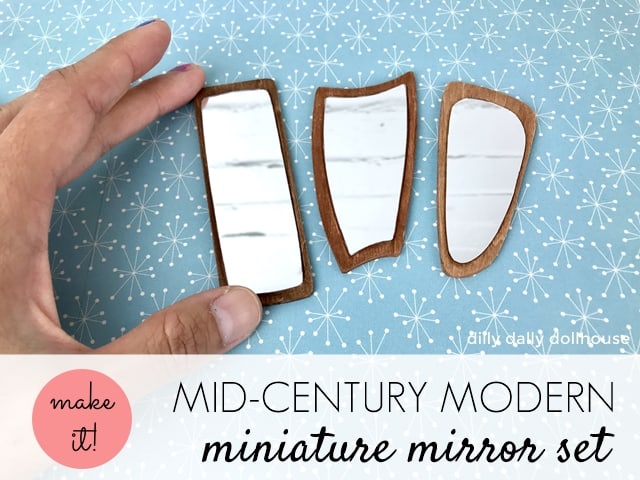
Mid-Century Modern Dollhouse Mirrors (Tutorial and SVG file)
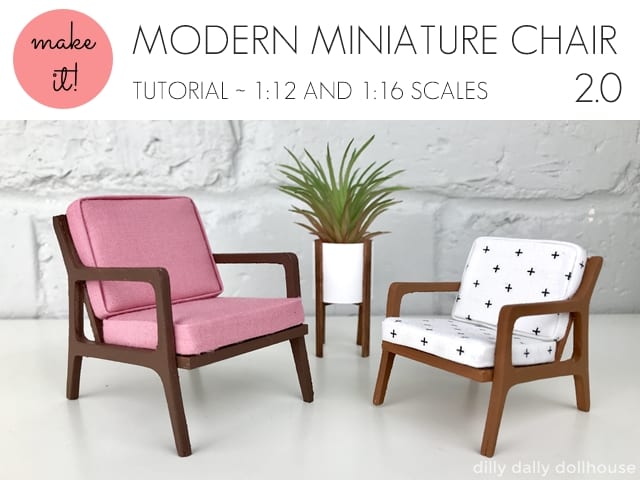
Modern Miniature Chair 2.0 – New & Improved! (Tutorial + SVG file)
Made your own? I’d love to know!
What motivates me the most is seeing you use my tutorials to make your own minis! There are many ways you can share your projects:
- comment below to let me know (or if you have any questions about it–for the benefit of others also!)
- link back to my site or this tutorial,
- tag me on Facebook or Instagram,
- share your version on my Facebook group!

Finished the credenza today, and it came out SO good! I will post it on my Instagram (kcraftyart) as soon as I complete some finishing touches. Please update the cutting list. 2 pieces front and back are missing. Thanks for the great tutorial!