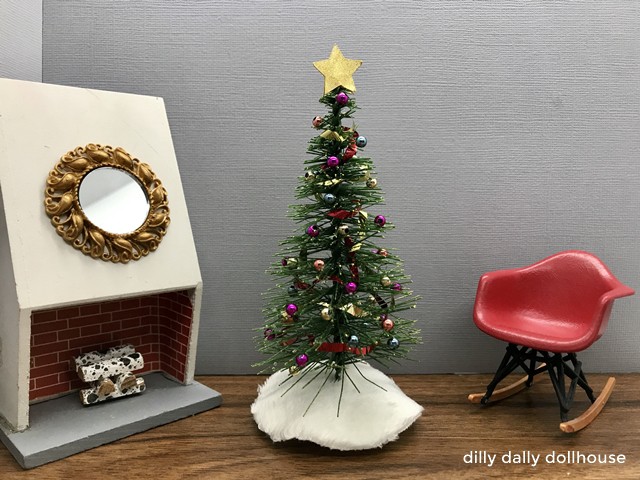
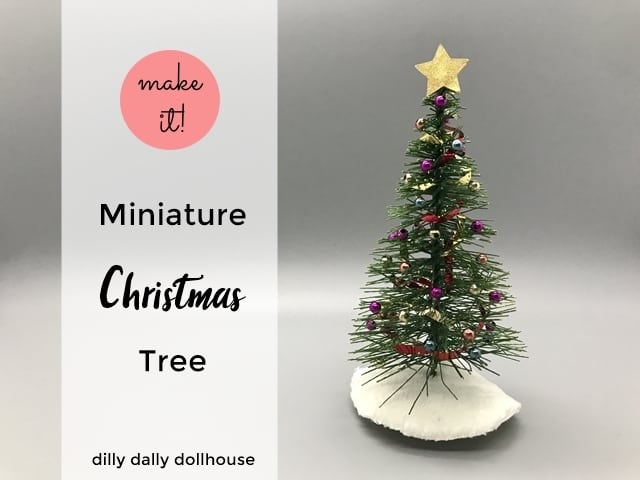
Inspiration struck late (better then never, I say!), so less than two weeks before Christmas I figured out how to make my own miniature Christmas tree! It’s not really a “how to make”, but more of a “how to decorate” one (though my decorating skills would probably make Martha Stewart shake her head). In any case, it’s pretty quick and easy to make your own!
Materials and Components
The main parts of the Christmas tree is the tree itself, the ornaments and other decorations, the topper, and the skirt.
Component #1: Tree
Bottle-brush trees (also called sisal trees) are the easiest to find (on Amazon). They come in various sizes, but anywhere from 5 to 7 inches is best for 1:12 scale. I used a 5-inch tall one for my 1:16 scenes.
Component #2: Decorations
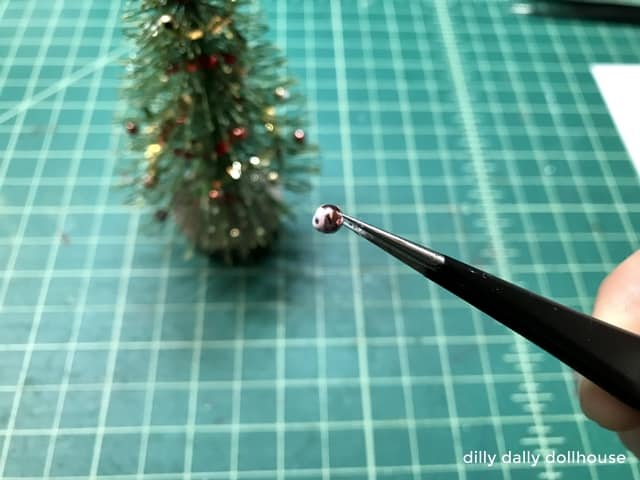
Ornaments are a must! Look for 4mm to 6mm colorful beads in metallic finish to use as ball ornaments. I use 4mm here so as not to overwhelm the 5-inch tree. Beware: they’re really tiny and not suitable for little kids! Oh, you’ll find this tweezer set helpful for handling the tiny beads.
For tinsels, you can use skinny pipe cleaners or strips of metallic paper (I used the latter). You only need 2 or 3 pieces depending on the size of your tree. I use red and gold to contrast the green of the tree.
Optional gold dust for additional sparkles.
Component #3: Star Topper
Gold glitter paper, cut two pieces of stars about 0.75″.
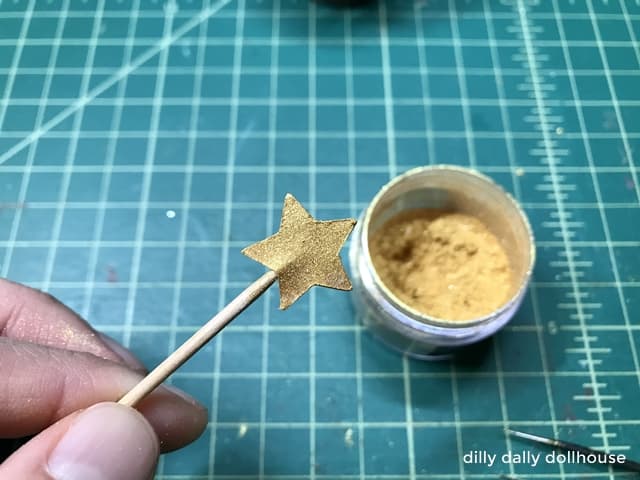
I cut two (2) pieces of stars out of cardstock using my Cricut Maker, put a thin layer of glue on it, and cover it with the gold dust. You can use a star-shaped hole punch, if you already have it.
Component #4: Skirt
Look for fabrics that is floppy as opposed to stiff, so the skirt can drape over the bulky tree stand. I used the same fabric as my mini animal rug that has this characteristic.
Assembly
Wrap one pipe cleaner or paper strip around the tree. Starting from the bottom up is easier. Repeat for the second piece.
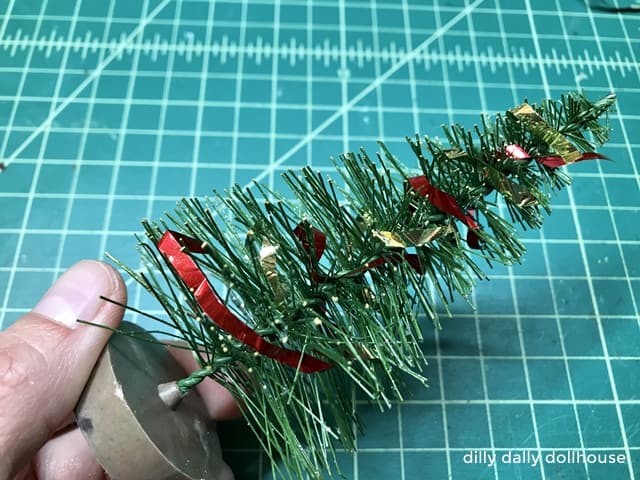
To put in ornaments, dab a tiny bit of glue on a bead, and place the bead in between the tree spikes. As with the tinsels, I like using reds and golds to balance out the green of the tree.
Glue the two stars onto the tip of a toothpick.
Remove the toothpick, and place the star on top of the tree like a hat. You might need to trim off some of the bristles at the top of the tree so the star will fit.
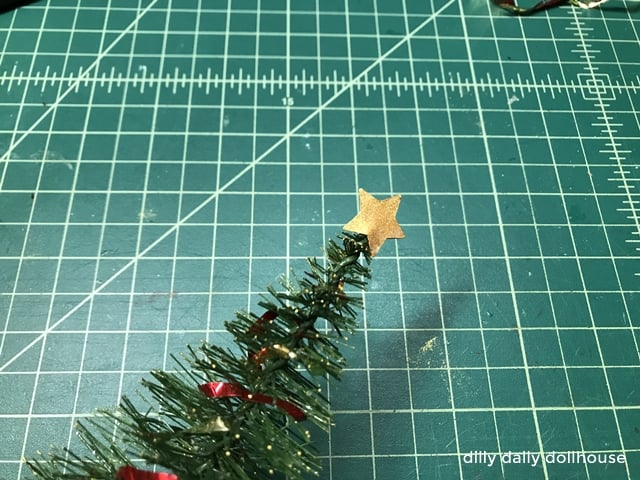
You can lightly dust the tree with mica powder at this point, if you wish. A little goes a long way! You don’t want to end up with a powdery tree that constantly disperses glitter.
For the skirt, cut a circle of about 3 inches, or approximately 3 times the diameter of the tree stand. I cut only 2 inches here, which turned out to be too small–learn from my mistake! Cut out a line from one edge to the middle of the circle, ending into tiny circle in the middle to accommodate the tree “trunk”.
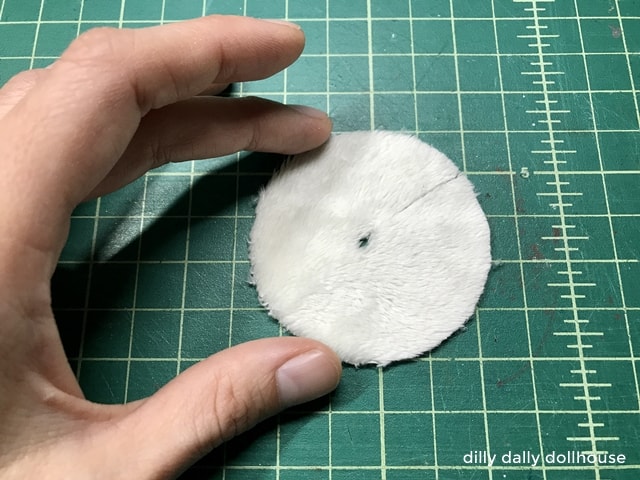
And there you have your own handmade miniature Christmas tree!
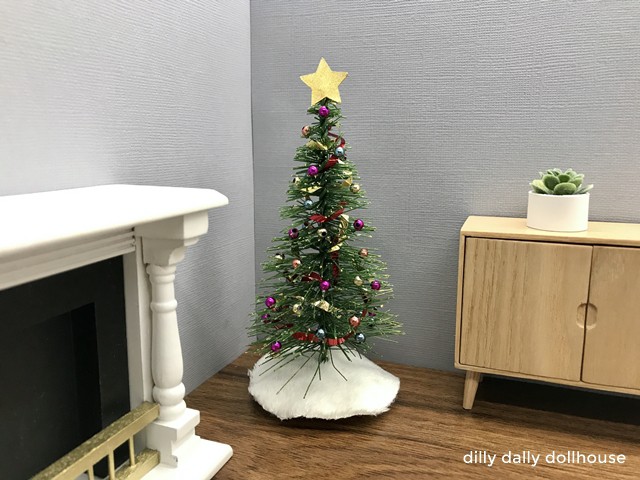
Here is my finished version. Show me yours!

Thank you for sharing your work! I am new to the world of doll houses and excited to learn how to make things.
Beware, it’s a slippery slope! 😜 LOL