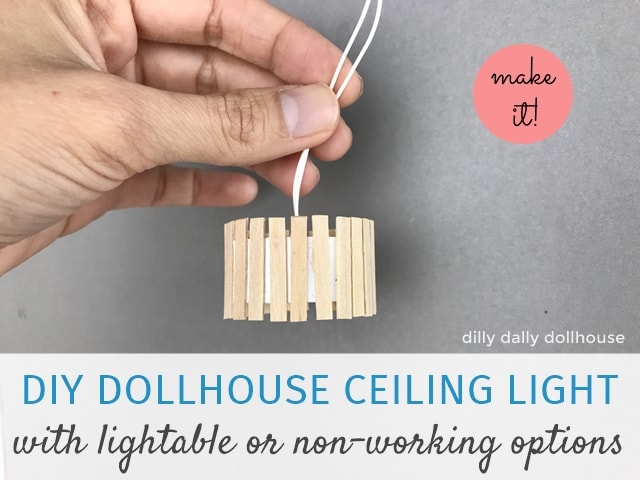
The drum shade of this dollhouse ceiling light is a spin-off of this miniature modern planter. It’s easy to make using regular craft materials and tools that you probably already have. In fact, I used my beloved craft knife for this tutorial. (Although of course, free SVG files are available if you prefer to use your Cricut.)
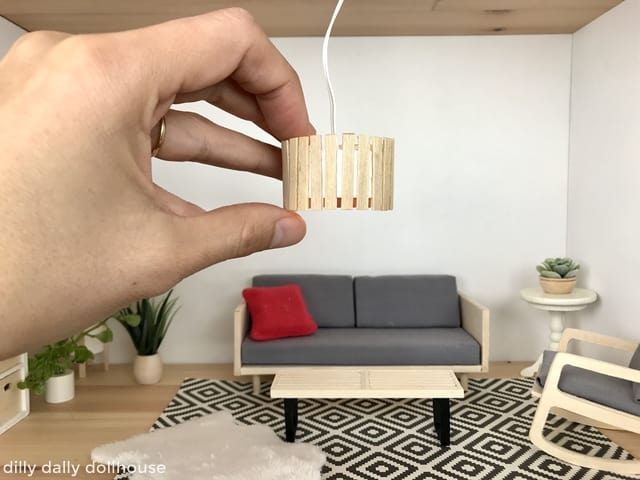
Materials for Dollhouse Ceiling Light
- Cutting tools: Craft knife or Cricut Maker (or other die-cut machine).
- Glue: I used Elmer’s Craft Bond extra strength for this project.
- White cardstock for the shade and frame
- If you cut with Cricut, you can use 4-ply matboard for the frame.
- Small piece of thick cardstock (can be same as above) or cereal box for bulb holder
- Setting options:
- dollhouse lightbulb of 1/8″ or smaller
- cotton cord for hanging non-working light
- Optional: decorations for the shade, such as fabric, trims, wood sticks, etc.
Template for Frame and Cutting Notes
Notes on the Pendant Frame
I designed the frame template with spokes so the light can shine through the top. If you don’t feel like doing so much cutting, you can simply omit the cut-out to get a solid circle, and add a hole in the middle for inserting the light bulb or cord.
The frame’s light bulb hole is about 4mm, so a grain-of-wheat light bulb (about 1/8″ or 3mm) or smaller should be able to go through. I tested using a Lundby light bulb (also about 1/8″) because that’s all I have. If I’m not mistaken, grain-of-rice lightbulb is even smaller so you can use that also.
I made the frame template in 5 sizes, ranging from 2″ to 1″ diameter in 1/4″ increments. Pick any size you like.
For each size, there are two types of frame: one basic frame and one frame with notches. You need the one with notches if you’re using cardstock (whether you cut with Cricut or a knife). Cut one frame with notches, and one basic frame (you can cut more than one basic frame to make the frame stronger).
If you’re using matboard, you only need the basic frame (cut 2 or more).
You can download the frame templates from the resource library, under “Miniature Templates”. Both SVG and PDF files are there. If you’re a subscriber, use the password from my last email. Not a subscriber yet? Sign up here and you’ll get the password in mere minutes!
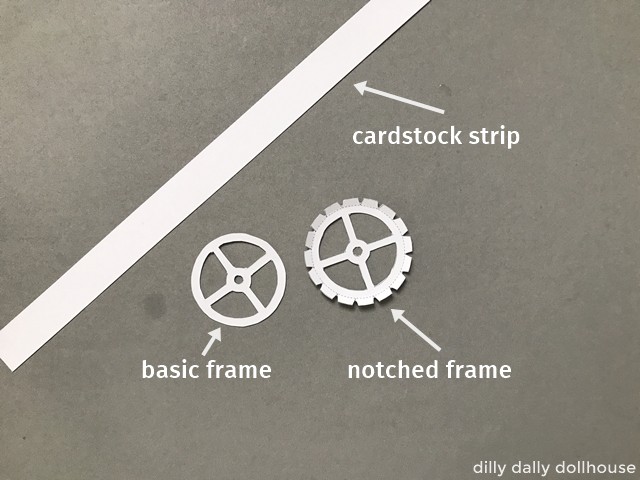
Notes for the Body of the Drum-Shade
For the shade body, cut a strip of white cardstock at the width of your preference.
If you cut enough length to wrap around the frame twice, the shade will have even stiffness all around.
Here’s a table of suggested measurements for the cardstock strip.
| Frame Diameter | Approximate length of cardstock strip (to wrap around the frame twice) | Suggested width of cardstock strip |
|---|---|---|
| 2″ | 12.75″ | 0.75″ to 1.5″ |
| 1.75″ | 11.25″ | 0.75″ to 1.25″ |
| 1.5″ | 9.5″ | 0.5″ to 1.25″ |
| 1.25″ | 8″ | 0.5″ to 1″ |
| 1″ | 6.5″ | 0.5″ to 0.75″ |
Assembly of Dollhouse Ceiling Light
Step 1: Prepare the shade materials
If you’re using matboard, simply stack and glue together two or three pieces of the basic frame.
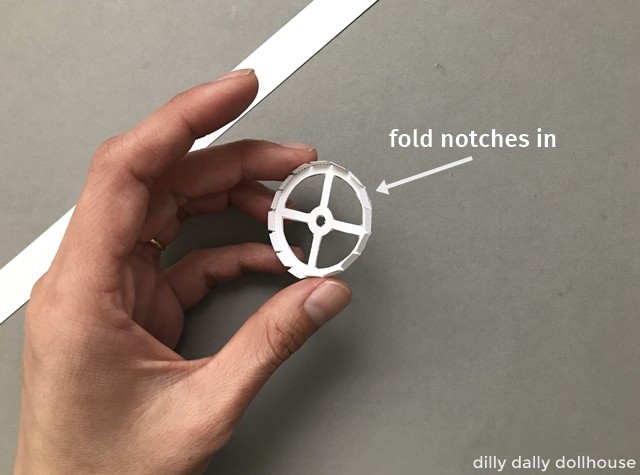
If you’re using cardstock, score the notched frame at the dashed line, and fold in to 90-degree angle. Glue the basic frame(s) to the notched frame for additional strength.
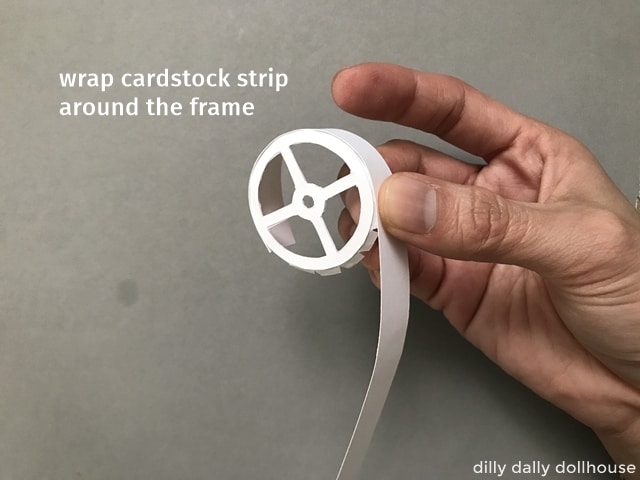
Apply glue at the frame notches and wrap the cardstock strip around the frame.
Optional: Decorate the drum shade! Add some trims, patterns, cover it up with cute fabric. I added wood sticks (made of coffee stirrers) to oomph mine up a bit.
Step 2: Adding the bulb (or cord)
If you are using a light bulb, prepare a small circle (about 0.5″ or so) of thick cardstock or cereal box. This circle will prevent the bulb from slipping out of the frame.
Puncture a tiny hole in the middle using a pointy-tipped item, such as an awl or a pair of pointed tweezers. You want the hole to be very snug around the lightbulb cord. Cut a slit on the circle to the middle hole.
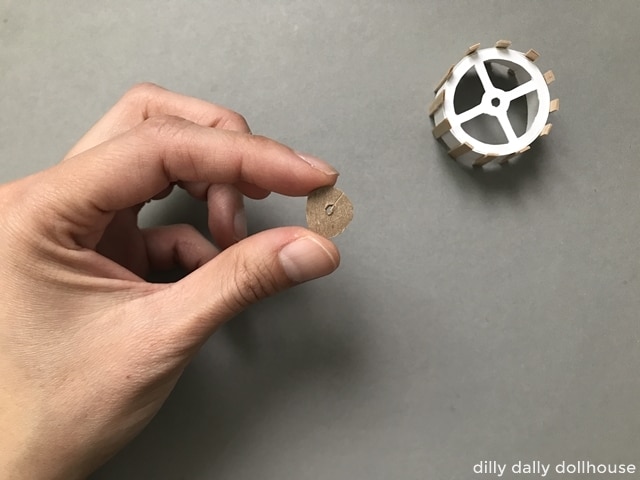
Insert the light bulb through the frame hole, then add the bulb holder between the bulb and the frame. (While you’re there, check to make sure there are no exposed wires as it can pose fire hazard. Cover any exposed wire with electrical tape. Use the light bulb at your own risk.)
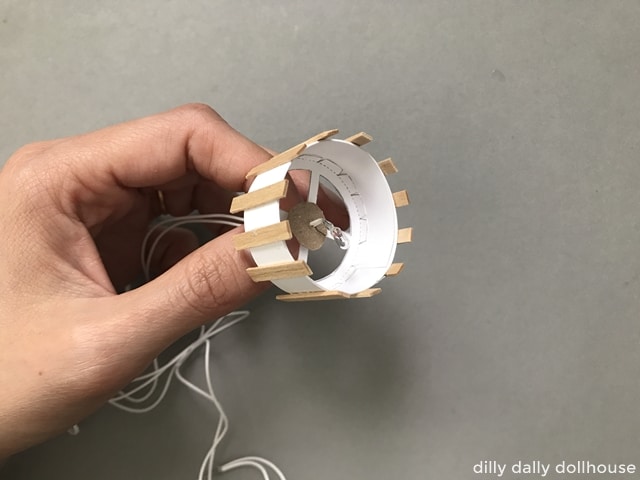
If you’re making a non-working light, simply insert the hanging cord and tie a knot.
For hanging the light on the ceiling, you can use small cup hooks (1/2″ or smaller). I just taped mine here because I haven’t worked out a permanent scene yet.
Complete!
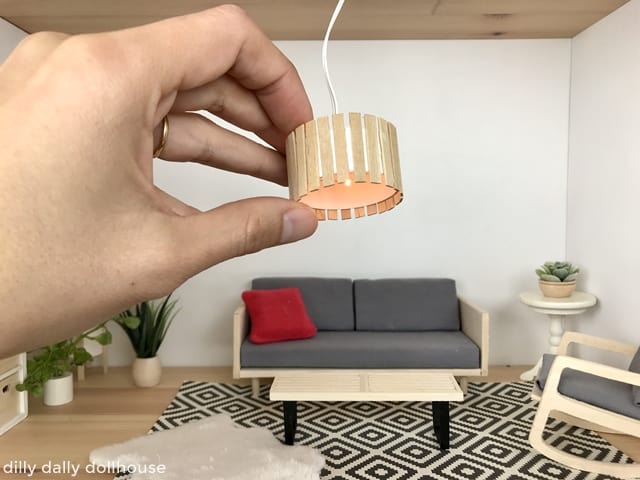
Here is the mini ceiling light in action. I added more wood sticks on the shade.
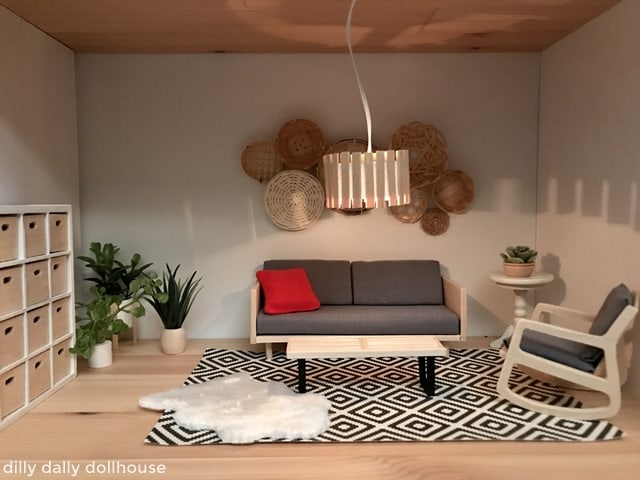
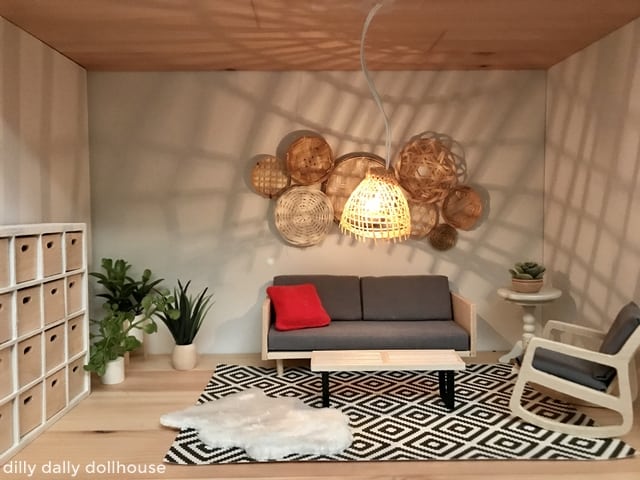
I also tried the light bulb holding method (as described in step 2 above) with other types of pendants, such as this cute bohemian rattan basket…
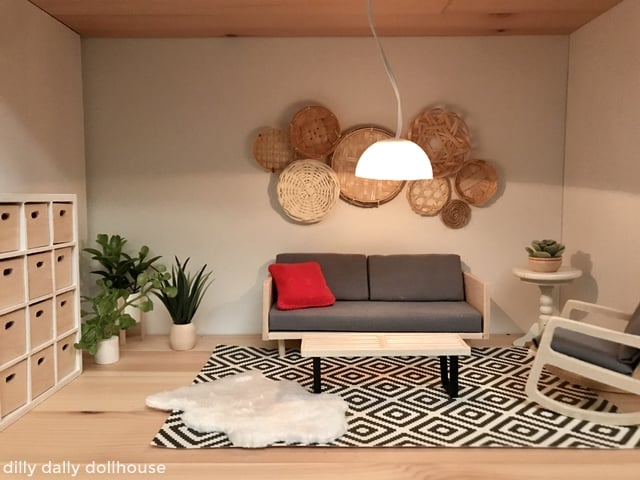
… and this ping pong ball cut in half.
Made your own? I’d love to know!
What motivates me the most is seeing you use my tutorials to make your own minis! There are many ways you can share your projects:
- comment below to let me know (or if you have any questions about it–for the benefit of others also!)
- link back to my site or this tutorial,
- tag me on Facebook or Instagram,
- share your version on my Facebook group!

The half ping pong ball would work great for an Arco lamp!
You’re right! I’ll need to do one. Thanks for the idea!
What a perfect addition to your living room scene. I am so impressed with your knack for recreating the style in such a simple, straightforward way.
Thanks Sherrill 🙂 I’m making it easy for myself too – LOL!