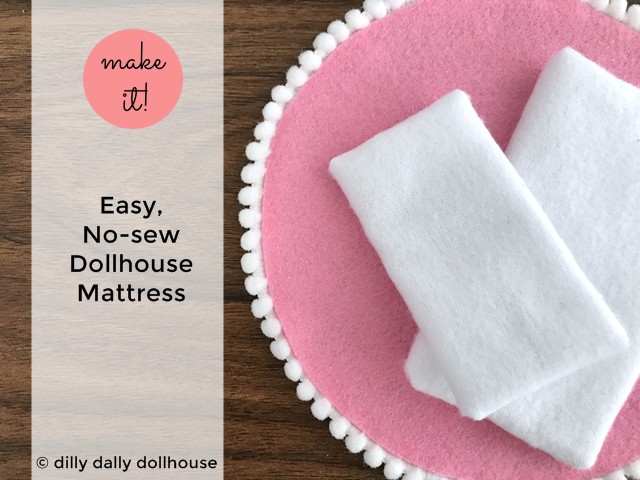
The dollhouse cribs from the previous post have no mattress, and it’s unacceptable. I know babies are supposed to sleep on a firm surface and all, but I’m pretty sure they’re not talking about wood-firm. So here is a tutorial to make an easy, simple, no sew (!) dollhouse crib mattress. You could also use these steps to make any size of dollhouse mattresses–just change the measurements!
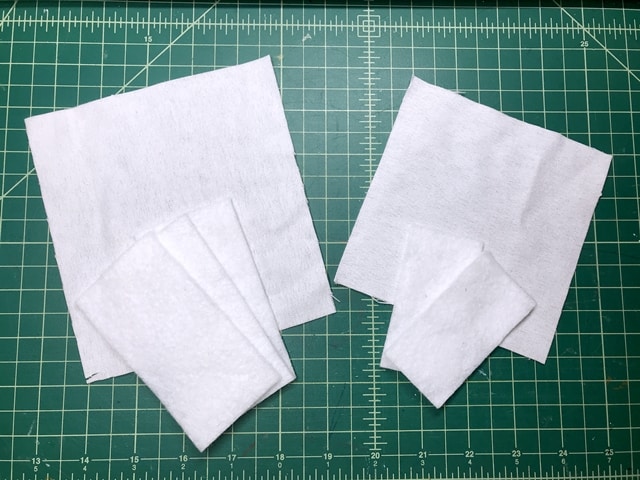
Materials for dollhouse mattress
These measurements would work with my miniature cribs. The trick is to cut the batting about 1/8″ smaller than the mattress base measurements. The extra space is for your fabric’s thickness and folds, and to make it easier to put the mattress in and out of the crib.
You can use any kind of thin, lightweight fabric. I use plain white cotton flannel here, as I plan to use different covers or blankets to change it up. Flannel has a bit of a thickness to it, so my mattresses fits snugly inside the cribs.
For cutting batting and fabrics in general, I love using this rotary cutter (and a self-healing cutting mat is a must with any rotary cutter) as it’s faster and easier, but scissors are totally fine. If you cut a lot of fabrics, I recommend keeping a pair of fabrics-only scissors. Don’t use your fabric scissors to cut other materials, not even paper!
| 1:12 crib mattress (in inches) | 1:16 crib mattress (in inches) | |
| Craft batting or scraps | 3 pieces of 2-1/8 x 4-1/8 | 2 pieces of 1-5/8 x 3-1/8 |
| Fabric (flannel or lightweight) | 6 x 6 approximately | 5 x 5 approximately |
| Glue (I use Aleene’s) | <– | <– |
How to make dollhouse mattress
Stack all layers of batting neatly and place in the middle of the fabric. Spread a thin layer of glue at one edge of the fabric, and fold over to enclose the batting.
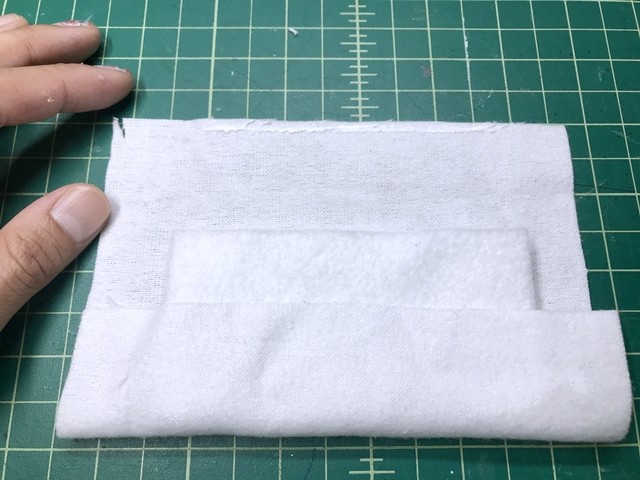
Snip off excess fabric as pictured. You will have a flap that spans the short end and both sides of the crib.
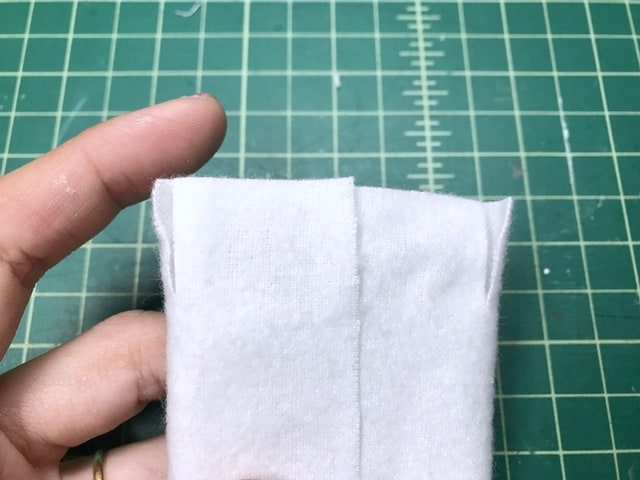
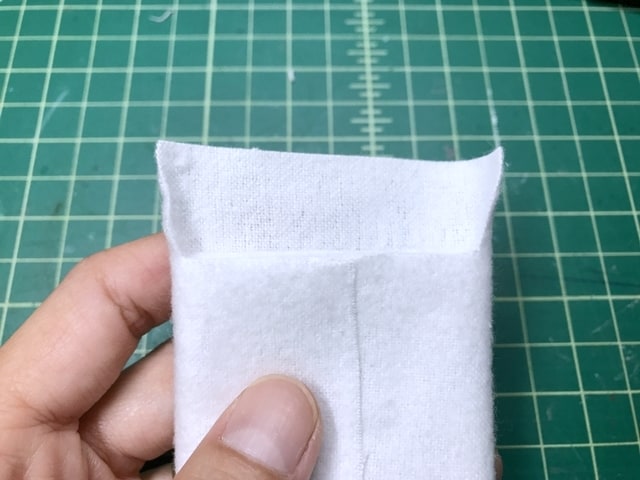
Put a bit of glue on the short edges of the flap, and fold in the corners.
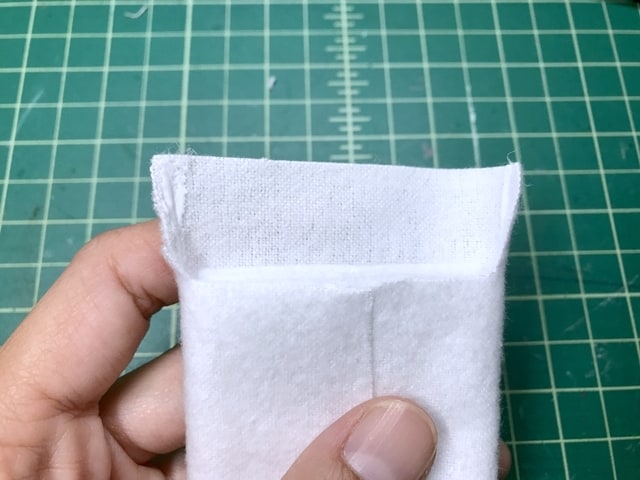
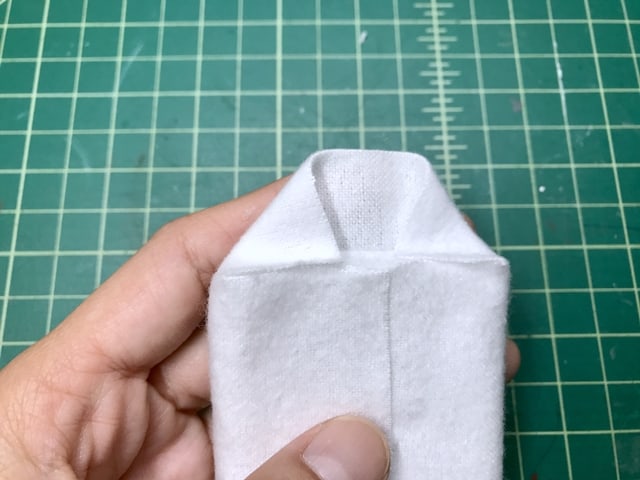
Put some glue on the edge of the flap, and fold it over.
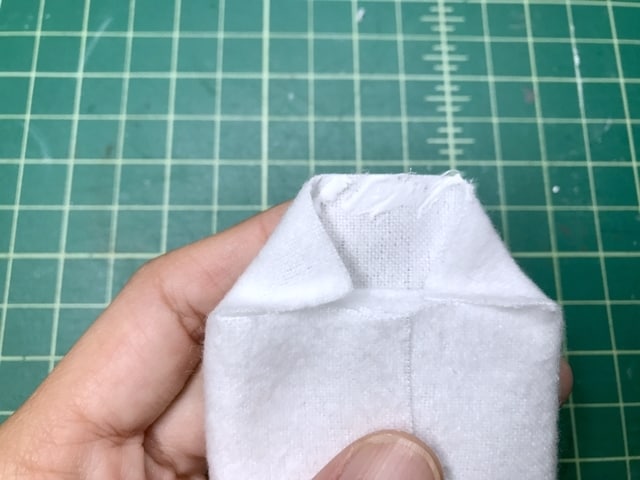
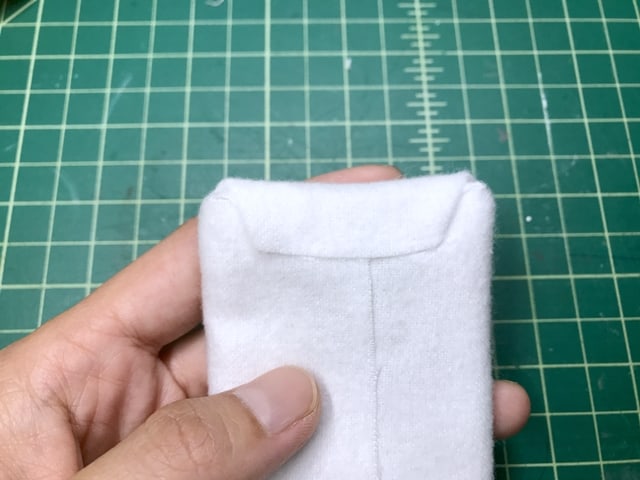
Do the same for the other end, and voila, you have a mattress! The backside looks like this.
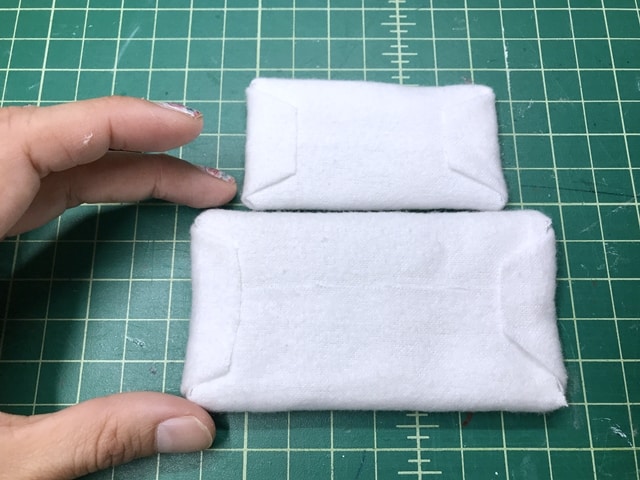
And the top is all nice and clean.
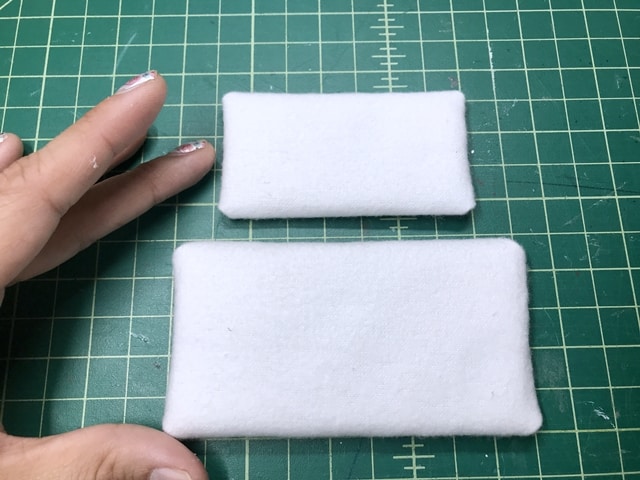
Complete!
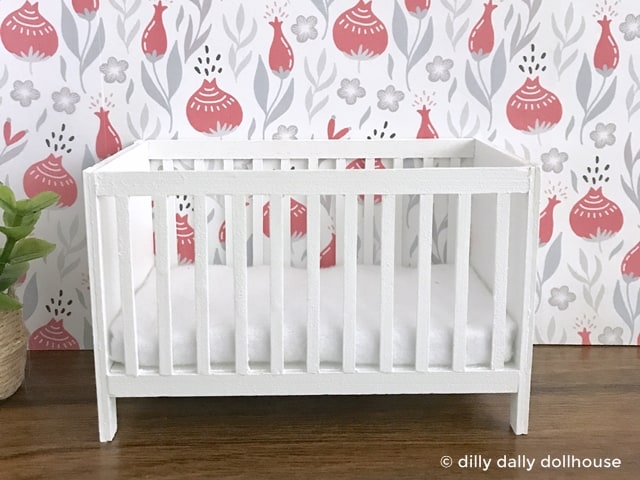
And a proper crib–with a mattress– is now done! So you don’t have to scroll back, the tutorial for the crib is here.
Made your own? I’d love to know!
What motivates me the most is seeing you use my tutorials to make your own minis! There are many ways you can share your projects:
- comment below to let me know (or if you have any questions about it–for the benefit of others also!)
- link back to my site or this tutorial,
- tag me on Facebook or Instagram,
- share your version on my Facebook group!

Thank you so much for this great tutorial! Now it’s easy to make other mattrasses as well!