In the Lundby Lovers Facebook group, one of the more frequent questions by newcomers is where they can get Lundby Gothenburg wallpaper template for renovating their dollhouses. I get it–the whole process of creating a template is not a walk in the park. One needs to measure the walls, write down the measurements, draft it on paper, cut it out, fit, and adjust. That’s a lot of steps! If you’re looking for someone to do the dirty work–good news–I’ve done it for you!
I’ve taken the measurements of my 70’s Lundby Gothenburg (the one with the brown frame and orange carpet and blue floors) and put them into printables. It’s a shortcut that bypasses the most tedious first few steps, so you can get to cutting out and dry-fitting immediately.
This is a long post, so here’s a little table of contents–with jump links!–for a quick overview, though I recommend reading the whole thing first because it’s full of good tidbits!
A Little Table of Contents
- FAQ’s on Lundby Gothenburg Wallpaper Template
- Which year of Lundby Gothenburg did you measure?
- Will the templates work for Lundby Smaland?
- Which walls are included in the templates?
- Can I print the templates directly on my nice wallpaper?
- What size paper should I print the templates on?
- Download Lundby Gothenburg Wallpaper Templates
- The rest of the house are available for subscribers (It’s free to subscribe!)
- How to Use The Templates
- Print all pages
- Cut the frames first
- Align the pages and tape
- Cut out the templates
- Dry fit and adjust
- How to Mark the Outlets
- Cutting out the Nice Wallpaper
FAQ’s on Lundby Gothenburg Wallpaper Template
Before you go on downloading the templates, please read these FAQ’s so you know what you’re getting into. Okay, fine… nobody really asked these questions, but I put them here anyway because these would have been great questions to ask. 😁
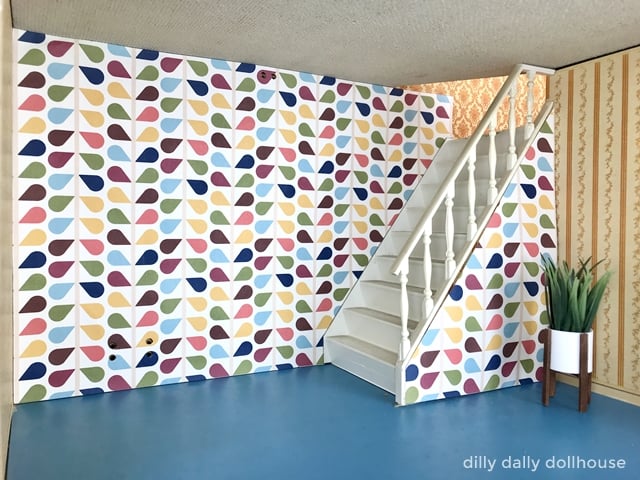
1. Which year of Lundby Gothenburg did you measure?
These measurements are based on my vintage 70’s Gothenburg–not sure of the exact year–with the brown frame, orange carpet, and blue floors. The measurements for vintage 80’s Gothenburg should also be roughly the same, except for variations on the outlet placement.
Note that even dollhouses of the same year may measure slightly different, because walls and roofs may have dislodged slightly over the years. Always allow a small margin of error; nothing will be exact. When in doubt, I made the measurements on the large side as it’s easier to cut off excess paper than trying to patch it back on.
2. Will the templates work for Lundby Smaland?
These templates will not fit Smaland! I do plan to make templates for Smaland in the future, so check back again soon.
3. Which walls are included in the templates?
Templates are available for the floor and all the walls of each room. They’re all pre-labeled with the room and wall location, so they don’t get all mixed up! 🙂
I did not make any templates for the ceilings. Should I?
4. Can I print the templates directly on my nice wallpaper?
These templates are not designed to be printed directly on your nice paper. Please print on regular paper or cardstock, cut it out, dry fit, and adjust. After you’re happy with the fit, then you can use the adjusted template to trace onto your nice paper.
5. What size paper should I print the templates on?
Templates can be printed on Letter-size (USA) or A4 paper. The drawing on each page is contained within a 7×10 inch frame, so if your printer prints with a wide-ish border, you should still be able to print these templates. Be sure to print without any scaling, otherwise the measurements will be completely off.
Download Lundby Gothenburg Wallpaper Templates
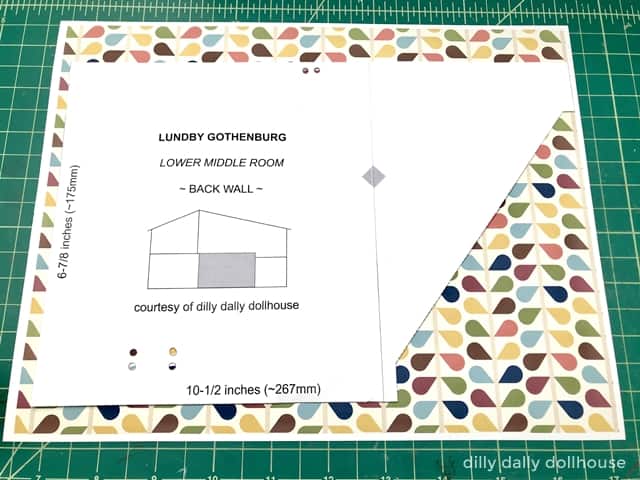
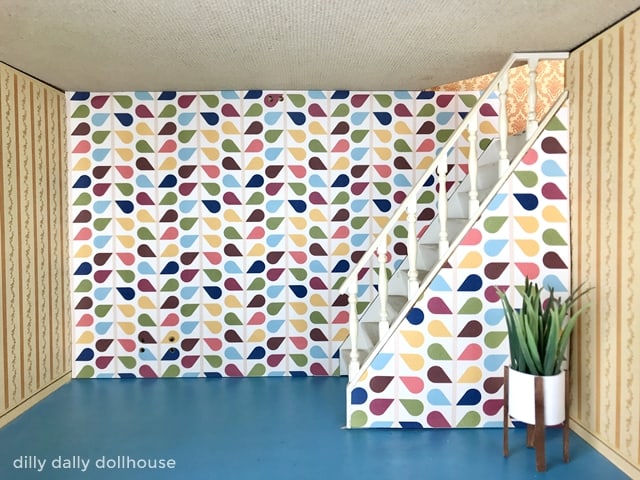
I’ve made one room available to download directly from this post! It’s the lower-middle room, where the stairs are. Is it supposed to be the dining room? Study? Sitting room? Entry? Who knows… all I know is that the stairs make this room one of the hardest to measure. But no worries, you don’t need to do that anymore!
You don’t need to have a Dropbox account to download the PDF. After you click the download button below, you will see the PDF on a new tab. Simply click the download button (the button with the down arrow) next to the blue sign-in button, and it will prompt you to save the file directly into your computer.

The other four rooms are available in the resource library, exclusively for subscribers of my email list.
Not a subscriber yet? I would love for you to join! Just sign up here and as a bonus offer, you’ll get the password to the library in your email.
How to Use The Templates
Here are the directions on using the templates. If any of these steps are not clear, do let me know by leaving a comment here, so others can find the answers also.
1. Print all pages
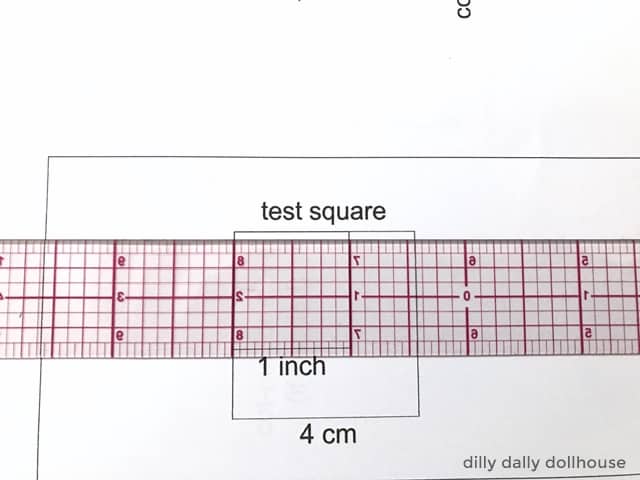
Print all pages on regular/test paper or cardstock, without any scaling. When printed correctly, the test squares will measure 1 inch and 4cm. You only need to measure one of the test squares… if one is correct, the other is too.
2. Cut the frames first
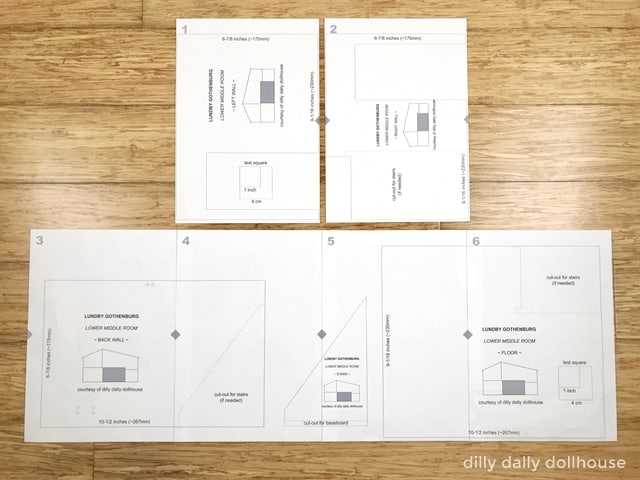
Cut each page on the 7×10 inch frame. If you prefer, you can leave one of the long edge uncut for some overlap (easier to tape). All the pages are numbered so you can put them in the right order.
3. Align the pages and tape
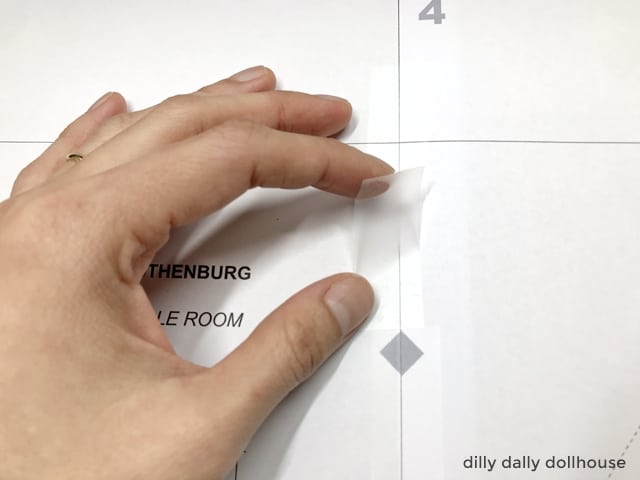
You will need to do the align-and-tape step when a specific wall template spans two pages. Some walls are small enough that they’re able to print fully on one page. In that case, you don’t have to do this step.
Align/match the markers (the triangles on the sides) so that they form a diamond shape. Tape together the pages.
4. Cut out the templates
Now you can cut the templates for the room. Each template is pre-labeled with wall and room location, so we can identify each one easily. 🙂
Do not punch out the outlet/plug markers yet! Read the section below regarding marking the outlets.
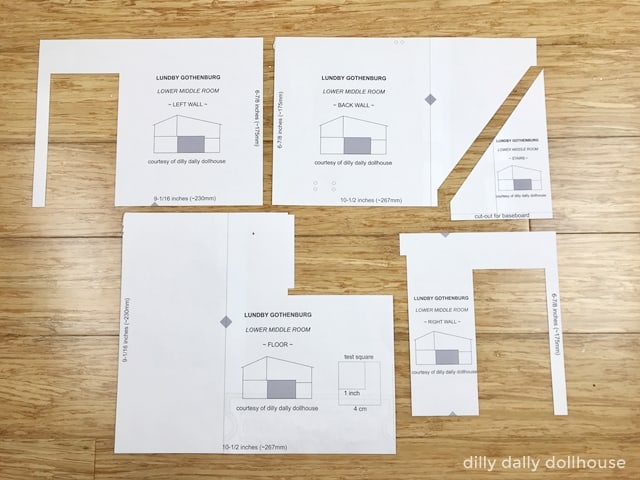
5. Dry fit and adjust
Dry fit each template and adjust accordingly. If you have to trim off, do so a tiny bit at a time. Dry fit after each trim to make sure you don’t cut off too much.
How to Mark the Outlets
You can disregard the outlet markers on the templates, if they’re not where your outlets are. Here is a trick that works well to identify your outlet locations without measuring.
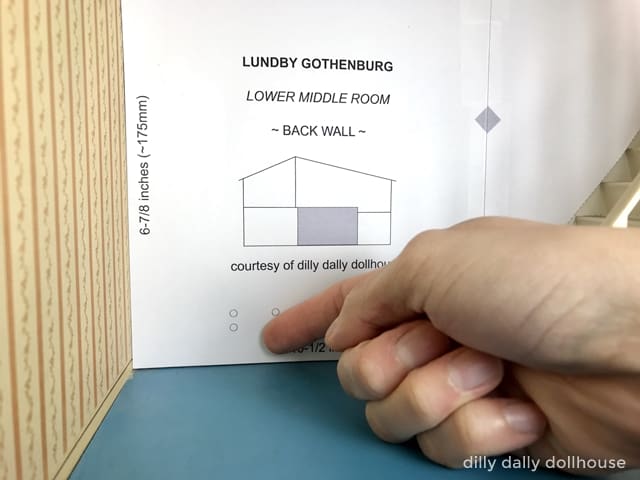
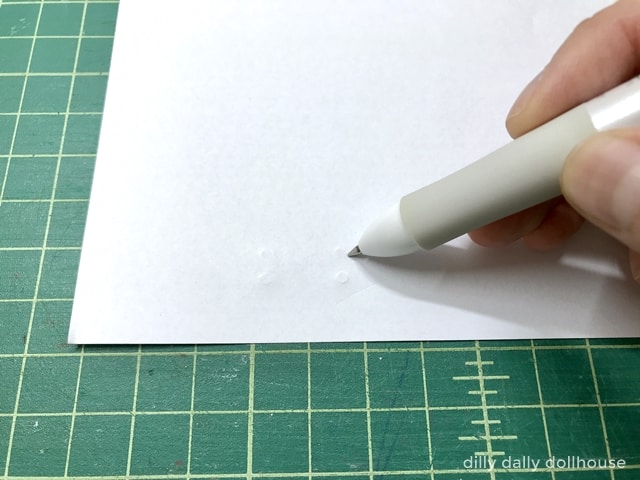
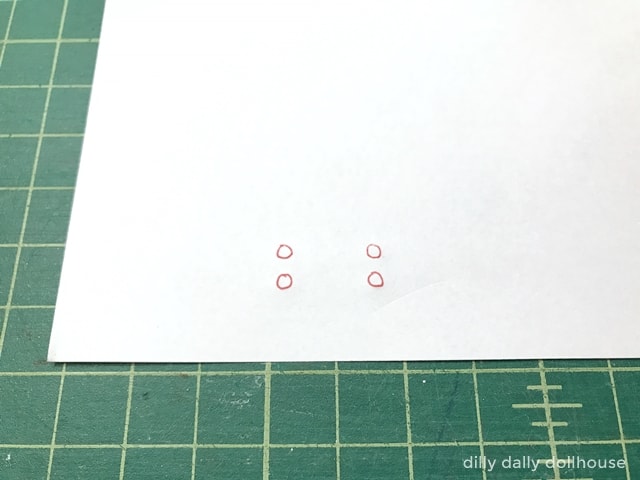
Place your fitted back wall template on the wall and rub the paper firmly against the outlets. I rub using the top of my fingernails or sometimes color the area with pencil. When you remove the template, you’ll see circular indentations from the outlets. Mark them up with a pen, and punch them out with a 1/8″ circle punch. Dry fit again.

Cutting out the Nice Wallpaper
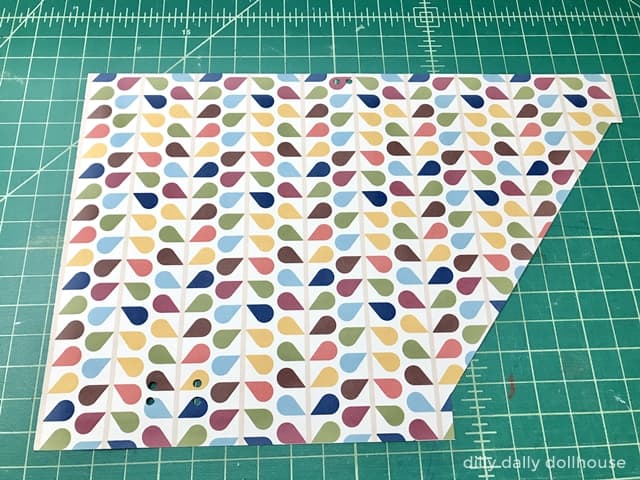
So now you can use the template to cut out the actual wallpaper. Simply place the template on top of your nice paper with both right sides up, trace, and cut!

Wauw!! This is amazing 🤩
1 remark: with the upper right room is no page 2. Just 2 times page 3.
But nevertheless thank you very much.
What a fantastic idea thankyou just what I needed 💗
Thanks, Ruth! Glad it’s useful!
Hi Just found your blog, looks great, looking forward to seeing more 🙂
Thanks, Jackie!