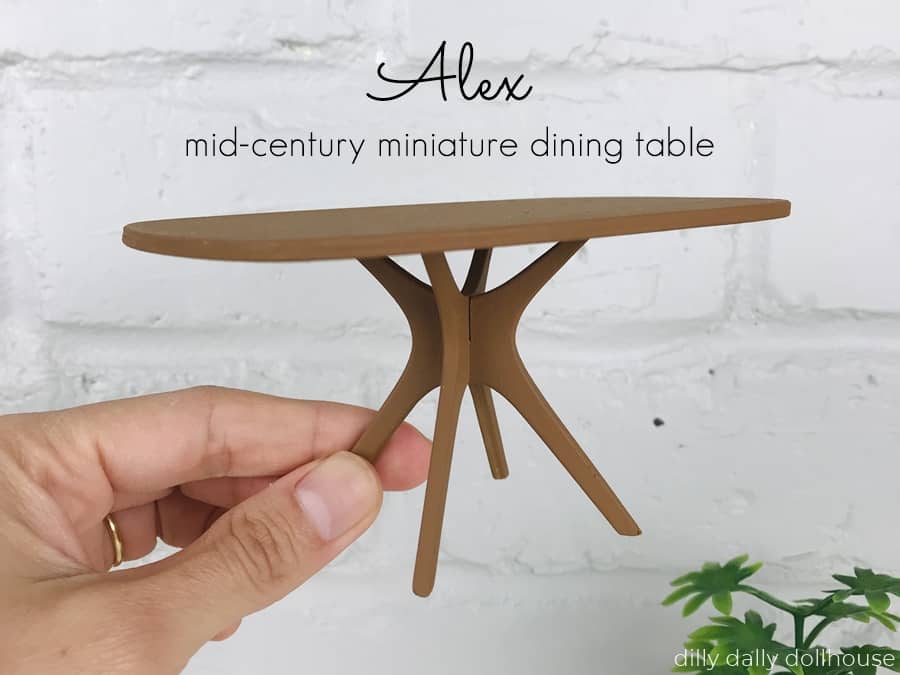
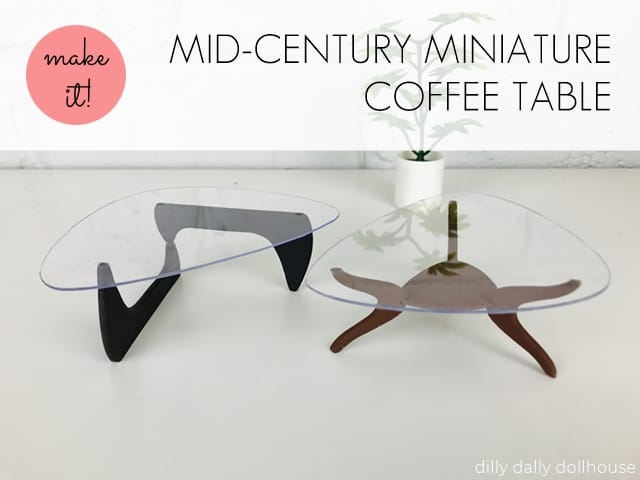
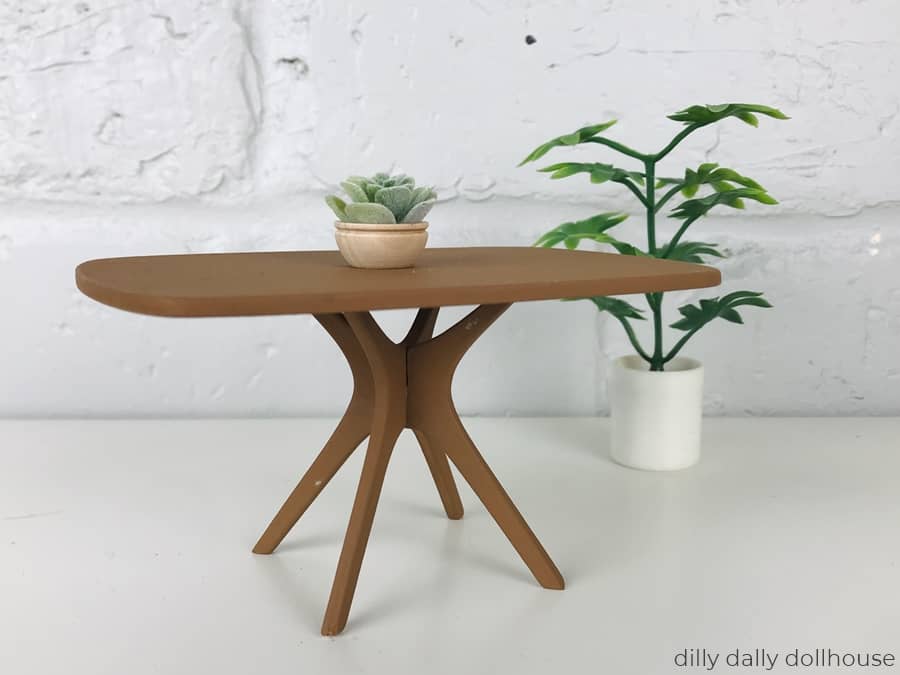
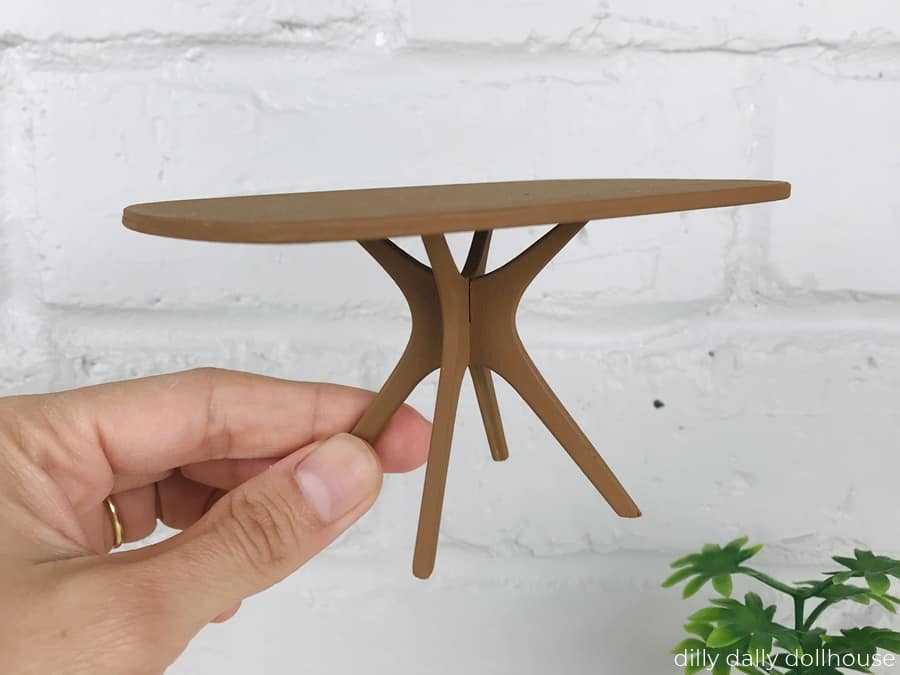
This Alex MCM-inspired dining table features X-shaped legs that inserts into each other. You can choose a round top for a 4-seater, or a rounded-rectangle top that fits 6 chairs. Want to show off the legs? Use clear plastic for a “glass” top! (You can read more about the “glass” top in this MCM coffee table post).
I use a Cricut Maker to cut this table using 1/16″ basswood. If you have a laser cutter, you can totally use that and use 1/8″ plywood.
Need the dining chair too? Check this one out!
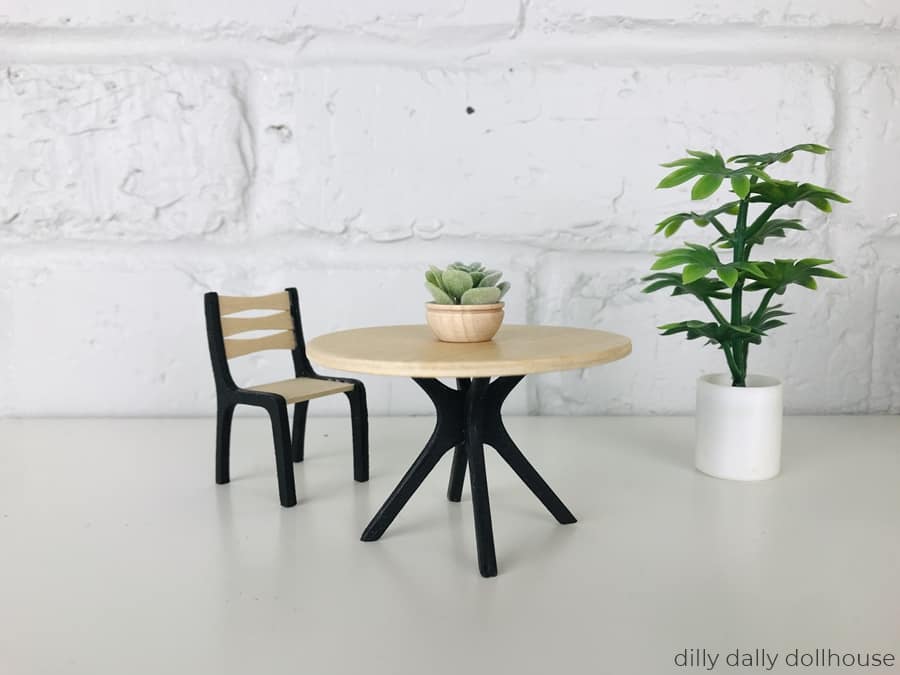
SVG FILES FOR ALEX MCM DINING TABLE
The SVG files are available on Etsy!
- SVG file for 1:12 mid-century modern ALEX dining table
- SVG file for 1:16 (Lundby) mid-century modern ALEX dining table
IMPORTING THE SVG FILES INTO CRICUT DESIGN SPACE
To import the SVG file into Cricut Design Space, head on to this post or watch this video on YouTube.
TOOLS & MATERIALS TO MAKE ALEX MCM DINING TABLE
- Cricut Maker and…
- 1/16″ basswood sheet (see cutting list below)
- Wood glue
- Sandpaper in various grits (I use 150 for smoothing out the cut edges)
- Paint
CUTTING LIST FOR ALEX MCM DINING TABLE
FOR 1/16″ BASSWOOD (CRICUT MAKER USERS)
For best result, cut 1 piece along the grain, and the other piece across the grain.
- 2 pieces of table top (choose round or rectangle)
- 2 pieces of table leg A
- 2 pieces of table leg B
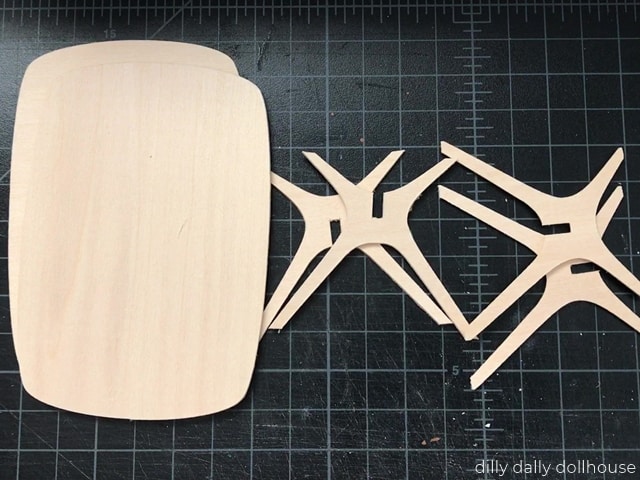
FOR 1/8″ PLYWOOD (LASER-CUTTER USERS)
- 1 piece of table top (choose round or rectangle)
- 1 piece of table leg A
- 1 piece of table leg B
ASSEMBLING THE ALEX MCM DINING TABLE
You can watch the video tutorial here or on YouTube! Be sure to review the written steps below also.
Step 1: Cut all the pieces
As I mentioned above, for best result when using 1/16″ basswood, cut your chair pieces at perpendicular grain directions.
Step 2: Glue the layers
Simply glue the matching pieces together. Clamp if needed.
Step 3: Sand and paint
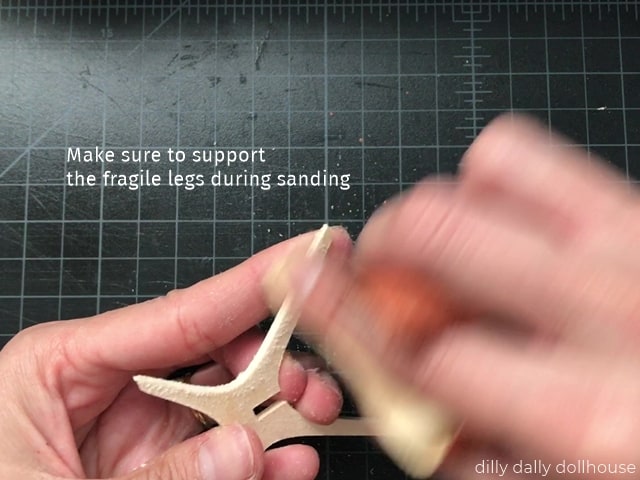
Sand the cut edges to achieve the MCM look. Be sure to support the legs!
Then paint.
Step 4: Glue the legs and table top
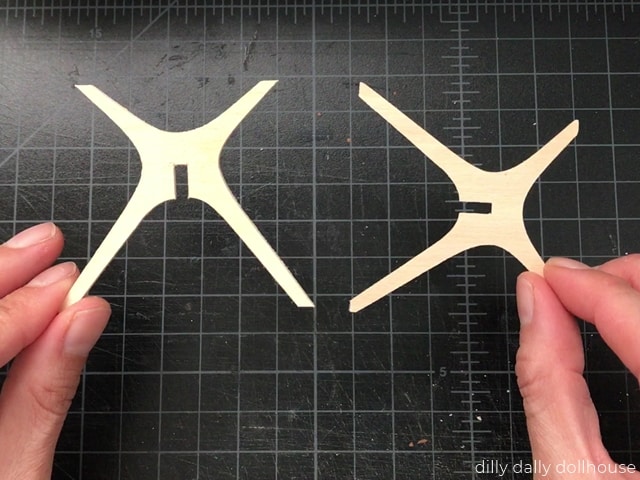
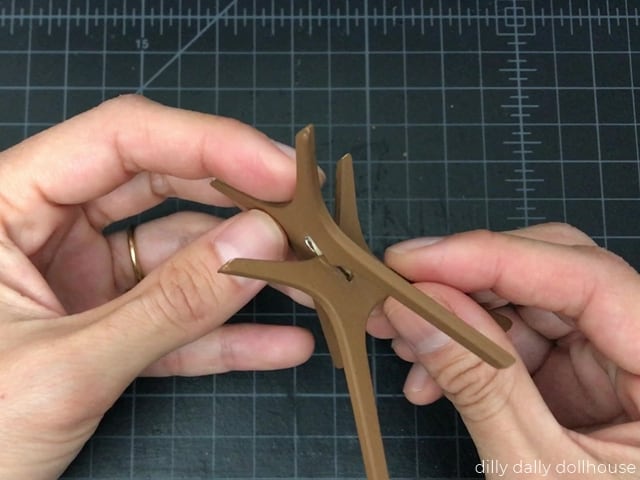
Apply a bit of glue in the notches, then insert the other leg piece.
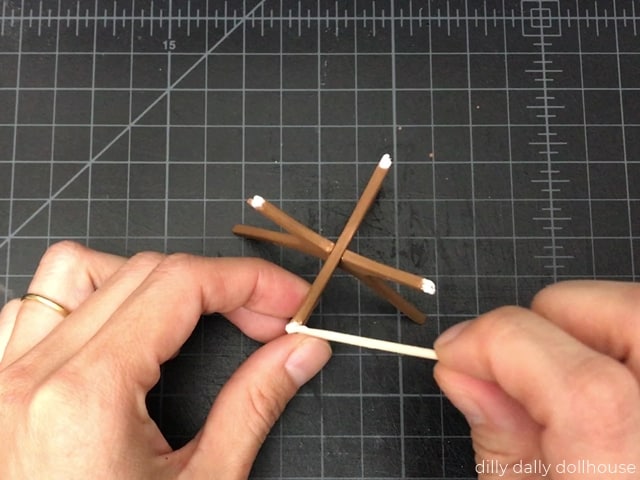
To attach the table top, glue the tops of the table legs, and position it in the middle of the table top.
COMPLETE!
This project couldn’t be any easier, and I love how it turned out! That’s the best kind of project, isn’t it?
RELATED PROJECTS
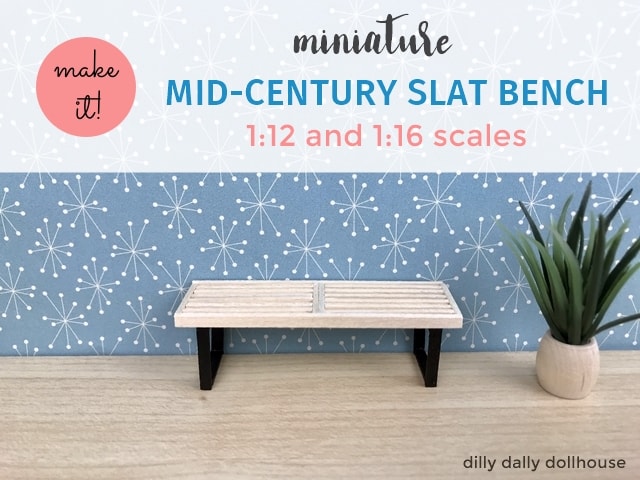
Miniature Slat Bench/Coffee Table ~ 1:16 and 1:12 scales (Tutorial)
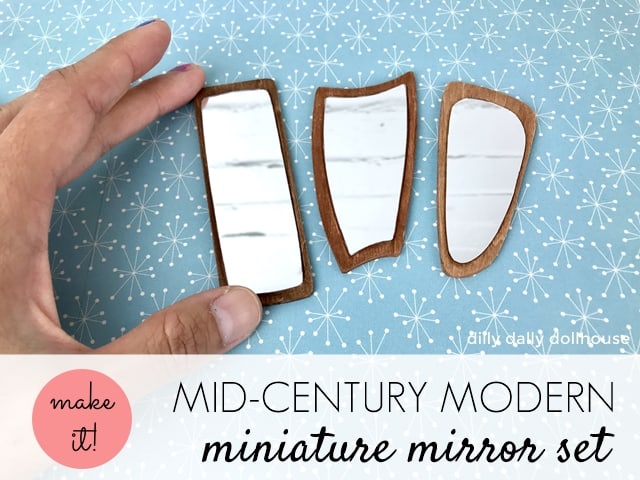
Mid-Century Modern Dollhouse Mirrors (Tutorial and SVG file)
Made your own? I’d love to know!
What motivates me the most is seeing you use my tutorials to make your own minis! There are many ways you can share your projects:
- comment below to let me know (or if you have any questions about it–for the benefit of others also!)
- link back to my site or this tutorial,
- tag me on Facebook or Instagram,
- share your version on my Facebook group!

