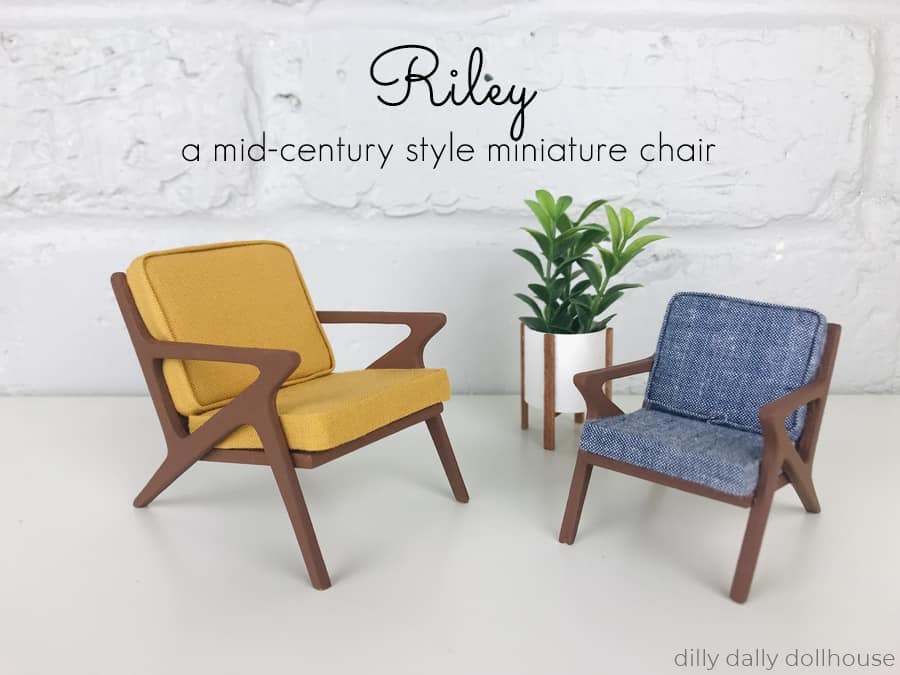
Introducing Riley, a distinctively MCM miniature chair! Yes, I’m fancy now and my pieces have names 😁
The Riley chair has been on my to-do list for the longest time, but I kept putting it off because the seat angle just stumped me. Unlike this modern chair, the Riley chair doesn’t have a convenient horizontal angle on its sides for lining up the seat. But, a recent customer inquiry inspired me to come up with a surprisingly-easy solution for it. (Thank you, D!)
Enough chatter, let’s get to it!
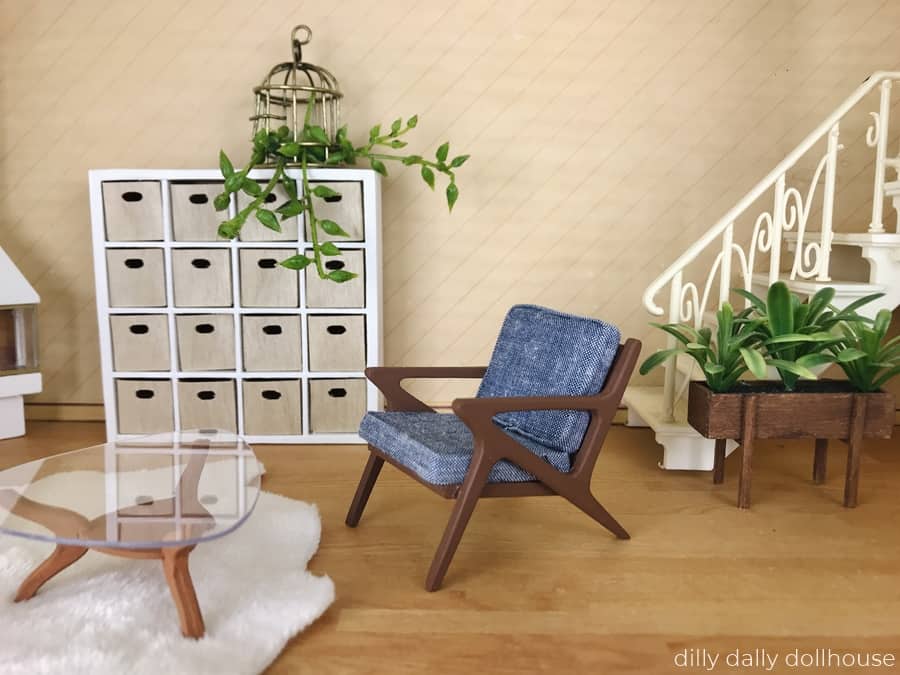
DESIGN NOTES FOR RILEY MCM MINIATURE CHAIR
The Riley chair is designed to be laser-friendly! Meaning, you can use a 1/8″ thick wood to make the frame. I personally use my favorite combo of 1/16″ basswood (double-layered) cut with a Cricut Maker.
The SVG files are available on Etsy!
- SVG file for 1:12 mid-century modern RILEY chair
- SVG file for 1:16 (Lundby) mid-century modern RILEY chair
IMPORTING THE SVG FILES INTO CRICUT DESIGN SPACE
To import the SVG file into Cricut Design Space, head on to this post or watch this video on YouTube.
TOOLS & MATERIALS TO MAKE RILEY MCM MINIATURE CHAIR
- Cricut Maker and…
- 1/16″ basswood sheet for the legs (see cutting list below)
- Wood glue
- Sandpaper in various grits (I use 220 this this project)
- Paint
- Large interlocking blocks like Lego or Duplo, or something similar
- For the cushion bases:
- for 1:12 scale, I use foam core (standard 3/16″ thick)
- for 1:16 scale, I use chipboard
- low-loft batting
- Thin fabric
- I use regular cotton fabric from my stash.
CUTTING LIST FOR RILEY MCM MINIATURE CHAIR
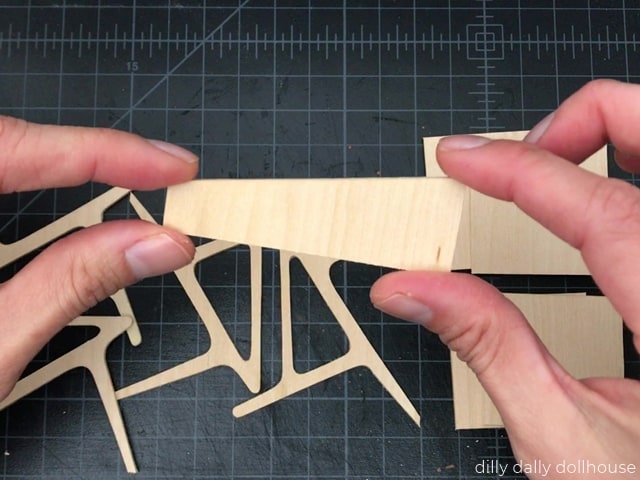
FOR 1/16″ BASSWOOD (CRICUT MAKER USERS)
- 4 pieces of chair side
- cut 2 along the grain
- cut 2 across the grain
- 2 pieces of seat
- 2 pieces of back
- 1 piece of the jig
FOR 1/8″ PLYWOOD (LASER-CUTTER USERS)
- 2 pieces of chair side
- 1 piece of seat
- 1 piece of back
- 1 piece of jig
FOR THE CUSHIONS
The SVG files include a template to make the seat and back cushion bases. The bases are slightly smaller than the actual seat/back measurements, to accommodate the additional thickness from the fabric.
It might be helpful to refer to the tables below for the measurements of the cushions.
| 1:12 scale | Seat Cushion (inches) | Back Cushion (inches) |
| Base, made with foam core | 1.75 x 1.75 = 1-3/4 x 1-3/4 | 1.75 x 1.675 = 1-3/4 x 1-11/16 |
| Insert = Base plus 1 layer of batting | same as above, at ~1/4″ thickness | same as above, at ~1/4″ thickness |
| Fabric strips | 1/4″ wide | 1/4″ wide |
| Finished measurement | ~ 1.875 x 1.875 x 1/4 | ~ 1.875 x 1.8 x 1/4 |
| 1:16 scale | Seat Cushion (inches) | Back Cushion (inches) |
| Base, made with 2 layers of chipboard | 1.375 x 1.375 = 1-3/8 x 1-3/8 | 1.375 x 1.25 = 1-3/8 x 1-1/4 |
| Insert = Base plus 1 layer of batting | same as above, at ~3/16″ thickness | same as above, at ~3/16″ thickness |
| Fabric strips | 3/16″ wide | 3/16″ wide |
| Finished measurement | ~ 1.5 x 1.5 x 3/16″ | ~ 1.5 x 1.375 x 3/16″ |
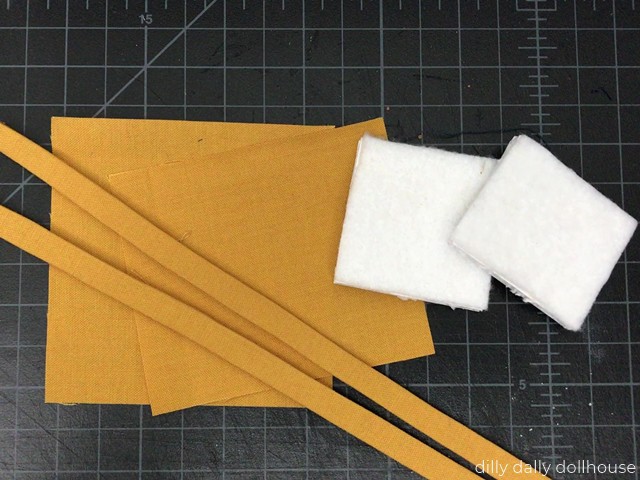
- 1 cushion insert for the back
- 1 cushion insert for the seat
- 2 pieces of fabric, enough to wrap each cushion
- 2 pieces of long fabric strips, long enough to wrap around each cushion
You can read up on how to make miniature boxed cushions on this post.
ASSEMBLING THE RILEY MCM MINIATURE CHAIR
You can watch the video tutorial here or on YouTube! Be sure to review the written steps below also.
Step 1: Cut all the pieces
As I mentioned about, for best result when using 1/16″ basswood, cut your chair pieces at perpendicular grain directions.
Step 2: Prepare the chair pieces
Layer 2 pieces of chair sides that have perpendicular grain directions. Make two of these.
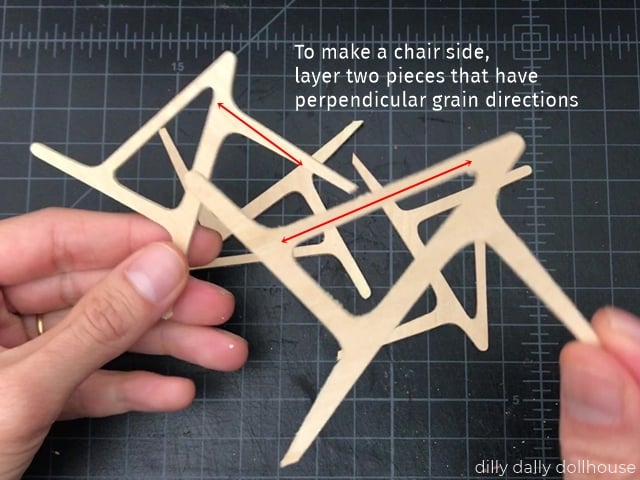
Then layer the 2 pieces of the seat, and do the same for the back. The back piece is the same width as the seat, but slightly shorter.
Step 3: Sand and paint
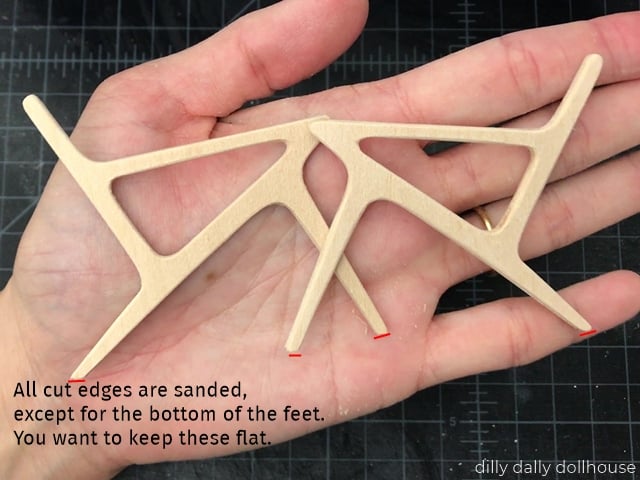
Take your time to sand the seams and cut edges to round them off, as this will make your final piece look better. I didn’t sand the bottom of the chair feet as that part needs to remain flat.
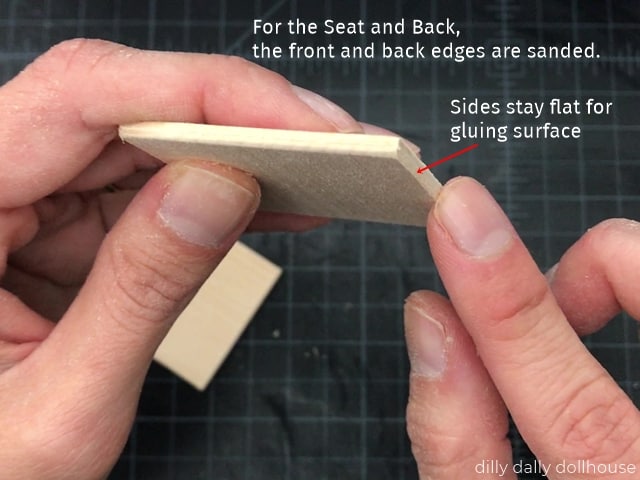
I also didn’t sand the side edges of the seat and back, to make sure I have the maximum gluing surface.
After sanding, paint the pieces.
Step 4: Assemble the chair frame
The interlocking blocks serve as a vertical floor during this step, and the jig will help with the seat angle. Line up one chair side against the vertical floor, and position the jig on top of it. The jig should NOT be glued on.
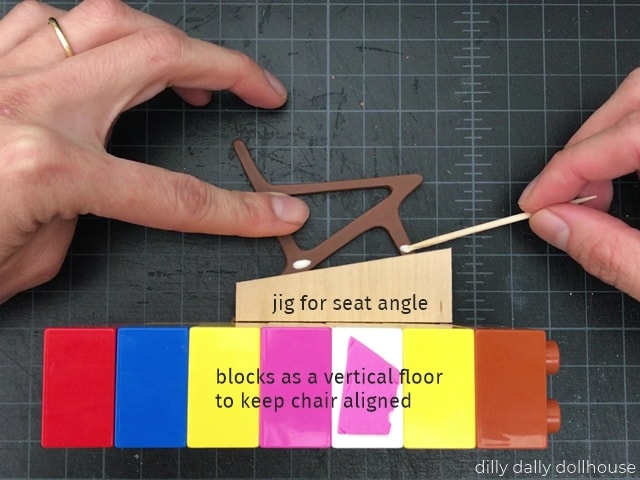
Apply a bit of glue to the chair side and attach the seat piece. Then, attach the back piece as well.
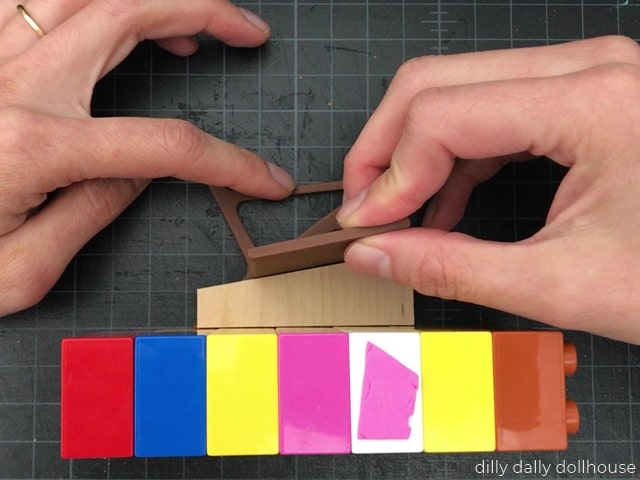
Let the glue sets a bit so your pieces don’t fall apart so easily. Then, apply glue on the other side.
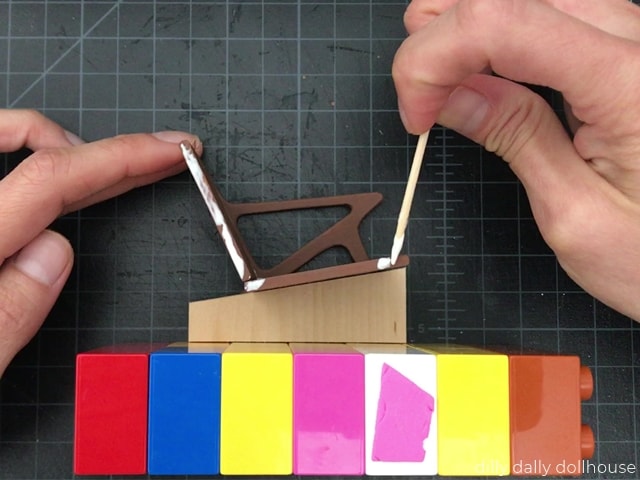
Position the other chair side and jig against the vertical floor…
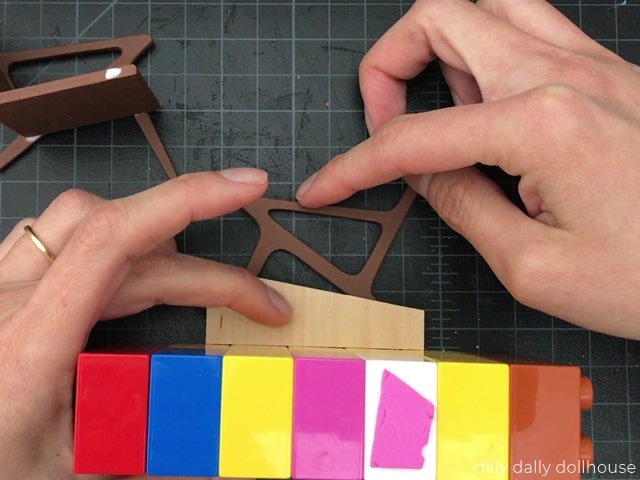
… and place the partially assembled chair on top. Carefully align so the chair doesn’t wobble when standing up.
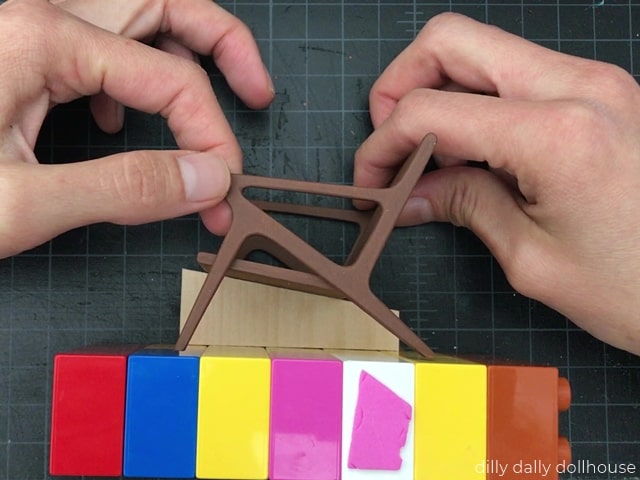
While waiting for the glue to fully set, carefully secure the meeting points with rubber bands.
Step 5: Make the cushions
Your cushion inserts should have a base (foam core or chipboard layers), plus a layer of batting. Place the batting side face down on the fabric, then glue it down.
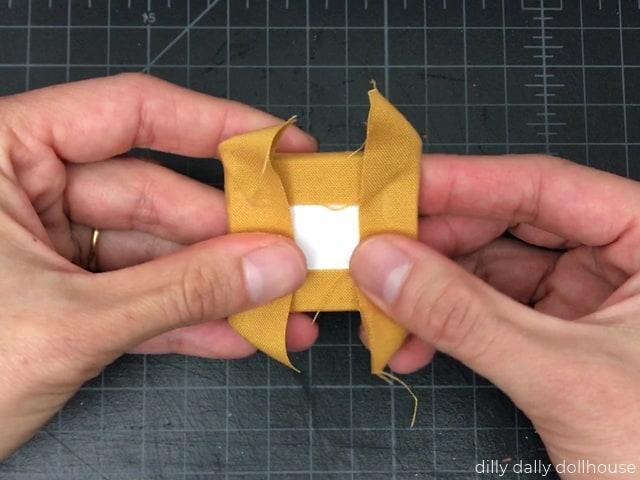
Trim off excess fabric at the corners, then glue down and flatten.
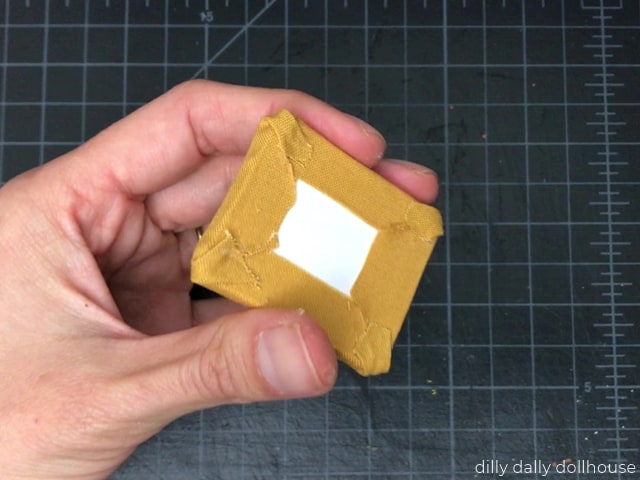
Then glue the fabric strip around the cushion. Snip off the ends and try to avoid overlapping, to minimize the bulk.
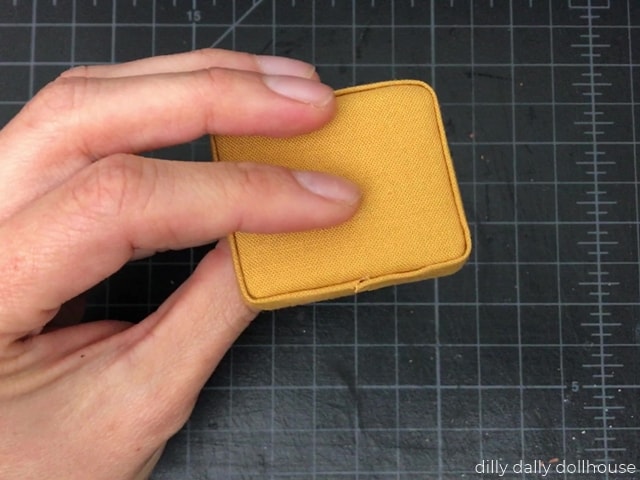
Repeat for the other cushion.
COMPLETE!
The mustard version is 1:12 scale, and the denim version is 1:16 Lundby scale. What do you think about Riley MCM miniature chair? Let me know below!

RELATED PROJECTS
Made your own? I’d love to know!
What motivates me the most is seeing you use my tutorials to make your own minis! There are many ways you can share your projects:
- comment below to let me know (or if you have any questions about it–for the benefit of others also!)
- link back to my site or this tutorial,
- tag me on Facebook or Instagram,
- share your version on my Facebook group!

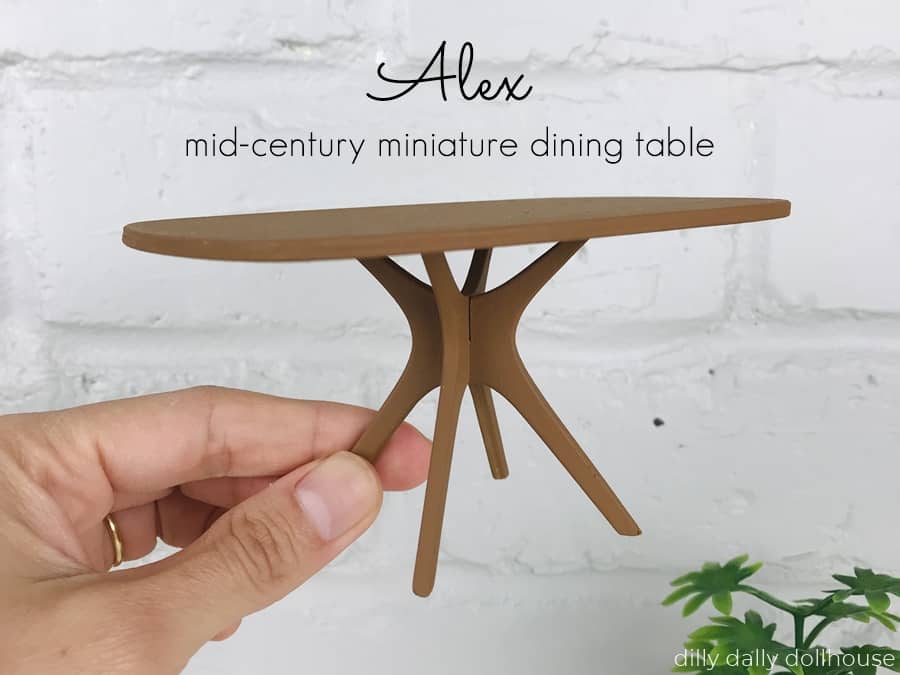

These chairs are very nice. Do you have a tutorial for your planters?
Thanks Stephanie 🙂 I don’t have a tutorial for the planter… I should add it on my list! If you can’t wait, it’s basically like the modern planter, but using a rectangular box instead of the circular one.