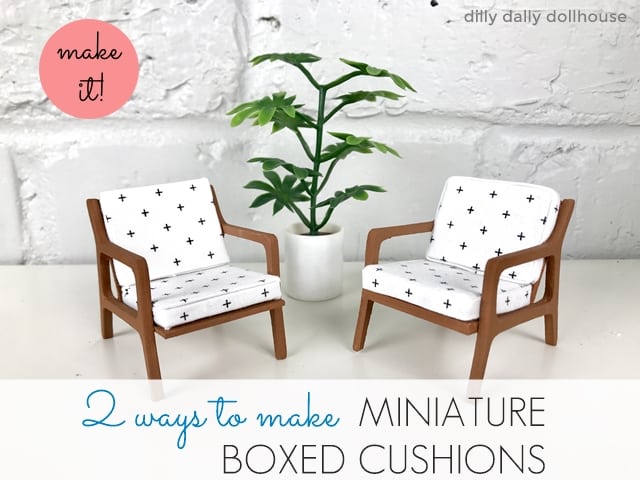
I love making mid-century chairs, but the challenge is making the proper boxed cushions for them. Since the cushions are visible from the sides and the front, the corners and edges have to be neat. So here are two ways to make proper boxed cushions that look good from at least 3 sides.
The two methods basically involve the same two steps: wrapping the cushion and wrapping the edges. The difference is the order in which they are done.
I made a little video on the making of the two cushions, which you can watch here or on YouTube.
Materials for Miniature Boxed Cushions:
- Foam core, cut to the shape of your cushion, but slightly smaller. You can use one or two layers. (I only used one for my example)
- Batting (optional; I skipped this to emphasize the boxiness)
- Thin fabric to cover foam core
- Strip of fabric, enough to cover the edge of foam core all around
- Cardstock (only for method 2), cut to the shape of your cushion, but slightly smaller
- Glue (I find Elmer’s Craft Bond glue stick to be easiest for this)
- Small fabric scissors to snip off excess fabric
- Size 8 pearl or crochet thread as piping to cover the seams (optional)
Method #1: with ironed edging
Big thanks to Sherrill at So Many Minis and Debby de Vries for cluing me in on this tried-and-true method! For this one, we wrap the cushion first, then wrap the edges.
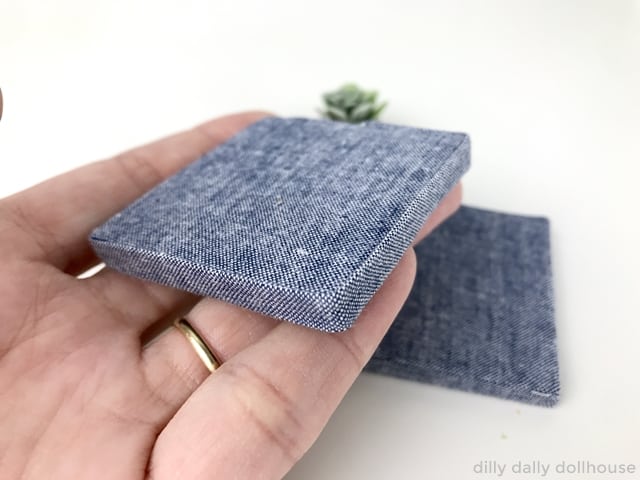
- If using batting, cover the top and edges of the foam core with batting and glue in place.
- Cover the foam core with fabric and glue it down. Trim off excess fabrics around the corner to reduce bulk.
- Fold and iron the strip of fabric length-wise, at the same height as your foam core cushion.
- Glue the fabric strip all around the cushion. Flatten and neaten the corners.
Method #2: with cardstock topper
This one is great if you want to avoid ironing (I came up with it because I didn’t want to iron 😁). With this method, we wrap the edges first, then top off the cushion with fabric-wrapped cardstock.
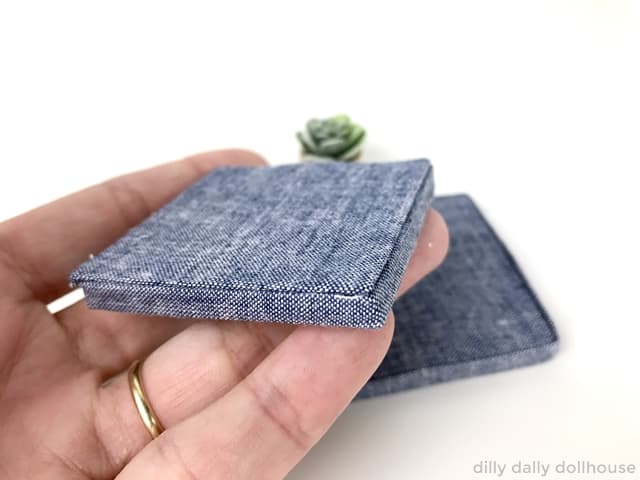
- If using batting, cover the top of the cardstock and the edge of the foam core with batting and glue in place.
- Wrap the strip of the fabric around the foam core edges and snip off excess fabric. Glue down corners to neaten.
- Wrap cardstock with fabric and glue down the fabric. Trim off excess fabric and neaten the corners.
- Glue down the fabric-wrapped cardstock to the foam core and press evenly.
- You can repeat steps 3-4 to finish the underside, if preferred.
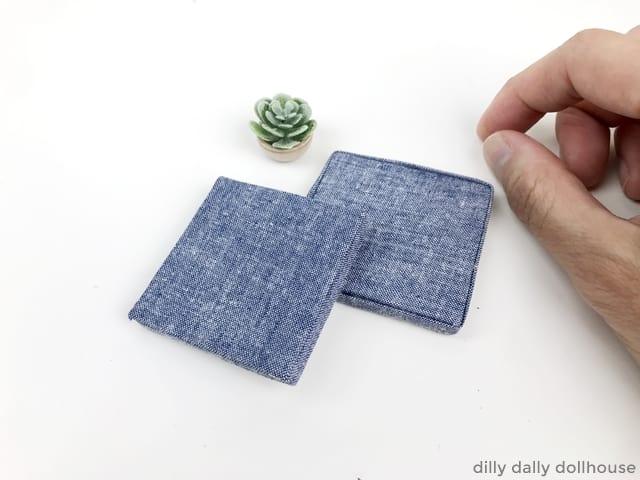
Complete!
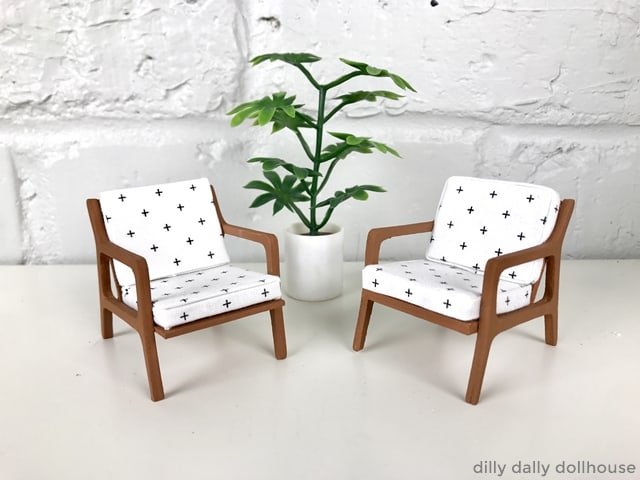
These miniature boxed cushions are great for my mid-century inspired chair and rocking chair.
Which method do you like better?
And here they are in action.
Made your own? I’d love to know!
What motivates me the most is seeing you use my tutorials to make your own minis! There are many ways you can share your projects:
- comment below to let me know (or if you have any questions about it–for the benefit of others also!)
- link back to my site or this tutorial,
- tag me on Facebook or Instagram,
- share your version on my Facebook group!

