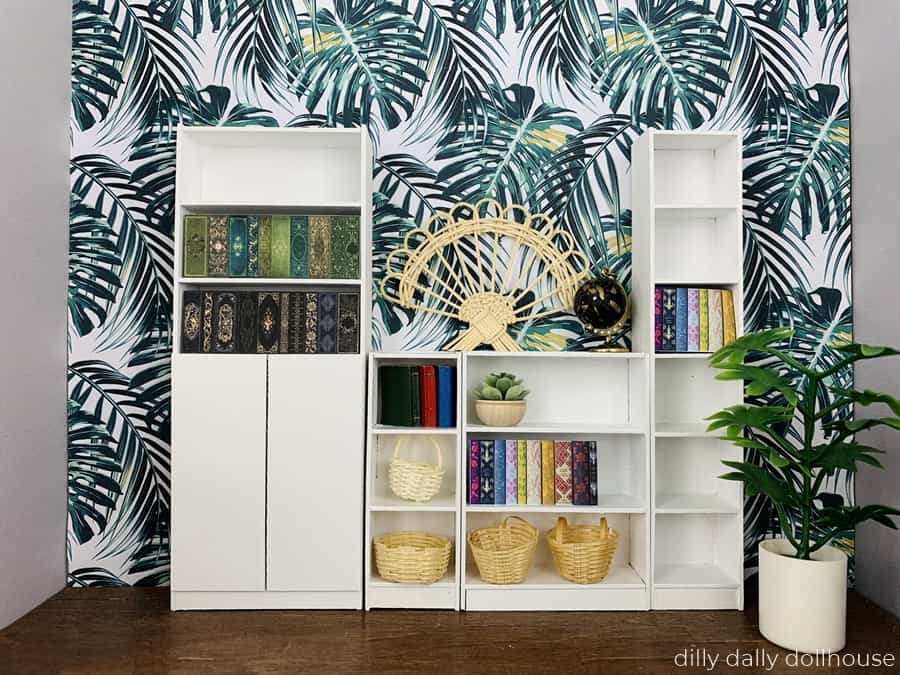
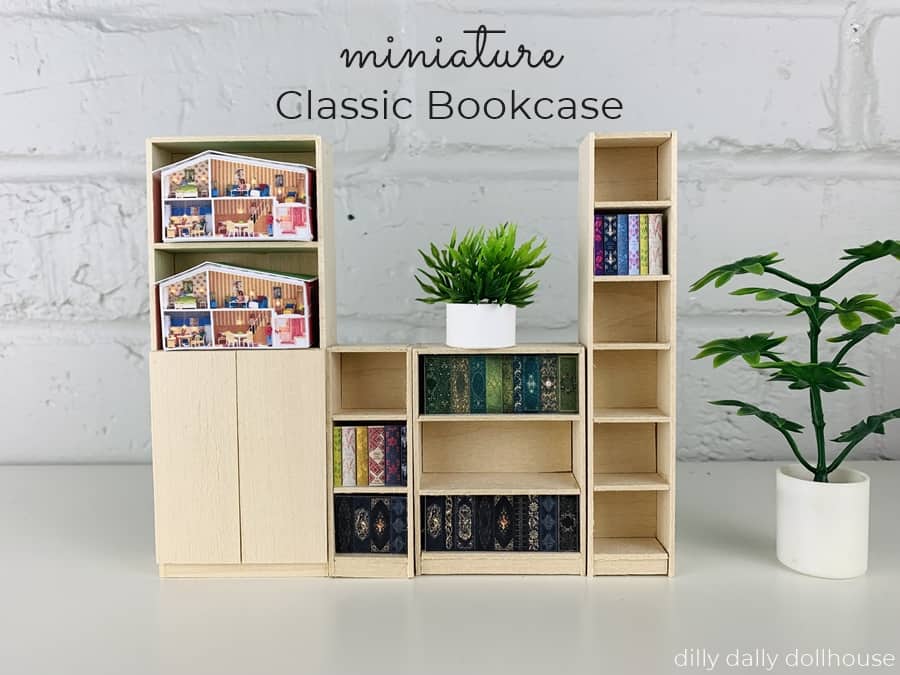
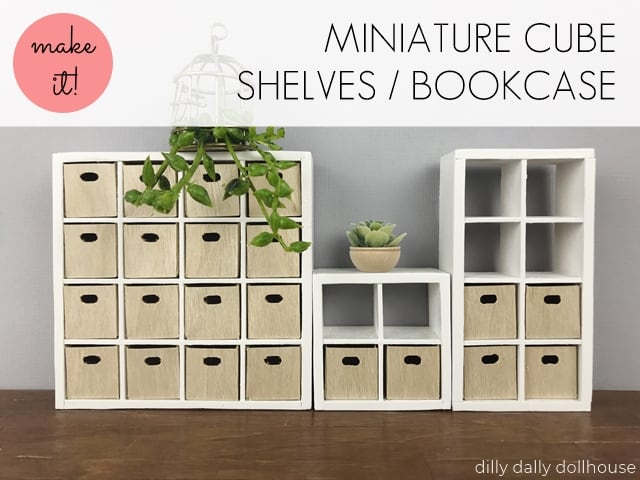
This miniature classic bookcase is a great way to fill up your dollhouse with furniture. Sure, they’re pretty basic, but when you make several and line them up against a wall, they make the biggest visual impact!
Paint them any color. Cover the back with patterned papers. Fill up the shelves with miniature books and other doo-dads.
I still use my Cricut Maker to cut the pieces, but since they’re all straight lines, you can totally do this project easily with a craft knife and a ruler.
DESIGN NOTES FOR MINIATURE CLASSIC BOOKCASE
You can make this miniature classic bookcase in four (4) different sizes. This table shows the approximate finished measurements of each size in inches (width x height).
| Scale | 1:12 (1″ depth for all sizes) | 1:16 (0.75″ depth for all sizes) |
|---|---|---|
| Tall & Wide | 2.625 x 6.75 = 2-5/8 x 6-3/4 | 2 x 5.125 = 2 x 5-1/8 |
| Tall & Narrow | 1.3125 x 6.75 = 1-5/16 x 6-3/4 | 1 x 5.125 = 1 x 5-1/8 |
| Short & Wide | 2.625 x 3.5625 = 2-5/8 x 3-9/16 | 2 x 2.6875 = 2 x 2-11/16 |
| Short & Narrow | 1.3125 x 3.5625 = 1-5/16 x 3-9/16 | 1 x 2.6875 = 1 x 2-11/16 |
The shelves are permanently fixed (i.e. not adjustable), but you can choose different shelf heights.
SVG files are available as a BUNDLE of 4 sizes, on my Etsy shop:
- SVG file for 1:12 scale miniature classic bookcase (bundle)
- SVG file for 1:16 Lundby scale miniature classic bookcase (bundle)
IMPORTING THE SVG FILES INTO CRICUT DESIGN SPACE
To import the SVG file into Cricut Design Space, head on to this post or watch this video on YouTube.
TOOLS & MATERIALS TO MAKE MINIATURE CLASSIC BOOKCASE
- Cricut Maker and…
- Purple StrongGrip Mat, Knife blade for cutting the pieces
- 1/16″ basswood sheet for the bookcase (see cutting list below)
- Wood glue for assembly
- Finishing supplies:
- Sandpaper in various grits (I use mainly 150 and 220, sometimes 400)
- Paint
- Optional: Fancy papers to cover the back
Cutting list for Miniature Classic Bookcase
You will need to cut the following for any size of bookcase:
- 1 piece of Back
- 2 pieces of Sides
- 2 pieces of Toekick
- Shelves and Dividers will depend on the size (see step 1 of the assembly)
You can choose different spacing of the dividers/shelves. Here are some possible combinations of Large, Medium, or Small dividers (DL, DM, DS respectively) and the number of Shelves needed.
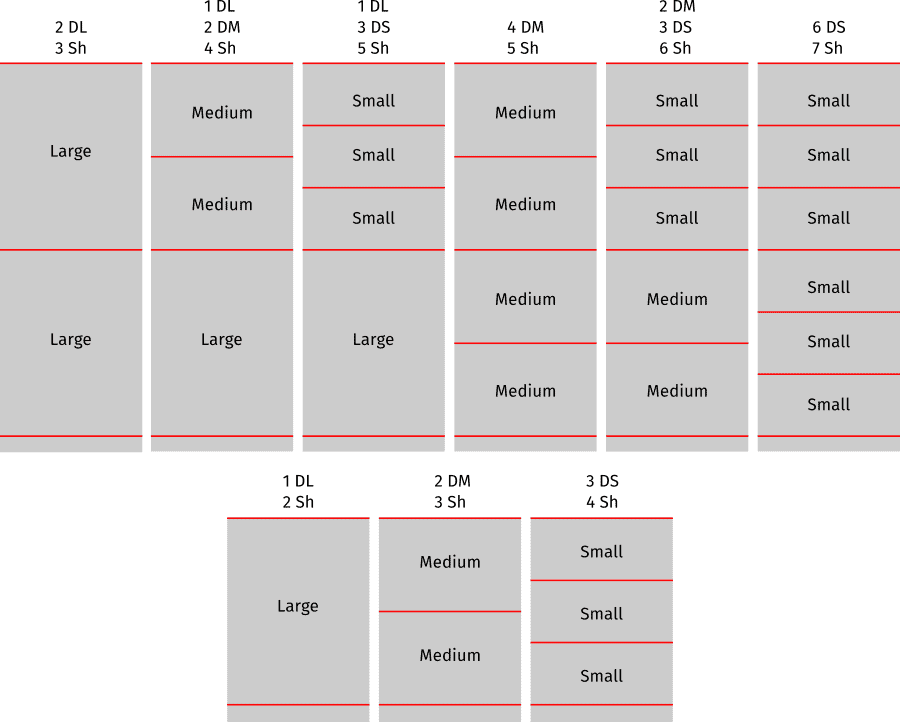
Tip: Use the Large divider (DL) if you plan on using doors. No point to cut shelves if they’re going to be hidden by the doors.
ASSEMBLING THE MINIATURE CLASSIC BOOKCASE
You can watch the video tutorial here or on YouTube! Be sure to review the written steps below also.
Step 1: Choose Divider/Shelf combo
The shelves are fixed, but you can choose how far apart they’re installed, by choosing the right Divider height. Refer to the Cutting List above for the number of Dividers and Shelves needed for different configurations.
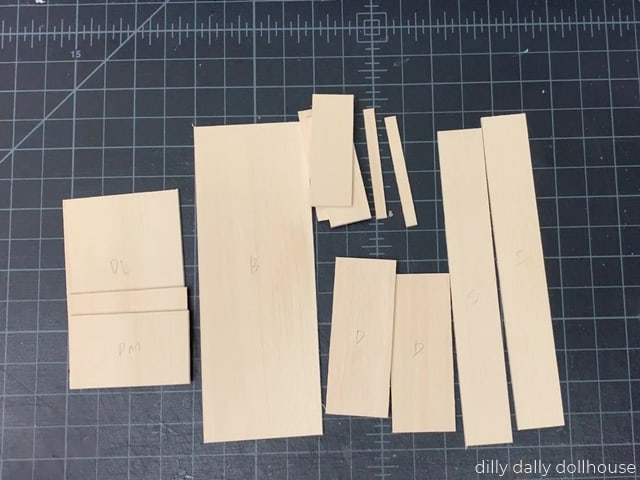
Step 2: Cut the pieces
Proceed to cut the pieces, and label them accordingly.
Step 3: Assemble the pieces
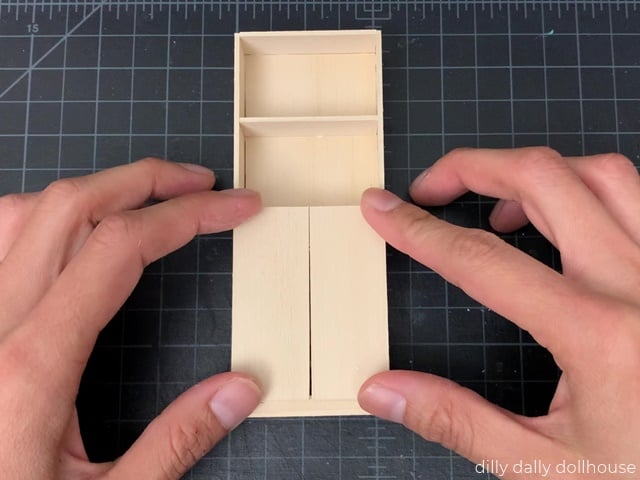
Start by attaching the first Toekick to the Back piece. Then, place the first Shelf piece, followed by the first Divider.
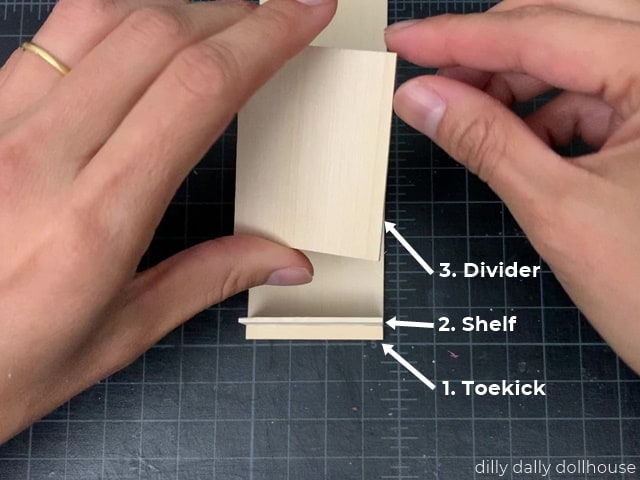
Continue alternating the Shelf and Divider until you have the last Shelf at the very top.
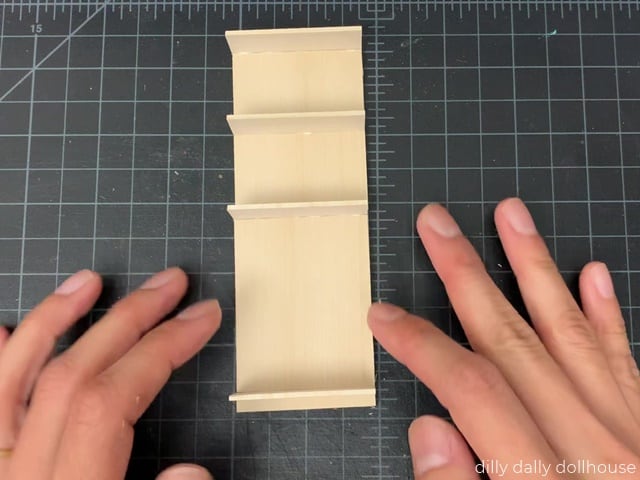
Then, glue the Sides on.
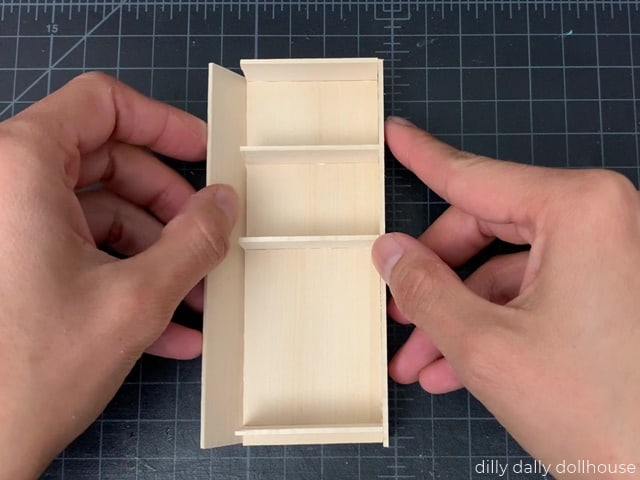
Finally, glue on the last Toekick.
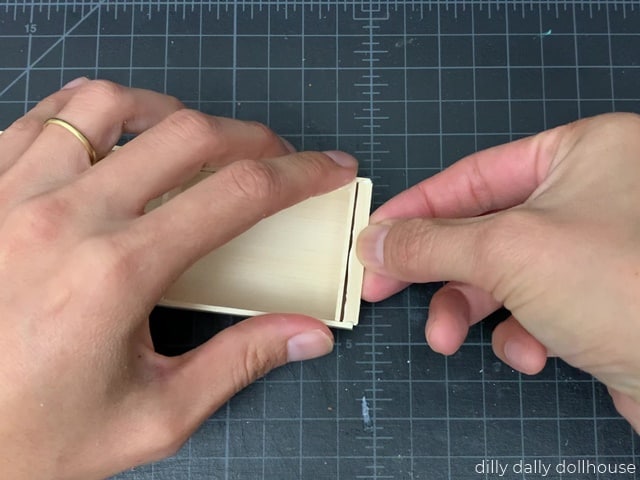
Optional: add doors!
Step 4: Paint/Finish
Sand and paint any color you want. For visual interest, you can add patterned papers to the Dividers.
COMPLETE!
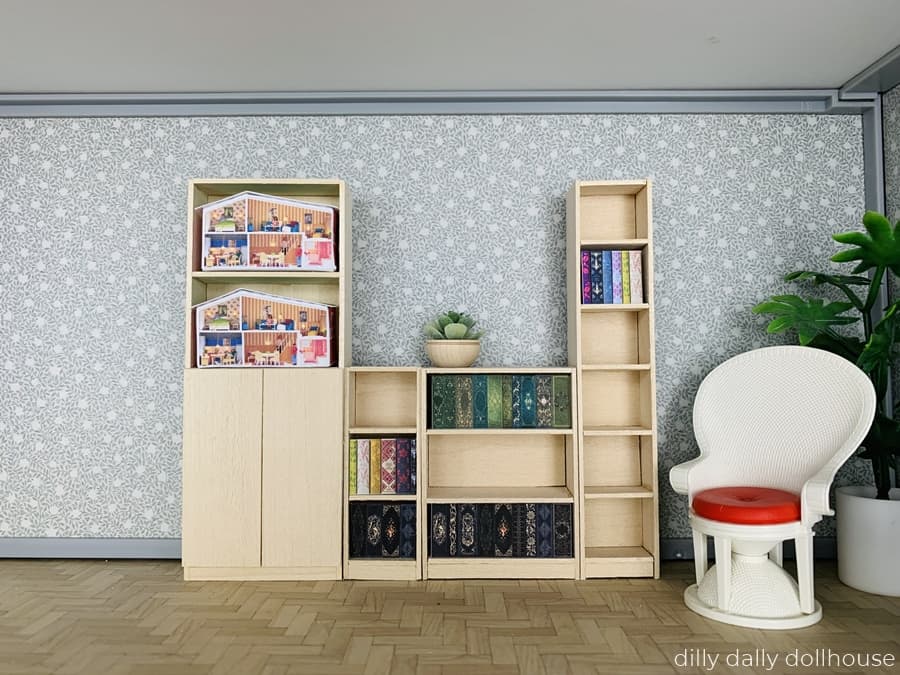
As a Lundby collector, naturally I had to make one to fit a miniature Lundby dollhouse 😊

I love white bookcases with baskets for texture, against a statement wallpaper.

RELATED PROJECTS
Made your own? I’d love to know!
What motivates me the most is seeing you use my tutorials to make your own minis! There are many ways you can share your projects:
- comment below to let me know (or if you have any questions about it–for the benefit of others also!)
- link back to my site or this tutorial,
- tag me on Facebook or Instagram,
- share your version on my Facebook group!

Wau thats amazing. Cool wonderful. Gretting Andrea