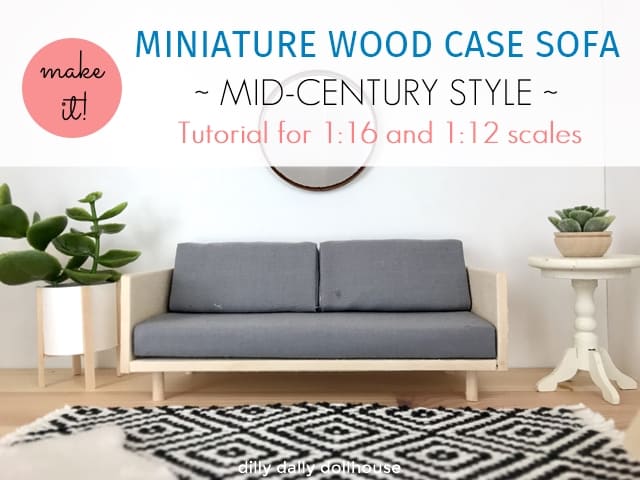
The slat bench needs company, hence this mid-century style miniature wood case sofa. It also doubles as a daybed, when the back cushions are removed. I deliberately chose a simple design as I’m just starting with upholstery and it is scary. Thankfully this one turned out pretty good (i.e. not disastrous), probably because of its simplicity.
The tutorial is kind of long, because there are multiple components to the sofa. We have the frame, the back cushions, and the seat cushions… so many steps. But there are no complicated curves to deal with, and you can totally make the whole thing without any fancy tools or materials.
Let’s get to it!
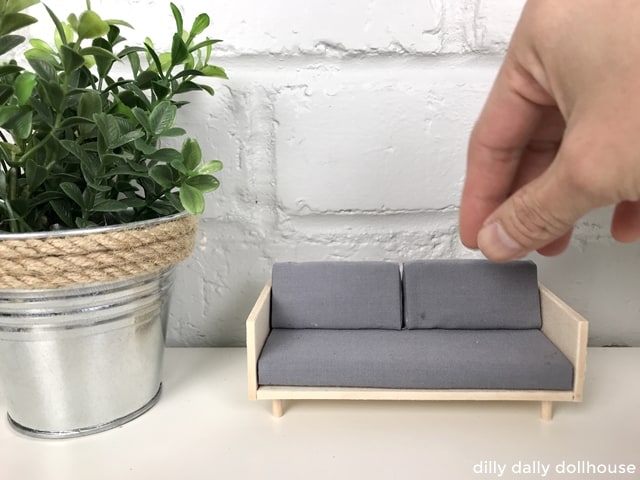
MATERIALS & TOOLS FOR MINIATURE WOOD CASE SOFA
- 1/16″ basswood sheet for the frame
- I recommend MidWest Products basswood sheets in 8″ wide if you can find them (on eBay)
- The sofa frame consists of two layers of 1/16″, to make 1/8″ thickness on each side.
- If you are using materials other than basswood, make the necessary quantities of each shape to achieve 1/8″ thickness on each side.
- 1/8″ round dowel for legs
- Wood glue
- Foam core (the standard 3/16″ thickness)
- Lightweight fabric, about a fat-quarter size (18″ x 22″) should be plenty.
- I use some cheap, plain cotton fabric from my stock.
- Optional: Iron-on veneer to cover the exposed edges
- Cricut Maker or a sharp craft knife plus ruler
- Miter saw or miter shears to cut dowel (make sure the shears are still sharp!)
- Finishing options: stain, primer + paint, varnish or seal
MEASUREMENTS FOR MINIATURE WOOD CASE SOFA
You can download and print the 1:16 and 1:12 scale measurement guides/templates, but keep in mind these are just for the frame (1/16″ basswood or 4-ply matboard). Don’t forget the legs, cushions, and fabrics, all of which are listed below.
These measurement guides are also available as SVG files that you can import into Cricut Design Space or other SVG-compatible die-cut software. You can download the SVG files from the library, under the “SVG files” section. If you are already a subsriber, you can get the password from one of my emails. If you are not a subscriber yet… well, what are you waiting for? Sign up here 🤗 and get access to the library!
Please note that the SVG files already include four holes slightly larger than 1/8″ for inserting the legs. If you cut manually, you can skip these holes or drill it using a 1/8″ drill bit. You can simply glue the legs in place without the holes, though you will need to do additional measuring and straightening.
1:16 scale
- Optional: download the 1:16 measurement guide for the frame
- Frame Base:
- 4-7/8″ x 2-3/16″ for bottom layer
- 4-3/4″ x 2-1/8″ for top layer
- Frame Back
- 4-7/8″ x 1-1/4″ for outer layer
- 4-3/4″ x 1-3/16″ for inner layer
- Frame Sides
- 2-1/4″ x 1-1/4″ for outer layer (cut 2)
- 2-3/16″ x 1-3/16″ for inner layer (cut 2)
- Legs: 4 pieces of 1/2″ long
- Back Cushions:
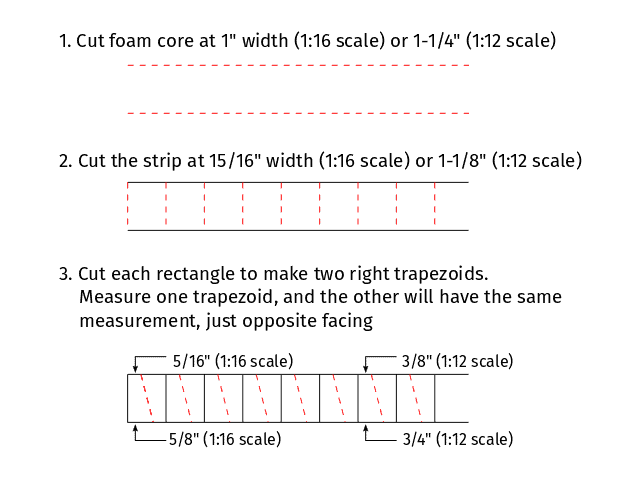
- Foam core: right-trapezoid at 1″ tall and 5/16″ at the top and 5/8″ at the bottom. You may need around 22-24 pieces of these trapezoids. See below for instructions on how to cut the trapezoids efficiently.
- Fabric: two (2) pieces of approximately 5″ x 3-1/2″ each
- Fabric: four (4) pieces of approximately 1-3/4″ x 1-1/4″ each
- Seat Cushion:
- Foam core: two (2) pieces of 4-5/8″ x 2-1/8″
- Fabric: approximately 9-1/2″ x 5-1/2″
- Fabric: two (2) pieces of approximately 2-3/4″ x 1″ each
1:12 scale
- Optional: download the 1:12 measurement guide for the frame
- Frame Base:
- 6-5/8″ x 2-11/16″ for bottom layer
- 6-1/2″ x 2-5/8″ for top layer
- Frame Back
- 6-5/8″ x 1-1/2″ for outer layer
- 6-1/2″ x 1-7/16″ for inner layer
- Frame Sides
- 2-3/4″ x 1-1/2″ for outer layer (cut 2)
- 2-11/16″ x 1-7/16″ for inner layer (cut 2)
- Legs: 4 pieces of 11/16″ long
- Back Cushions:
- Foam core: right-trapezoid at 1-1/4″ tall and 3/8″ at the top and 3/4″ at the bottom. You may need around 32-34 pieces of these trapezoids. See below for instructions on how to cut the trapezoids efficiently.
- Fabric: two (2) pieces of approximately 6″ x 4-1/2″ each
- Fabric: four (4) pieces of approximately 2″ x 1-1/2″ each
- Seat Cushion:
- Foam core: three (3) pieces of 6-3/8″ x 2-9/16″
- Fabric: approximately 13″ x 6-1/2″
- Fabric: two (2) pieces of approximately 3-1/2″ x 1″ each
Tips for cutting the trapezoids for the back cushions:
This chart shows you the steps to cut multiple trapezoids efficiently.
At step 3, after you already have one trapezoid, you can use that one to trace and cut the rest of them.
ASSEMBLY OF THE SOFA FRAME
Step 0: Stain and/or varnish first!
If you plan to stain and/or varnish, do it before assembling. Glue spots prevent stain and varnish from being absorbed by the wood, resulting in splotchy, uneven finish.
Painting or sealing can be done after assembly.
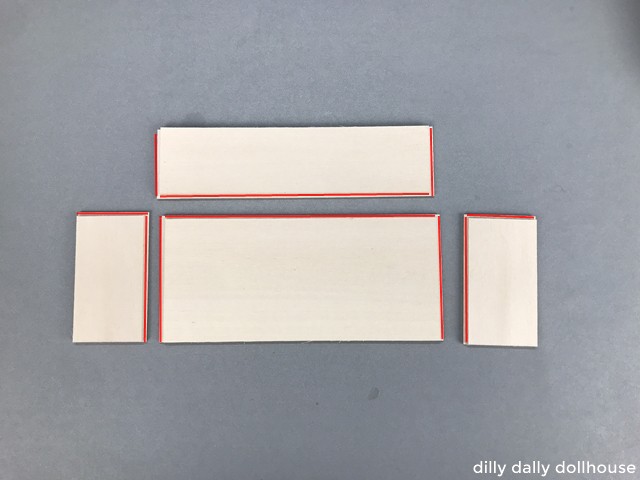
Step 1: Layer all the frame pieces
Glue the two layers of each side of the sofa frame: base, back, and two sides. There is a 1/16″ overlap on some edges. This is designed for “corner lap joint” so that there is more surface for the glue to grip on, resulting a stronger overall piece. The red lines on the picture show where the 1/16″ overlaps are.
Step 2: Attach the back to the base
The back should cover the edges of the base.
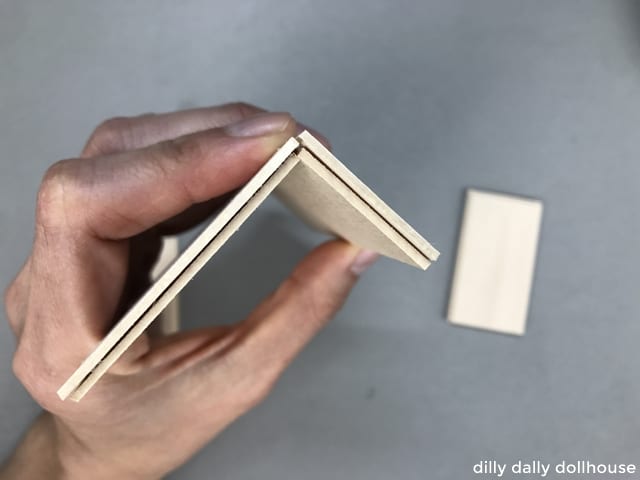
Step 3: Attach the sides to the base and back
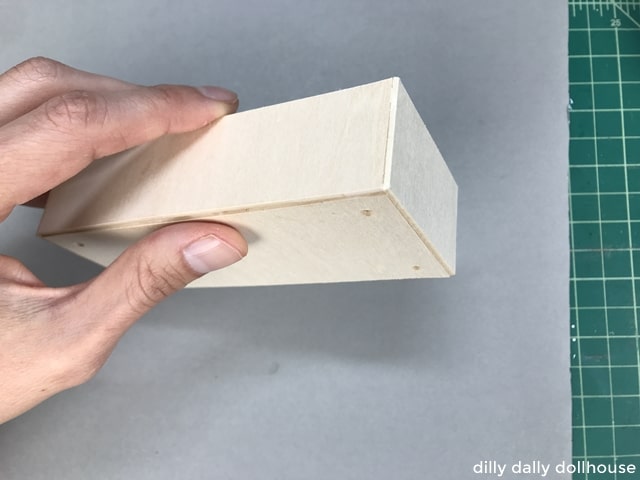
The sides should cover the edges of the base and back. The top of the sides and back should all be at the same height. Make sure all corners are square.
(Pardon the visible cutting mat — picture fail! 😳 )
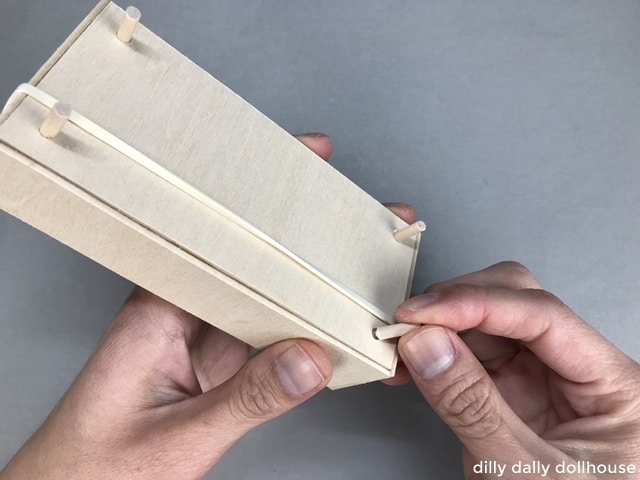
Step 4: Insert the legs
If you skip the leg holes, mark positions of the legs on the underside of the sofa base. Mine are 1/4″ from the edges. Dab a bit of glue at the end of the legs and insert the legs into the holes. Make sure all the legs are straight and even.
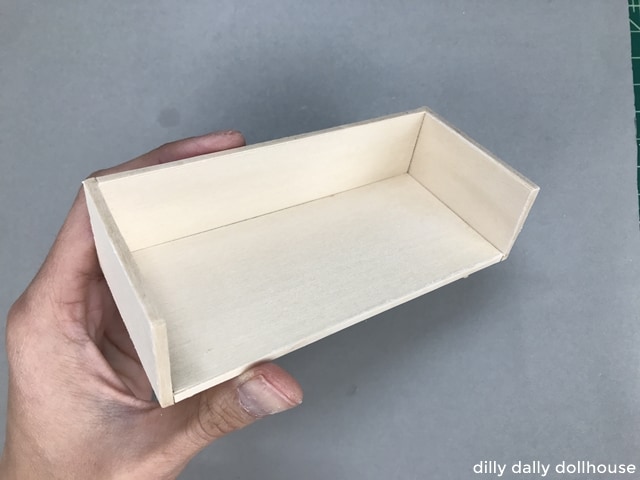
Step 5: (Optional) Cover edges with veneer
If desired, apply 1/8″ strips of iron-on veneer (if using basswood) or cardstock (if using matboard) to cover the edges. This really lifts up the piece to a whole-nother-level.
Step 6: (Optional) Prime, paint, and/or seal
I left my frame unfinished since it’s my favorite look, though I may seal it later with Mod Podge.
ASSEMBLY OF THE CUSHIONS
BACK CUSHIONS
Step 1: Prepare the insert
Glue the trapezoids side by side until you have *almost half* the sofa seat width. You want to have a little wiggle room for the bulk of the fabric. The bulkier the fabric, the more wiggle room you will need.
For 1:16 scale with seat width of 4-3/4″, each back cushion should be just under 2-3/8″ each. I recommend 2-1/4″ and adjust from there. Stack as many trapezoid foam core pieces to get this width, and adjust.
For 1:12 scale with seat width of 6-1/2″, each back cushion should be just under 3-1/4″ each. I recommend 3-1/8″ and adjust from there. Stack as many trapezoid foam core pieces to get this width, and adjust.
Make two of these, and dry fit into the frame. Sand off any bumps and unevenness (I skipped this part and the bumps kind of show through).
Step 2: Cover the sides with fabric
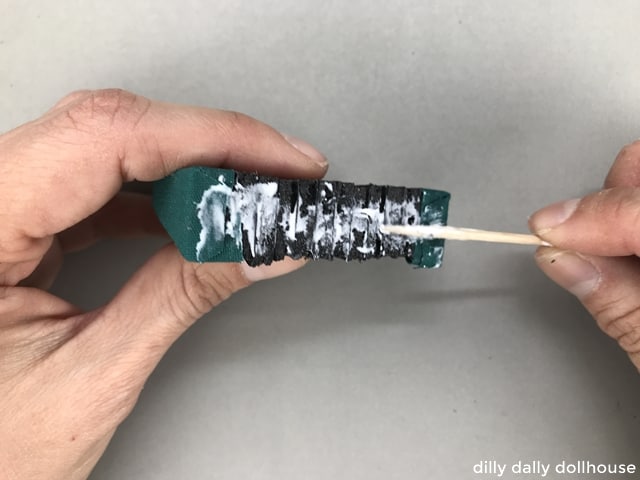
(I took these pictures during a practice run, using green fabric)
Apply glue on the foam core. Attach the fabric on the long sides first, then the shorter sides. Snip off excess fabric at the corners, then flatten to the foam core.
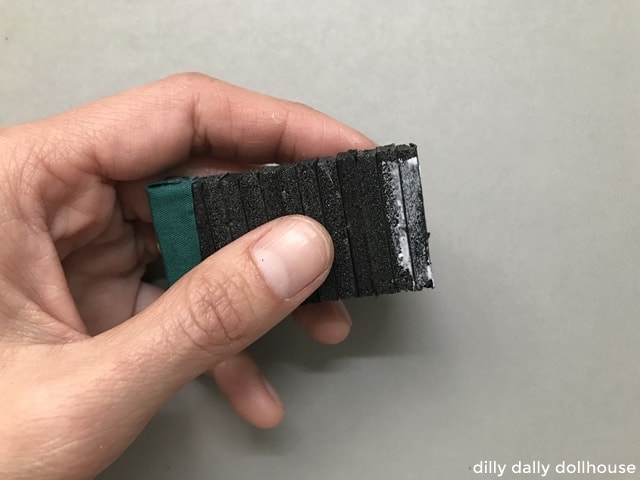
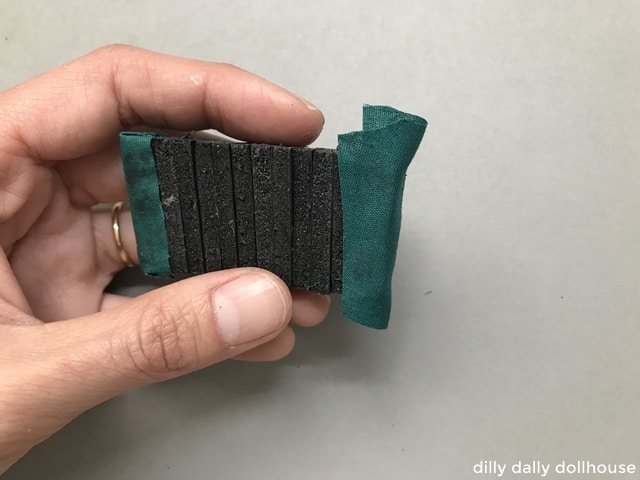
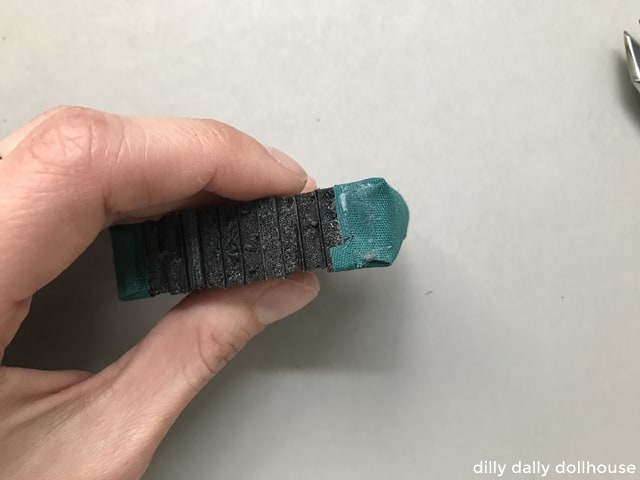
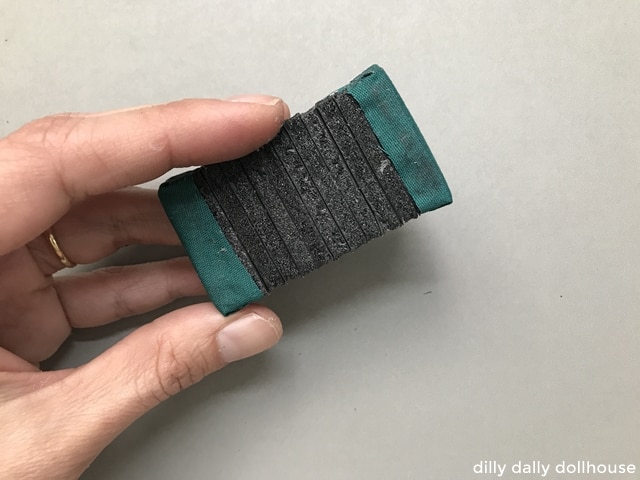
Repeat on the other side, and for the other back cushion
Step 3: Cover the back cushion
Fold the width of the fabric so that the edges meet in the middle. The fabric should span the width of the cushion. Iron the folded fabric to neaten. Then glue the fabric on the foam, making sure the seam ends at the bottom so it won’t be visible.
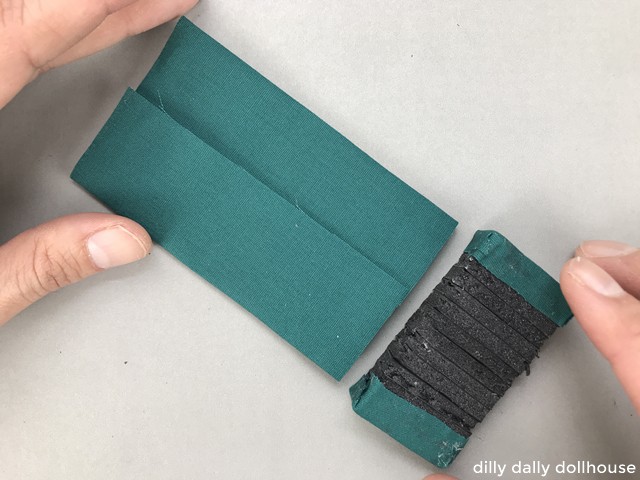
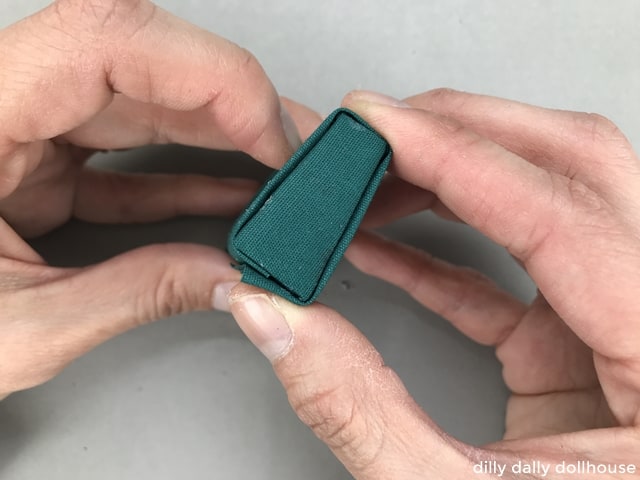
Repeat for the other back cushion.
SEAT CUSHION
Step 1: Prepare the insert
Stack the two foam core rectangles. Dry fit into the frame. Make sure there is about 1/16″ to 1/8″ wiggle room for fabric bulk
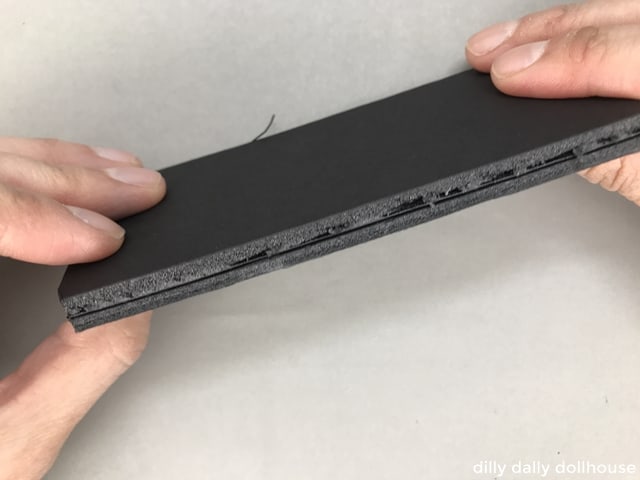
Step 2: Cover the sides with fabric
Following the same method as with the back cushion, wrap the cushion sides with fabric. Apply glue on the foam core. Attach the fabric on the long sides first, then the shorter sides. Snip off excess fabric at the corners, then flatten to the foam core.
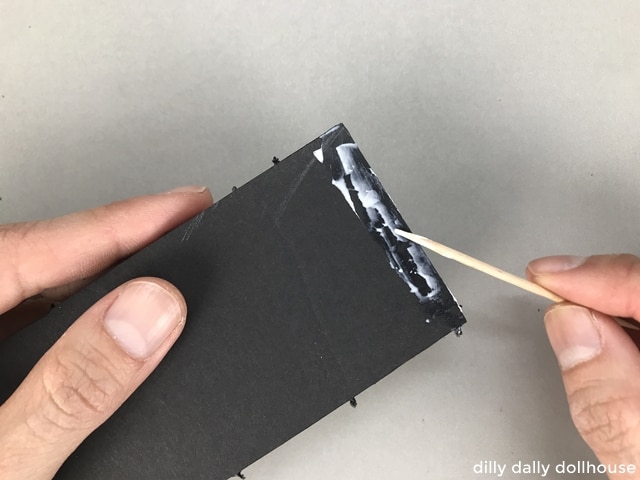
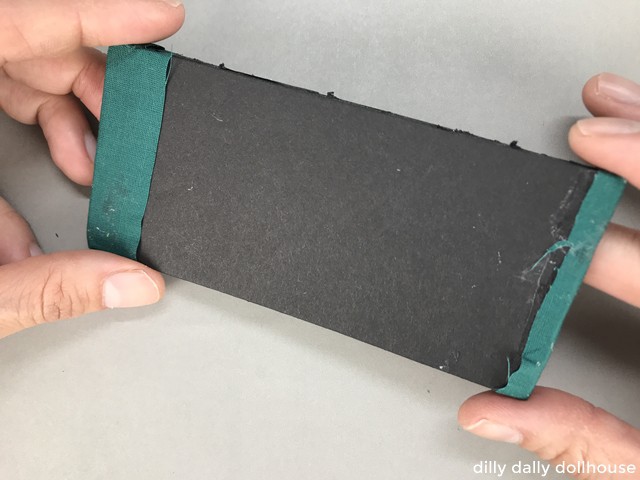
Step 3: Cover the seat cushion
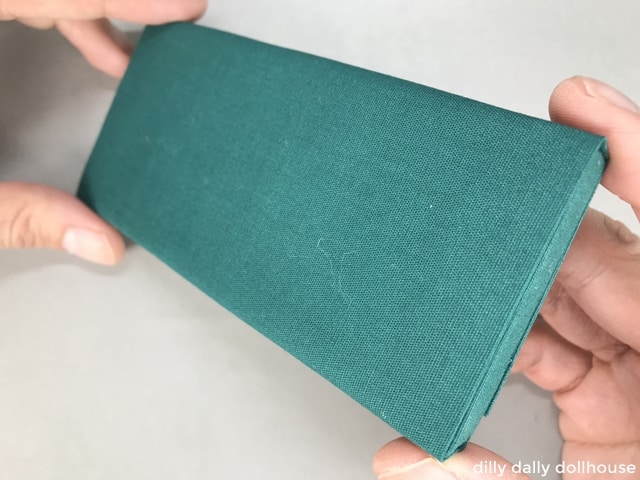
This is also following the same method as the back cushion. Fold the width of the fabric so that the edges meet in the middle. The fabric should span the width of the cushion. Iron the folded fabric to neaten. Then glue the fabric on the foam, making sure the seam ends at the bottom so it won’t be visible.
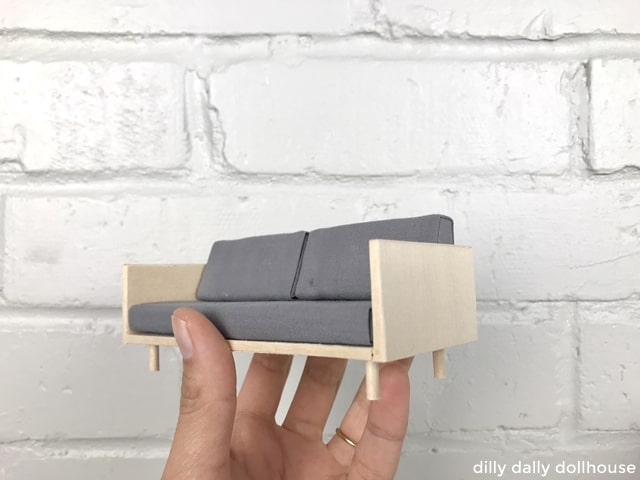
COMPLETE!
My version of the miniature wood case sofa, this one is in 1:16 scale.
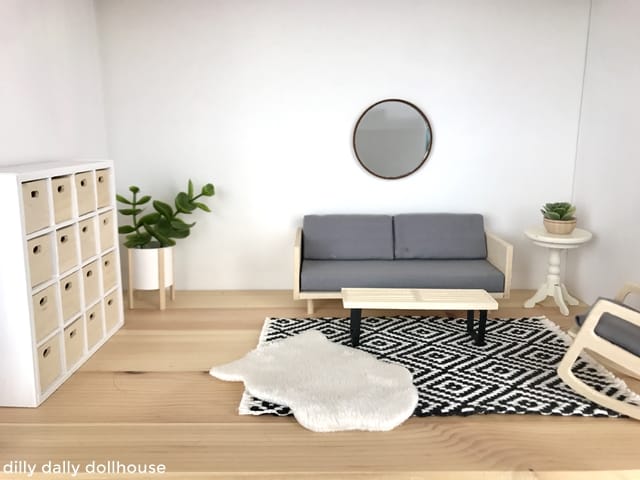
Pictured here with the miniature cube bookcase, slat bench, and partially visible rocking chair. The rugs, mirror, and succulent bowl are sold at my Etsy shop, but I have a printable geometric rug that you can download. And there is also a tutorial to make a similar minimalist mirror with wood frame.
Made your own? I’d love to know!
What motivates me the most is seeing you use my tutorials to make your own minis! There are many ways you can share your projects:
- comment below to let me know (or if you have any questions about it–for the benefit of others also!)
- link back to my site or this tutorial,
- tag me on Facebook or Instagram,
- share your version on my Facebook group!

Hi Rita, I love your style!!! I am looking to make a Barbie-sized sofa (1:6) and I came across your website. Do you think it could work if I doubled the size of the 1:12 pattern?
Thank you so much, Barb! I think most should work if you double up both the size of the pattern, and the material thickness. Then everything will still match, proportionately. For example, this sofa calls for using 1/16″ thickness of material. You will want to use 1/8″ thickness instead. Hope this helps, and let me know if you want to check on any specific ones, just to be sure.
Hi!
Thank you for the amazing tutorial. I’m looking forward the project but I can’t seem to open the 1/16 pattern sheet a second time to download it?
Hi Trang, sorry for the hassle! It may be a browser issue. You could try to right-click on the link, then save-link-as the PDF to somewhere on your computer. Let me know if it still doesn’t work and I can email it to you.
Your sleek modern sofa really completes your room. I had to smile at how clever you are 😉.
Thank you Sherrill 🤗💕 It is starting to come together! Looks like I inadvertently started a living room project 😄