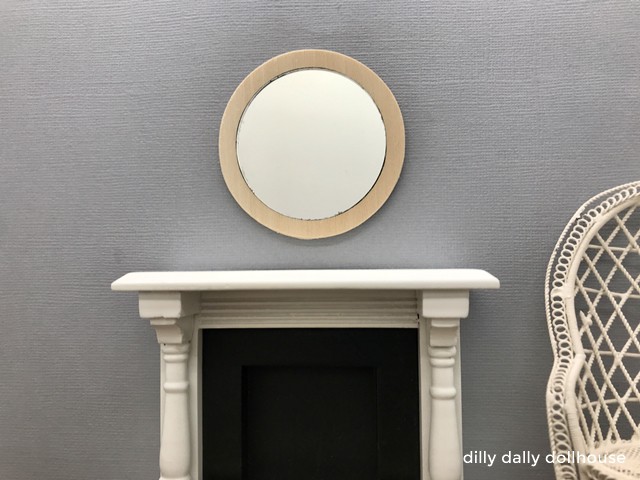
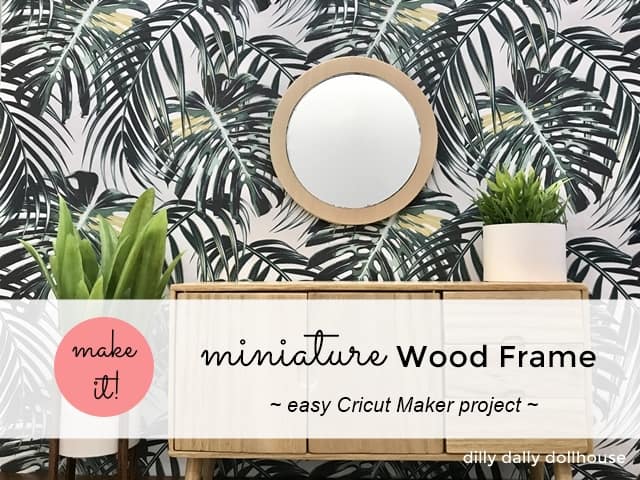
This miniature wood frame is a great beginner’s project if you are new to Cricut. If you’re like me, cutting wood is your least favorite part of making miniatures. It’s so difficult to get a clean cut even on basic circles. This is where a Cricut Maker comes in handy… it cuts simple shapes effortlessly, so we don’t have to spend any!
This tutorial shows you how to make simple designs in Cricut Design Space to create this simple, modern round wood frame. My piece is a 2″ mirror with a 1/4″ border, but you can also use art/pictures instead. Once you get comfortable with the basic functions of Design Space, you’ll find it easy to adjust the measurements to fit your needs. Play around with other shapes as well!
TOOLS & MATERIALS
DESIGN PROCESS
Log into Design Space and click on New Project. You will see a blank Canvas.
Tip: Your best friend on Design Space is the UNDO button. It’s located on the top left corner, just under the Canvas title. Anytime you have an “oops”, just click Undo to go back!
Making the base/backing frame
On the left-hand menu, click on Shapes, and click on Circle. You will see a 3.111″ circle on your Canvas.
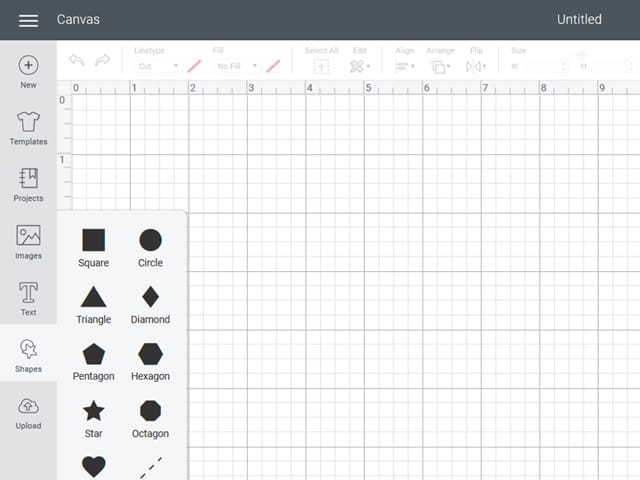
Resize the circle to 2.5″. This gives you a border of 1/4″ or 0.25″ all around. I prefer punching in the exact measurement in the Size field on the upper menu, but you can also click and drag on the shape.
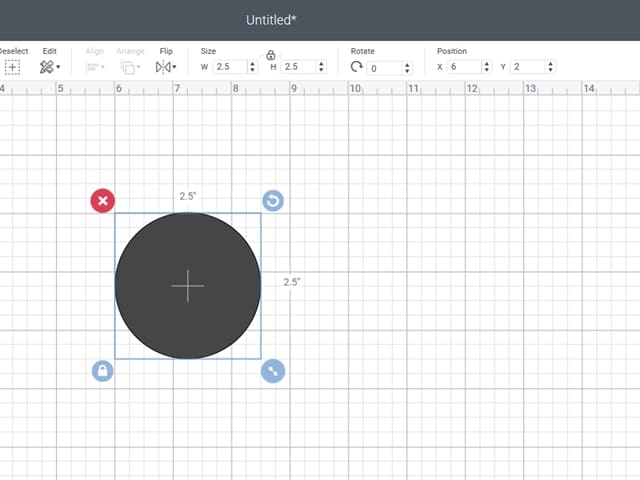
Position the circle to an easy X,Y coordinate. In my example, I use 6,2. Again, I prefer punching in the exact coordinate in the Position field on the upper menu.
Making the border frame
Right click on the 2.5″ circle, and click Duplicate. Position it to an easy coordinate, such as 9,2.
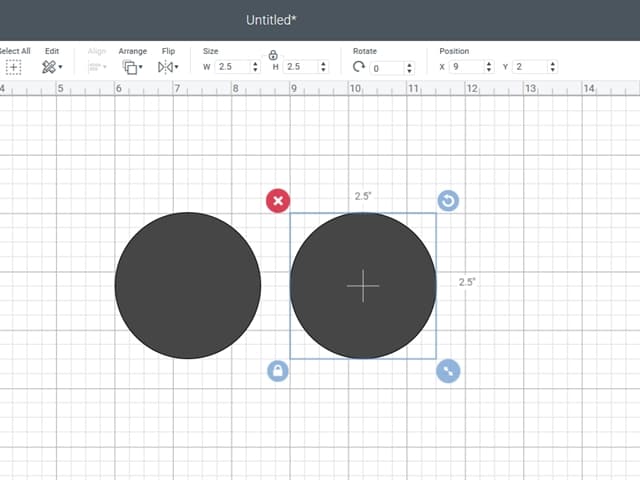
Right click on the 2.5″ circle, and click Duplicate. Resize this circle to 2″, which is the size of the actual mirror.
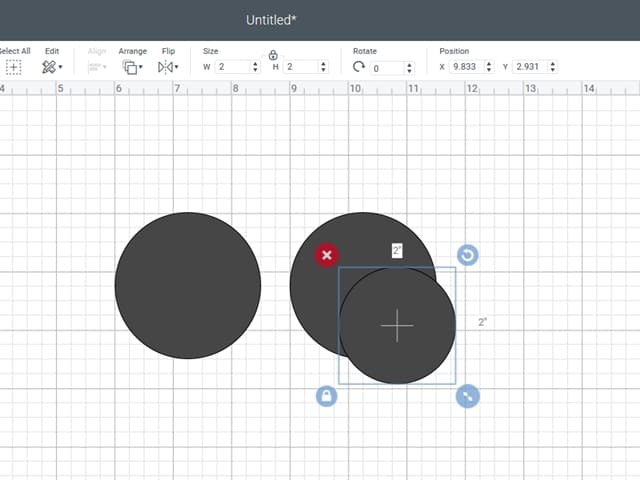
Move the 2″ circle exactly in the middle of the 2.5″ mirror. The easiest to do by adjusting the coordinates by 0.25″. In my example, the coordinate of the 2″ circle is 9.25,2.25.
Highlight/select both circles together….
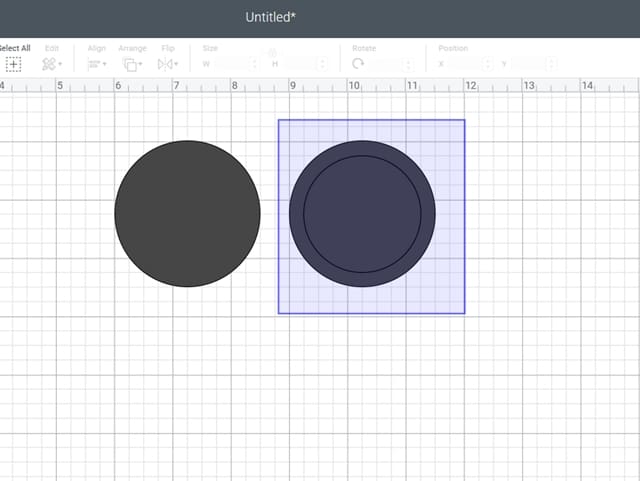
… right click, and click Slice. The Slice function cuts out the shape of the smaller circle on the larger circle.
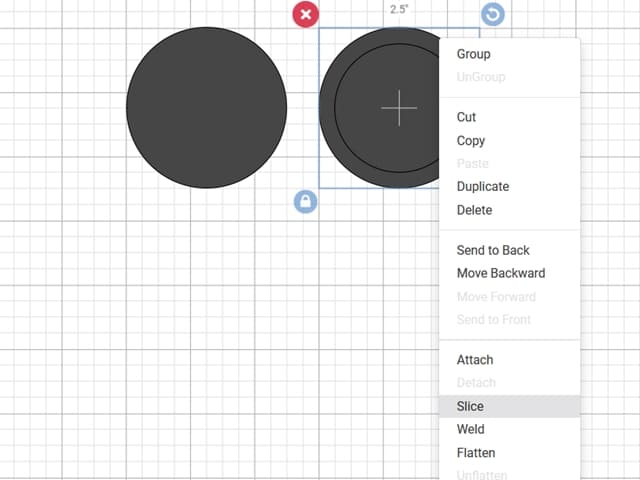
Click and drag out the 2″ circles, two times. You can delete these two 2″ circles.
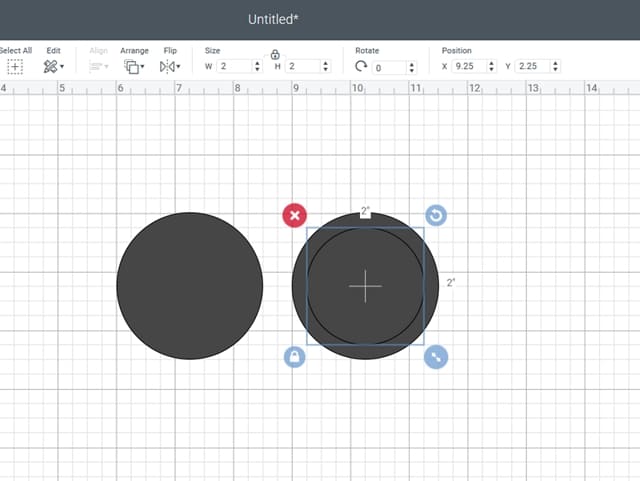
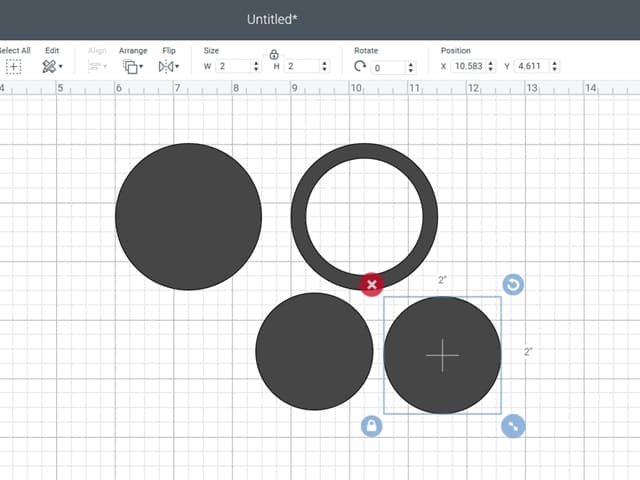
Now you have the base and the frame. You can save your design now.
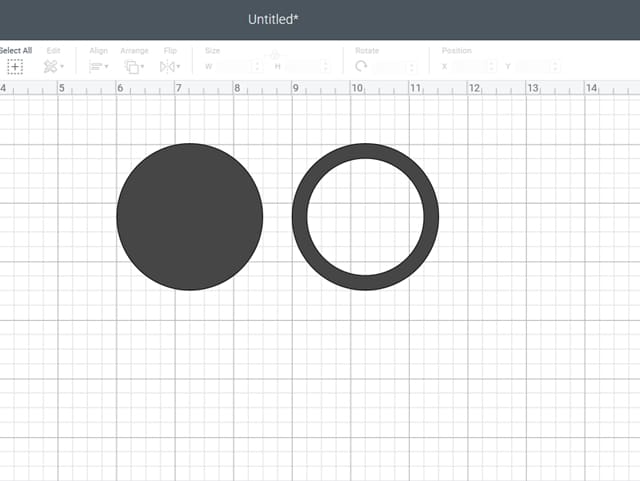
CUTTING
The cutting part is thankfully quite intuitive… just follow the instructions on on Design Space.
After you press Make It, you will be prompted to choose the material size. Pick one that is the closest or slightly smaller than your actual material size. Place your material on the mat and make sure it fits the chosen material size. For basswood, it’s recommended to tape it down to the mat to prevent shifting during cutting.
Press Continue, then choose your material, load up the appropriate blade, load up the mat, then press Cut.
Tip: You don’t necessarily need to watch the whole cutting process, but stay nearby and check periodically. The 1/16″ basswood is set to cut 14 passes, but I start checking at 7 to 8 passes and prepare to stop the cut, as that’s when pieces start coming off the mat. Rarely do I need to go into the 10th pass. If pieces aren’t fully cut, at this point it’s quite easy to finish manually with a craft knife.
When you finish cutting, unload the mat and remove the cut pieces.
ASSEMBLY
Since basswood is weak across the grain, I like to attach the two layers at perpendicular grain direction. This strengthens the piece altogether. Notice how the grain of my border is left-to-right and the grain of the backing is top-to-bottom.
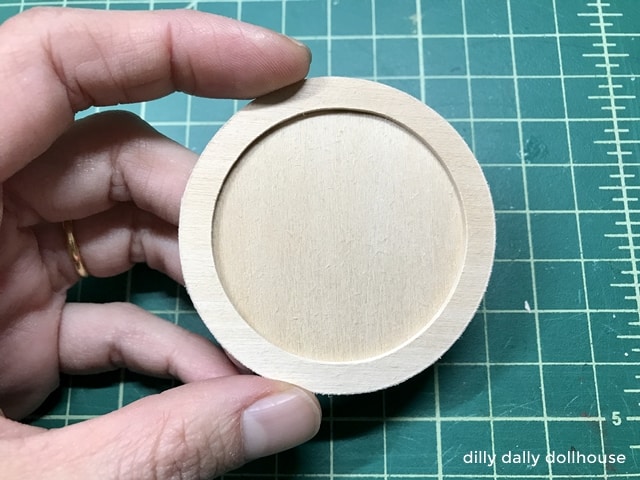
Simply glue the frame to the base. You can prime and paint, or stain, or leave it natural.
Tip: If you stain or leave it natural, I recommend sealing it with Mod Podge (satin or glossy), so that it adheres better to glue dots or removable tacky adhesives. Raw basswood does not stick well to temporary adhesives. Sealing it will also flatten the wood fibers, neatening the appearance.
Then, add in your mirror or picture.
COMPLETE!
I love plants and wood combo, so I usually leave my frame natural or stained. It’s wonderful against my favorite planty wallpaper.
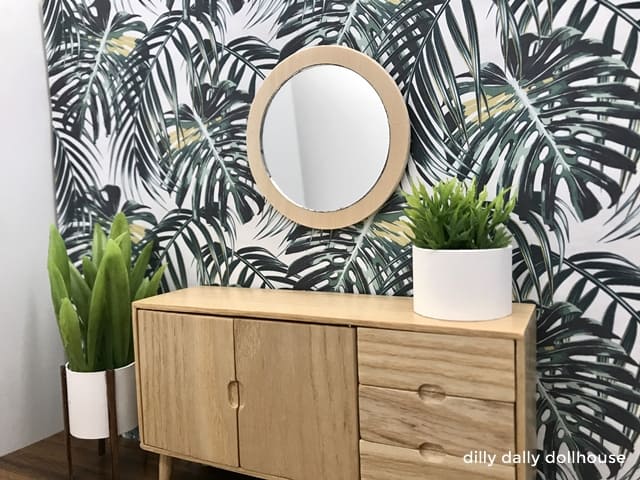
Hope this helps with your explorations of Cricut Maker. It really is an awesome tool… we can now make miniature pieces that are otherwise impossible or daunting to do. I know I wouldn’t even attempt to make a nice circle shape like this without it.

Thank you for this. I am thinking I want to purchase a CM next month and am looking at different free templates to get an idea of what I can do. Your instructions were very clear and helpful
Thank you, Elizabeth, and have fun!