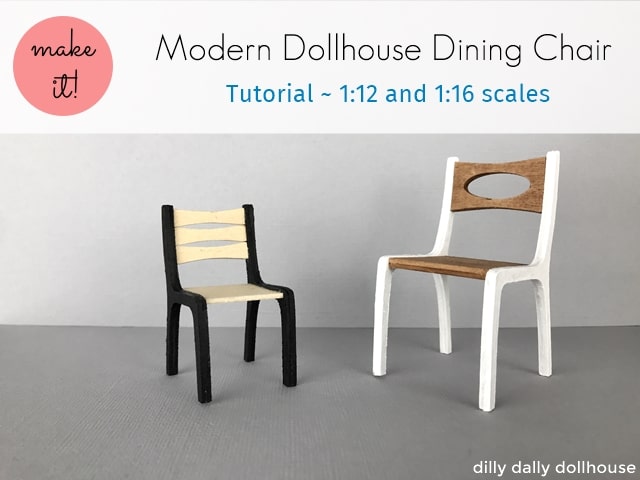
This modern dollhouse dining chair is a great accompaniment to my previous table and bench! Make two (or four!) to make a complete dining set.
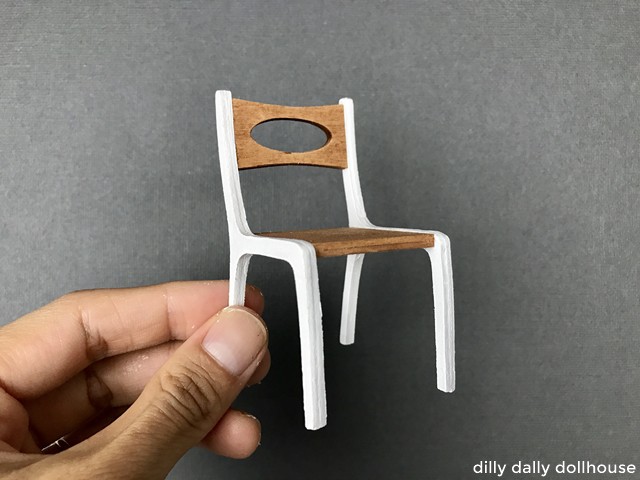
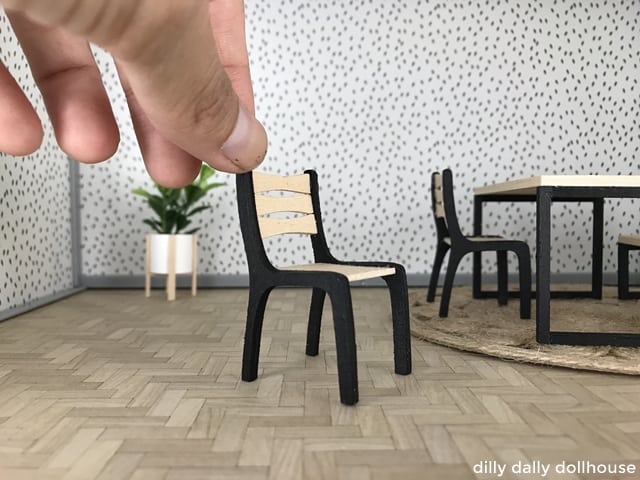
The design of this chair is quite simple so it works with many decorating style. Your chosen paint or stain color will determine how they fit in your overall decor. My 1:16 scale in black and blond wood feels a bit Scandi-industrial, while the 1:12 scale in white and stained wood is more farmhouse-inspired.
This tutorial is for how to make this modern dollhouse dining chair using 1/16″ basswood with Cricut Maker. Though you can always use a different machine… simply change the material accordingly and add/reduce the number of layers as needed.
I made a little time-lapse video of the assembly! You can watch it below or on YouTube 🤗
DESIGN NOTES FOR MODERN DOLLHOUSE DINING CHAIR
I designed the chair to work with both 1/16″ or 1/8″ materials, since some of you may use a laser cutter and probably use 1/8″ plywood or MDF. I don’t have a laser cutter (as of this post date), but I tested it by double-layering 1/16″ basswood and it turned out great! See the 1:12 scale version (the white/stain one) where the sides, seat, and back are double layers, making them 1/8″ thick.
The seat back has a slight curve on profile view. I included a few seat back options that work with it.
The SVG files are available to purchase from my Etsy shop! 🤗
- SVG file for modern dollhouse dining chair in 1:12 scale
- SVG file for modern dollhouse dining chair in 1:16 scale
Love free stuff? The Resource Library is where I keep my digital freebies… such as SVG cut files, dollhouse printables, and other miniature templates. It’s my thank you gift to my email subscribers! If you’re already a subscriber, you can refer to my latest email for the library password. Not a subcriber yet? You can sign up for free here!
TOOLS & MATERIALS TO MAKE MODERN DOLLHOUSE DINING CHAIR
I use my Cricut Maker to cut basswood, and here’s the list of my recommended materials:
- Cricut Maker, Purple StrongGrip Mat, Knife blade
- 1/16″ basswood sheet
- Wood glue
- Paint and/or stain
Cutting List for Cricut with 1/16″ (1,5mm) basswood
- Chair sides: cut 4 pieces with the following grain orientation:
- 2 pieces along the grain
- 2 pieces across the grain
- Chair seat: cut 1 or 2 pieces, depending on your preference.
- Chair back: cut 1 or 2 pieces/sets, depending on your preference.
Cutting List for Laser-Cutter with 1/8″ (3mm) plywood
- Chair sides: cut 2 pieces
- Chair seat: cut 1 piece
- Chair back: cut 1 piece
IMPORTING THE SVG FILES INTO CRICUT DESIGN SPACE
To import the SVG file into Cricut Design Space, head on to this post or watch this video on YouTube.
CRICUT CUTTING NOTES
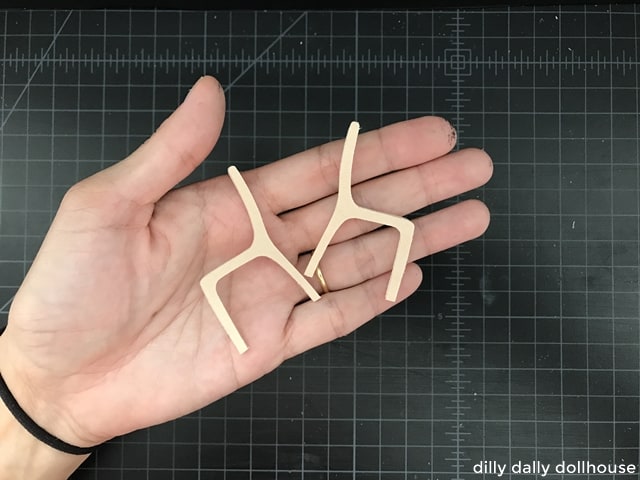
When making chairs from 1/16″ basswood, I like to double layer the chair sides at perpendicular grain directions. I laid out the SVG elements this way as well: two pieces vertical, and two pieces horizontal.
After all the pieces are cut, I take one vertical plus one horizontal, and glue them together to make one chair side. And I do the same for the other chair side. I make sure to mirror the position so that the visible outside part show the same grain direction. For my chairs, I chose the vertical grain to be on the outside layer.
The reason to do this is to strengthen the basswood so it doesn’t bend and break easily.
ASSEMBLING THE MODERN DOLLHOUSE DINING CHAIR
Step 1: Sand and (optional) stain
Sand all pieces gently to smooth out and straighten the edges. If you plan to stain, do it now, before gluing. Glue prevents stain from being absorbed, so it would result in blotchy, uneven color.
Step 2: Assemble the chair sides
Take one vertical plus one horizontal chair side pieces, and glue them together to make one chair side. Repeat for the other chair side. Make sure to have the same grain direction showing on the outside, for best result. Sand gently some more to blend the edges.
Step 3: Paint the chair sides (optional)
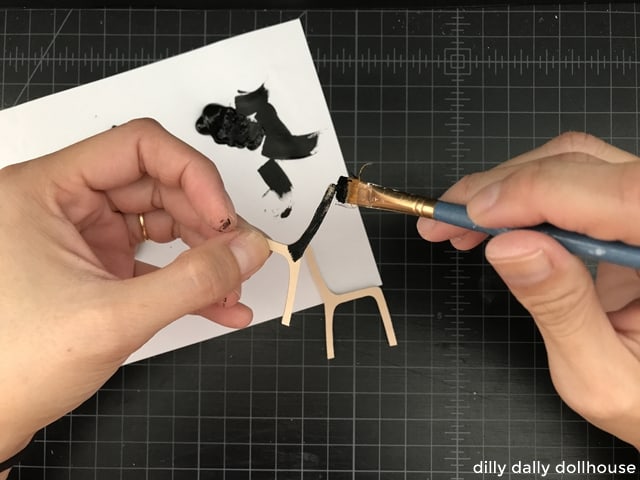
If you are painting the chair sides like I did, do it at this step.
Step 4: Attach the chair seat and back
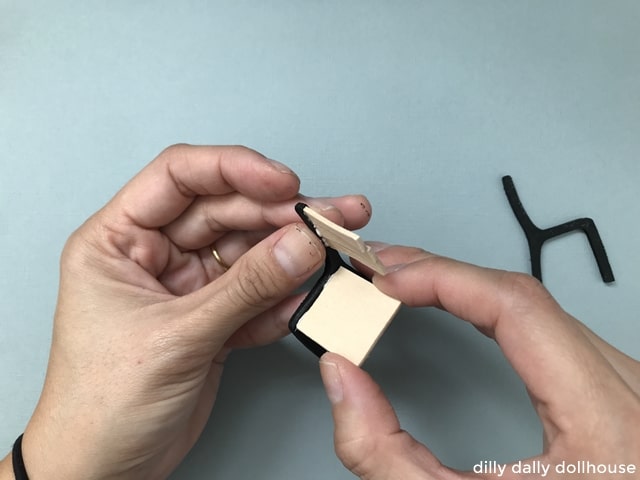
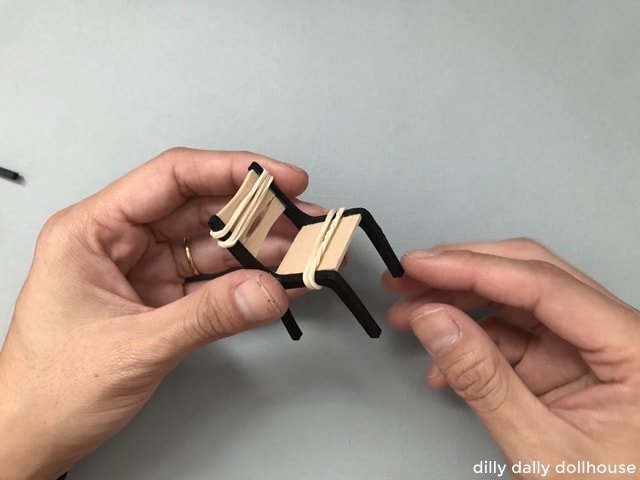
Sand the edges of the chair seat and back so they are straight, and attach to the chair sides using wood glue. While the glue is setting, align the seat and back nicely. Then secure gently with rubber bands while the glue dries.
COMPLETE!
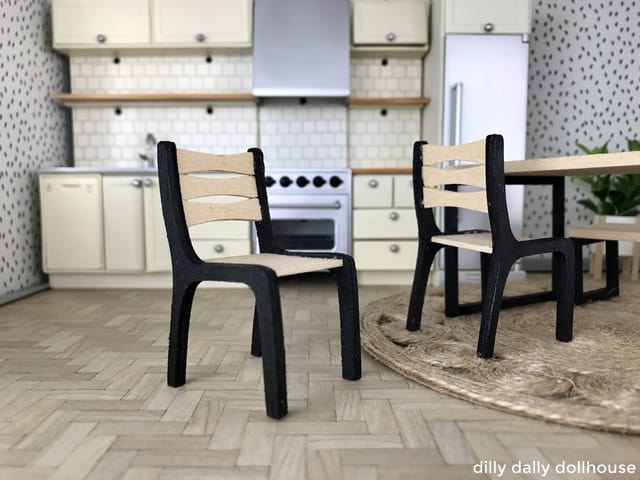
Here’s my completed 1:16 version in a kitchen scene. And here’s the tutorial for the table and bench!
Made your own? I’d love to know!
What motivates me the most is seeing you use my tutorials to make your own minis! There are many ways you can share your projects:
- comment below to let me know (or if you have any questions about it–for the benefit of others also!)
- link back to my site or this tutorial,
- tag me on Facebook or Instagram,
- share your version on my Facebook group!

The chair looks great and very much in style with the rest of the furniture. My problem is that I don’t have a Cricut. Thank you for the tutorial, even when I don’t use them I love seeing how things are done.
Thank you Drora! ❤
The Cricut thing for me started because the ready-made miniature pieces out there are either expensive or not quite my taste. It may be worth it if you’re in the same boat 🙂