
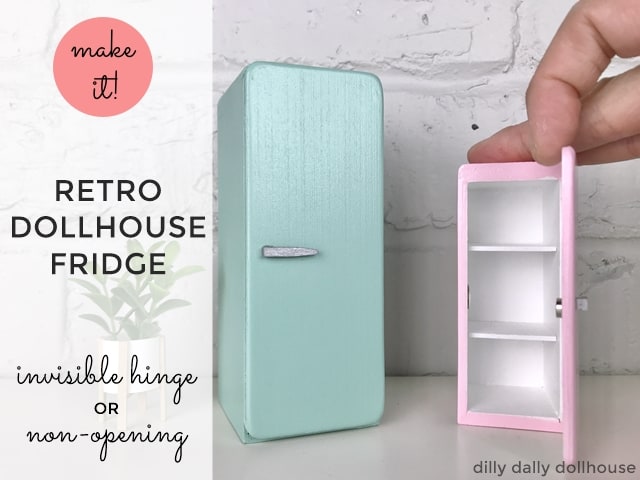
How cute is this retro dollhouse fridge? It features an invisible hinge that can be placed on the left or right. You can also make it with a non-working door (so much easier, that way!). Paint it pastel colors to highlight its retro-ness, or go modern with bright, saturated color, or good ol’ classic white!
I included a video tutorial for the assembly… keep scrolling down!
DESIGN NOTES FOR RETRO DOLLHOUSE FRIDGE
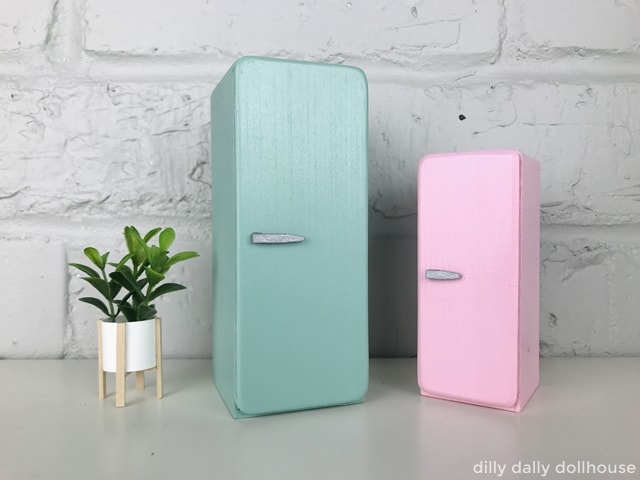
This refrigerator is a small, compact one. In a 1:1 equivalent, it would stand about 60″ tall by 24″ wide by 24″ deep (counter depth).
If you prefer quick and easy, make it with non-opening door, and you can have it done in no time!
The SVG files are available on my Etsy shop:
- SVG file for Retro Dollhouse Fridge in 1:12 scale
- SVG file for Retro Dollhouse Fridge in 1:16 (Lundby) scale
TOOLS & MATERIALS TO MAKE RETRO DOLLHOUSE FRIDGE
I use my Cricut Maker to cut basswood, and here is my recommended tools and materials:
- Cricut Maker, Purple StrongGrip Mat, Knife blade
- 1/16″ basswood sheet (see cutting list below)
- Wood glue
- Sandpaper in various grits (I used 60 for rounding off edges, 150 and 220 for smoothing, and 400 before the final coat of paint)
- Gloss paints
- if you are painting the inside a different color, I recommend painting with a brush for better precision.
- Additional items for Fridge with working door:
- Strip of thin fabric, about 5/8 inches wide (around 15mm)
- Metal thumbtack, cut off the pin part.
- Small magnet(s). I have this set and used the smallest ones.
- Super glue
Cutting List for Fridge with Invisible Hinge
The SVG file includes only one (1) of each piece, so be sure to make the necessary duplicates
- 1 piece of Door1
- 1 piece of Door2
- 2 pieces of Side1
- 2 pieces of Side2
- 1 piece of Back
- 3 pieces of Top1
- 3 pieces of Top2/Bottom1 (they have the same measurements)
- 1 piece for Top1
- 2 pieces for Bottom2
- 1 piece of Bottom2
- 2 pieces of Shelf
- For the handle: 1/16″ by 1/8″ basswood stick
Cutting List for Fridge with Non-working Door
The SVG file includes only one (1) of each piece, so be sure to make the necessary duplicates
- 2 pieces of Door1
- 2 pieces of Side1
- 1 piece of Back
- 3 pieces of Top1
- 2 pieces of Bottom1
- For the handle: 1/16″ by 1/8″ basswood stick
Alternative Materials
In theory, you can also use matboard or heavy chipboard to make the body of the retro dollhouse fridge. Both of these materials are about 1/16″ thick. However, the Top1 and Door1 pieces should still be cut from basswood or other sandable material, so you can sand off the edges to get the rounded shape.
IMPORTING THE SVG FILES INTO CRICUT DESIGN SPACE
To import the SVG file into Cricut Design Space, head on to this post or watch this video on YouTube.
ASSEMBLING THE RETRO DOLLHOUSE FRIDGE
I made a video overview of the assembly, which you can watch here or on YouTube. The assembly notes below also have some more details, so I think it’s helpful to read them also. And, if you’re making the non-working option, I noted the adjustments below.
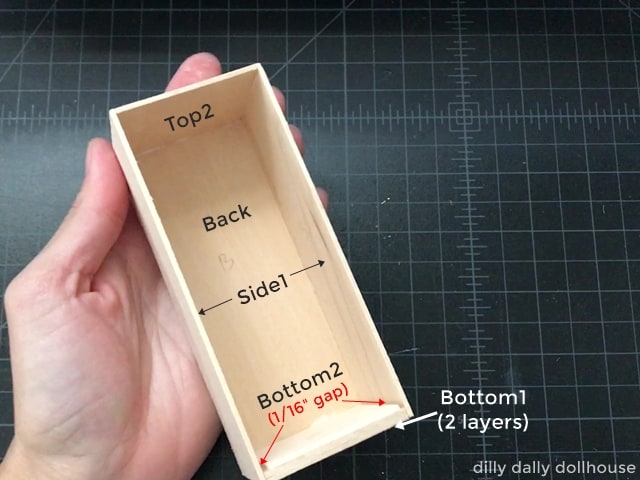
Step 1: Cut and label all pieces
Use a pencil, so the markings can be erased or covered easily with paint. Sand all edges so they’re even.
Step 2: Glue the top and bottom layers
Glue the 3 pieces of Top1. This goes on the top of the fridge and will be sanded to round off the edges.
Then, glue the 2 pieces Bottom1.
(If you’re making a non-working door, you can skip this next part) Glue the Bottom2 piece on top of Bottom1, making sure there is a 1/16″ lip/gap on both sides.
Step 3: Assemble the fridge body
Glue the Side1 pieces to the Bottom piece. Next, glue the Back piece. Then, glue the Top2 piece. Make sure everything is squared.
Step 4: Attach the top
Glue the 3 layers of Top1 to the top of the fridge. Clamp if needed, to eliminate any gaps.
If you are making a non-working door, you can simply attach the 2 layers of Door1 pieces to the body, then skip to step 9.
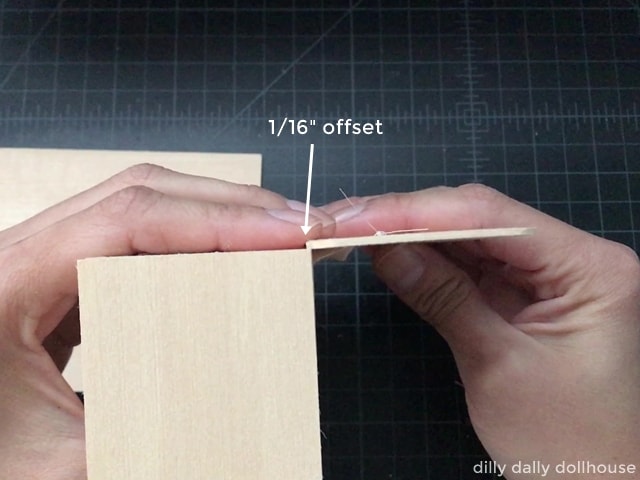
Step 5: Attach the fabric hinge
Decide where you want the hinge (left or right). Glue a strip of fabric to the side of the fridge, and make sure it’s really flat (no bunching or folds).
Then, take the Door1 piece and place it at 1/16″ (1,5mm) offset from the fridge side. You can achieve this by propping the fridge on its side on top of a 1/16″ material, and lay the Door1 piece flat on the table. Make sure the top of Door1 is aligned to the top of the fridge.
Glue the fabric to the Door1 piece. Make sure the door is aligned to the body at the top.

Step 6: Attach the Door2 piece
Glue the Door2 piece to the Door1 piece, making sure they’re aligned at the outer edges.
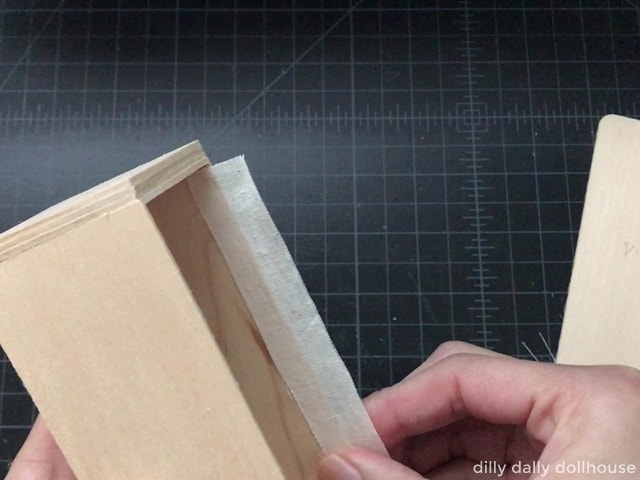
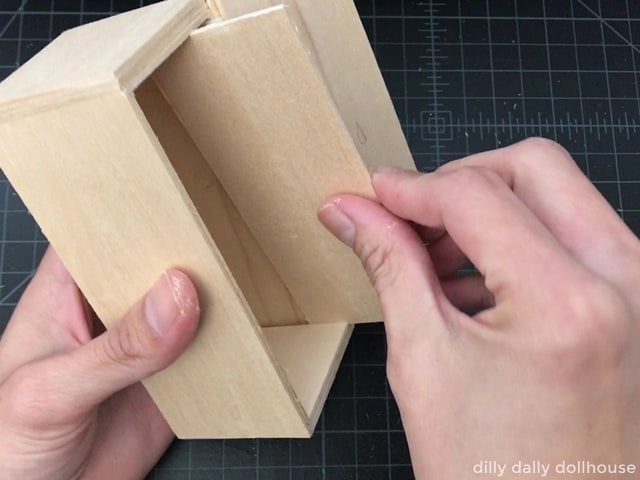
Step 7: Attach the Side2 pieces
Sand off the Side2 pieces a little bit at the top, to make it fit easier. Then, glue them in place. Clamp tightly to minimize gaps.
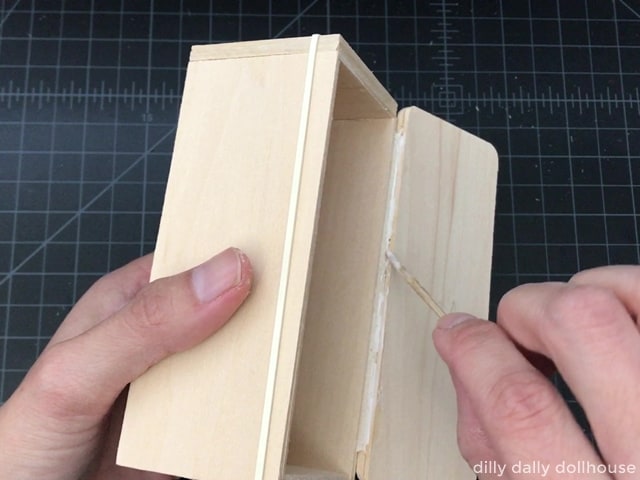
Step 8: Secure the hinge to the door.
Glue the inner edge of Door2 to the fabric, and press it from the outside as well. This will secure the hinge to the door, and prevent it from flapping around.
Step 9: Secure with rubber bands
Make sure everything is square and secure with rubber bands, while the glue is drying.
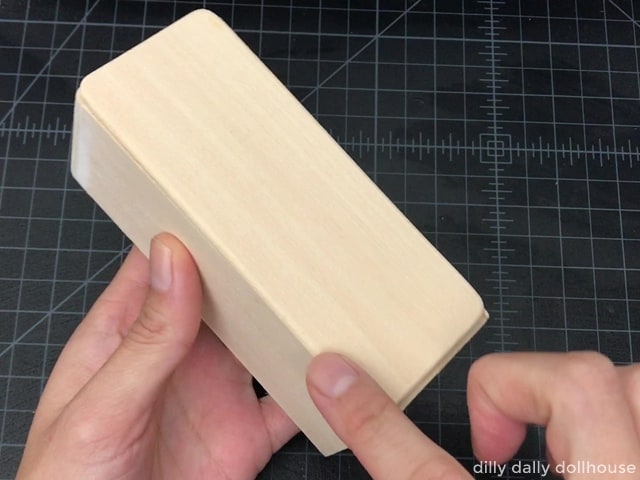
Step 10: Sand the top
Round off the top edge of the fridge to follow the shape of the door. I use a coarse (60) grit sandpaper first, followed by 150 and 220. If necessary, add spackle or wood filler to smooth out the edges.

Step 11: Sand the door edges
Sand the door edges to round them off.
Step 12: Paint!
Paint the outside and inside of the fridge. Don’t forget the shelves!
If you are making a non-working door, you can skip to step 15.
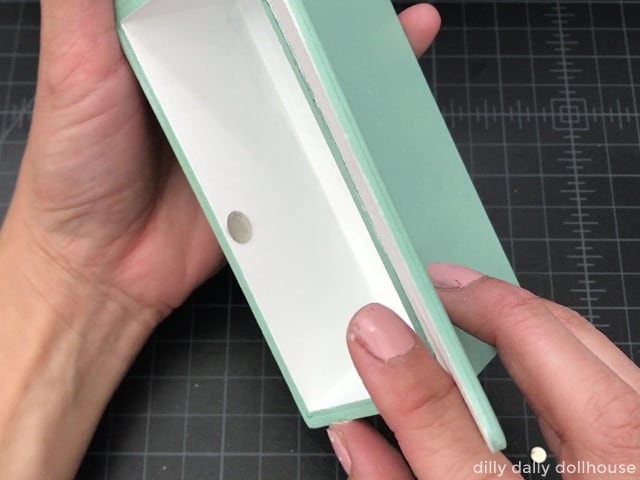
Step 13: Attach the thumbtack
Cut off the pin of a metal thumbtack. Then, glue the thumbtack to the side of the fridge.
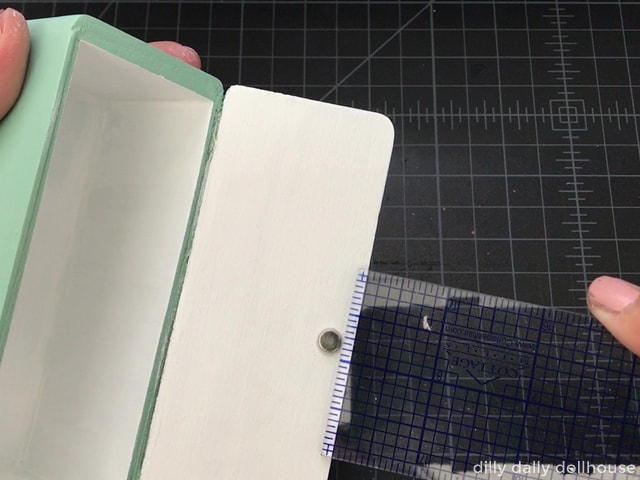
Step 14: Attach the magnet
Using superglue, attach the magnet to the inside door, aligning it with the thumbtack. Make sure the magnet sits 1/8″ away from the door edge, to accommodate the width of the fridge side. You can strengthen the magnet by using 2 of them.
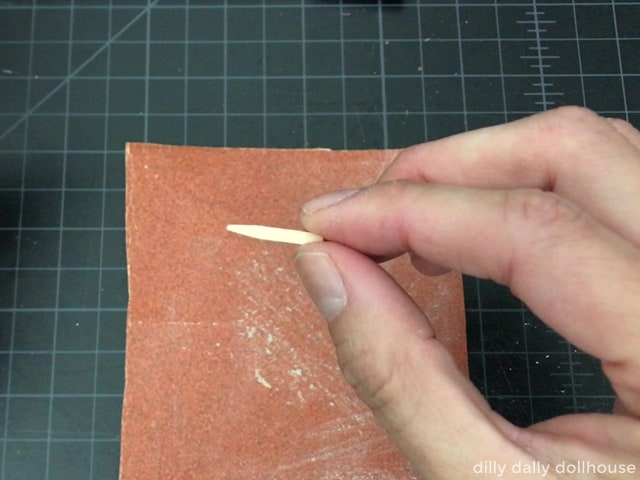
Step 15: Attach the handle
For the handle, cut a 1/16″ by 1/8″ basswood stick to length.
- For 1:12, I cut at 3/4″
- For 1:16, I cut at 1/2″
Shape it by sanding.
You can also add a small 1/8″ square under the handle. Paint it silver and attach to the fridge door.

COMPLETE!
Be sure to check out these other kitchen tutorials:
- Retro dollhouse stove with working door option
- Dollhouse kitchen sink cabinet with farmhouse-style apron sink
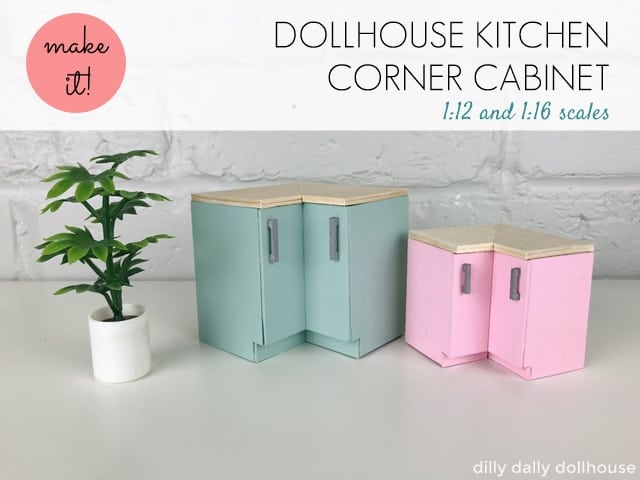
- Dollhouse kitchen corner cabinet
- Dollhouse kitchen lower cabinet
RELATED PROJECTS


Made your own? I’d love to know!
What motivates me the most is seeing you use my tutorials to make your own minis! There are many ways you can share your projects:
- comment below to let me know (or if you have any questions about it–for the benefit of others also!)
- link back to my site or this tutorial,
- tag me on Facebook or Instagram,
- share your version on my Facebook group!
Love free stuff? The Resource Library is where I keep my digital freebies… such as SVG cut files, dollhouse printables, and other miniature templates. It’s my thank you gift to my email subscribers! If you’re already a subscriber, you can refer to my latest email for the library password. Not a subcriber yet? You can sign up for free here!
I wish you offered the patterns as PDF. I prefer to cut by hand and work in chipboard and mat-board.
Good news, Grimm! All my SVG’s have the PDF version as well!
I’m really happy that you have files in 1:16. I have a Tri-ang dollhouse and an Amersham (sp?) dollhouse that are both 1:16 that I will need furniture to fill. Being able to buy SVGs or download the free ones from you for them is just great!
Marilyn
I’m glad, Marilyn! There aren’t as many resources out there for 1:16, so if I can offer something, that’s something, right? 😁