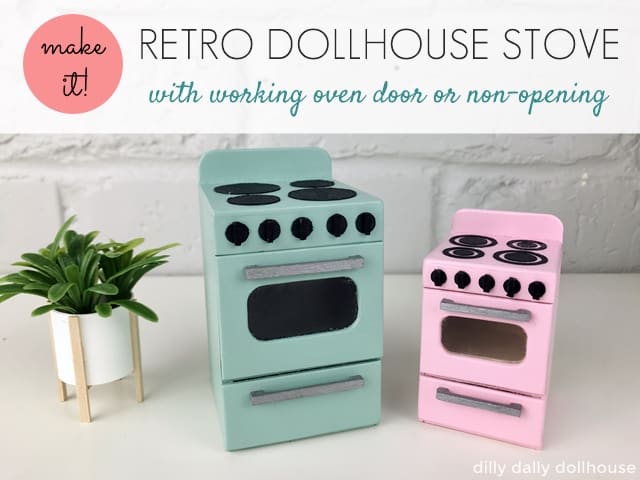
I started working on this retro dollhouse stove before the fridge fully finished. A stove is the ultimate kitchen appliance! If you have no stove, you have no kitchen, just a glorified pantry. So don’t wait any longer, make this stove! Or at least move it to the top of your project list ☺
The retro stove is customizable in many ways!
- Make opening or non-working oven door
- Choose window or non-window oven door
- Put on “electric” burners (a circle with scored “spirals”) or “Gas” burners
- Use the optional backsplash
- Keep the control panel (knobs) at the front, or move them to the backsplash
If you want easy, I recommend making the non-working oven door with no-window.
I made mine with 1/16″ basswood, but you can also use matboard or heavy chipboard (they’re about the same thickness).
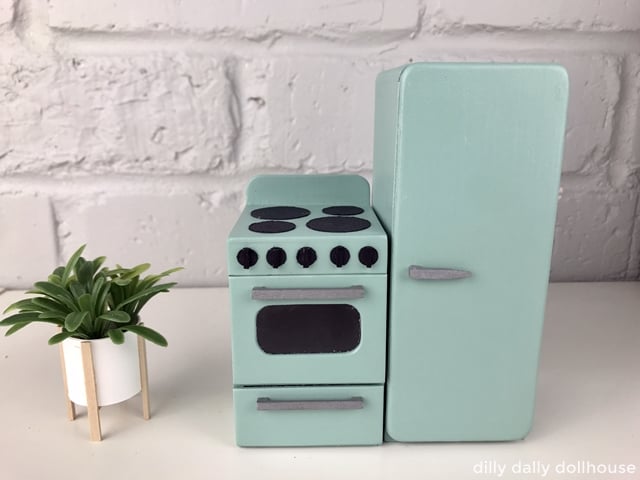
DESIGN NOTES FOR RETRO DOLLHOUSE STOVE
This stove is a nice, compact one. In a 1:1 equivalent, it is about 24″ wide. Trust me, your dollhouse inhabitants don’t need a 6-burner commercial-grade stove 😜.
The SVG files are available on my Etsy shop:
- SVG file for Retro Dollhouse Stove in 1:12 scale
- SVG file for Retro Dollhouse Stove in 1:16 Lundby scale
IMPORTING THE SVG FILES INTO CRICUT DESIGN SPACE
To import the SVG file into Cricut Design Space, head on to this post or watch this video on YouTube.
TOOLS & MATERIALS TO MAKE RETRO DOLLHOUSE STOVE
I use my Cricut Maker to cut basswood, and here is my recommended tools and materials:
- Cricut Maker, Purple StrongGrip Mat, Knife blade
- 1/16″ basswood sheet (see cutting list below)
- Wood glue
- Sandpaper in various grits
- Gloss paints
- Thin basswood sticks for handles and knobs
- Black cardstock for the burners and knobs
- A strip of thin fabric for the hinge, about 1/2 inches wide (around 10-12 mm)
- For oven door with window: a piece of plastic sheet or vellum paper (I use leftover plastic food container)
Cutting List for Stove with Working Oven Door
- 2 pieces of Side
- 1 piece of Back
- 2 pieces of Bottom/Divider1 (they are both the same size)
- 1 piece for Bottom
- 1 piece for Divider1
- 1 piece of Top
- 2 pieces of Side C
- 1 piece of each front panels: A, B1, C
- B1 can have a window or none
- 1 piece of Divider2
- 1 piece of B2
- B2 can have a window or none
- Optional: 1 piece of Backsplash
- 4 pieces of Burners (cardstock) – see this video on how to change a cut line into a score line
- 5 pieces of Knobs (cardstock)
Cutting List for Stove with Non-working Oven Door
- 2 pieces of Side
- 1 piece of Back
- 2 pieces of Bottom/Divider1 (they are both the same size)
- 1 piece for Bottom
- 1 piece for Divider1
- 1 piece of Top
- 2 pieces of Side C
- 1 piece of each front panels: A, B1, C
- Optional: 1 piece of Backsplash
- 4 pieces of Burners (cardstock) – see this video on how to change a cut line into a score line
- 5 pieces of Knobs (cardstock)
ASSEMBLING THE RETRO DOLLHOUSE STOVE
I made a video overview of the assembly, which you can watch here or on YouTube. I recommend you watch it to get a feel of the whole process!
The assembly notes below have some more details, so I think it’s helpful to read them also. And, if you’re making the non-working oven door option, I noted the adjustments below (Just look for the italicized notes).
Step 1: Cut and label all pieces
Use a pencil, so the markings can be erased or covered easily with paint. Sand all edges so they’re smooth and even.
Step 2: Make the body
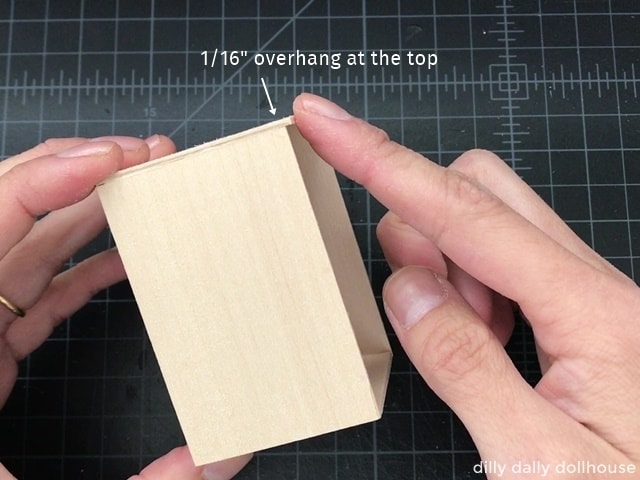
Attach the two side pieces to the bottom piece. Then, attach the back and the top pieces. The top piece should jut out by 1/16″.
Step 3: Insert Side C pieces
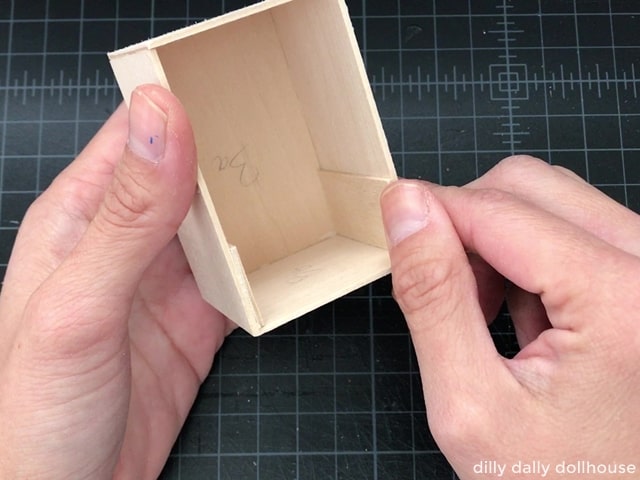
Glue the Side C pieces in place. These pieces help to align the oven door.
Step 4: Prepare the door hinge
If you are making a non-working oven door, skip step 4.
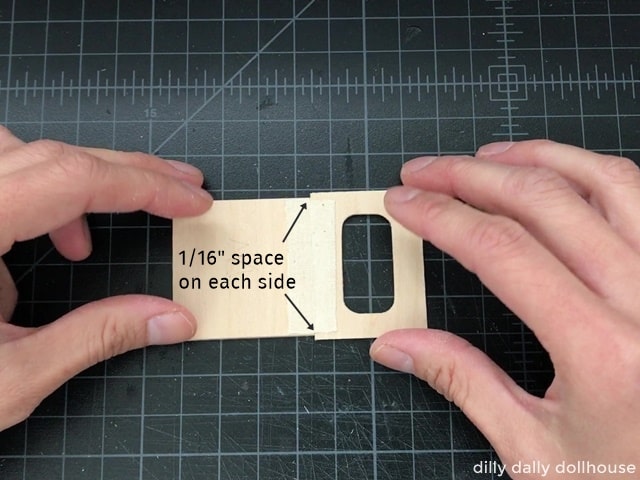
Attach a strip of fabric to Divider 1 and B1 pieces. When correctly centered, the B1 piece should have 1/16″ extra space on each side.
Step 5: Attach the front panels/doors.
Glue the A and C pieces in place. The A piece sits flush against the top. The C piece sits 1/16″ off from the bottom.
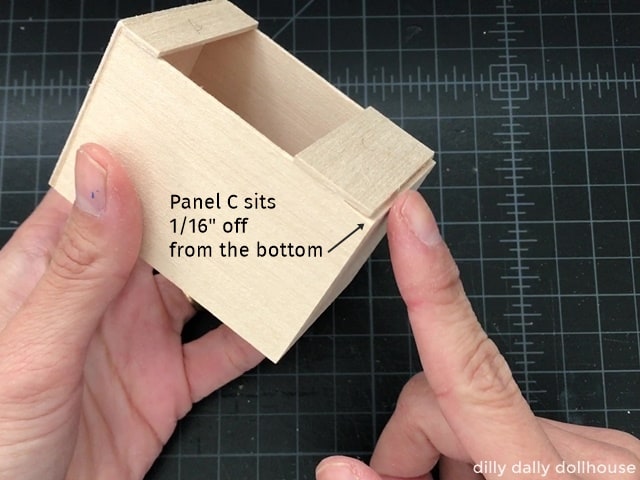
Glue and insert the hinged Divider1/B1 pieces in place. Test the hinge/door mechanism, so it can close and open easily, but can still stay closed. If the door doesn’t stay closed, I recommend adding a small magnet behind the A panel and a small piece of metal behind the B1 door.
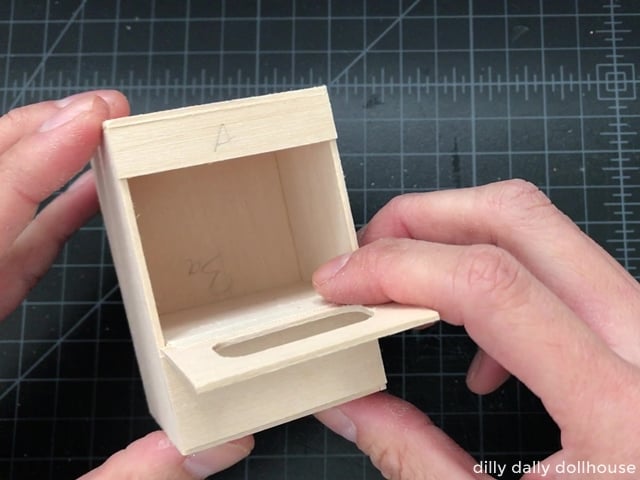
If you are making a non-working oven door, you still follow this step, except the Divider1 is not attached to B1. If you are using no-window oven door, you can glue it in place at this step.
Step 6: Attach optional backsplash
If using, attach the optional backsplash.
Step 7: Sand and fill
Fill out any gaps with putty or wood filler, and sand everything smooth. Sand corners and edges to round them off slightly.
Step 8: Paint
Paint the exterior and interior of the stove.
Step 9: Add the plastic for oven window
Add a piece of plastic sheet or vellum paper to the back of B1 oven door. Then, insert the Divider2 into the stove and the B2 piece onto the back of B1. The Divider2 and B2 pieces cover the fabric hinge to neaten the look.
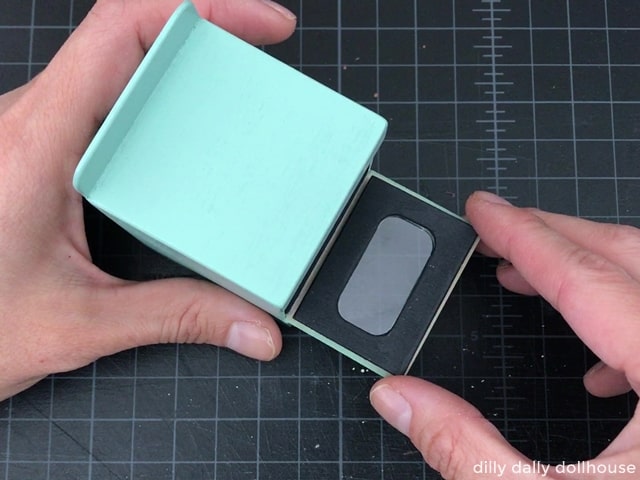
If you are using a non-working B1 door with a window, simply glue the painted B1 door in place after adding the plastic sheet.
Step 10: Add the burners, knobs, and handles
Glue the burners, knobs, and handles in place. Handling the small circles can be quite fiddly, so use those craft tweezers!
COMPLETE!
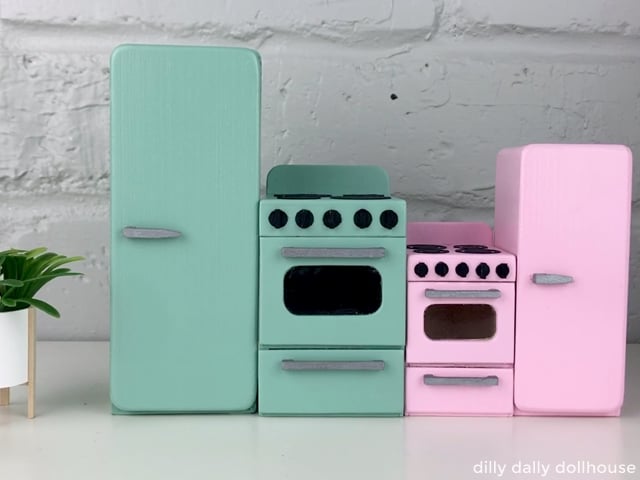
Need more kitchen pieces? Check out these tutorials:
- Retro dollhouse fridge with working door option
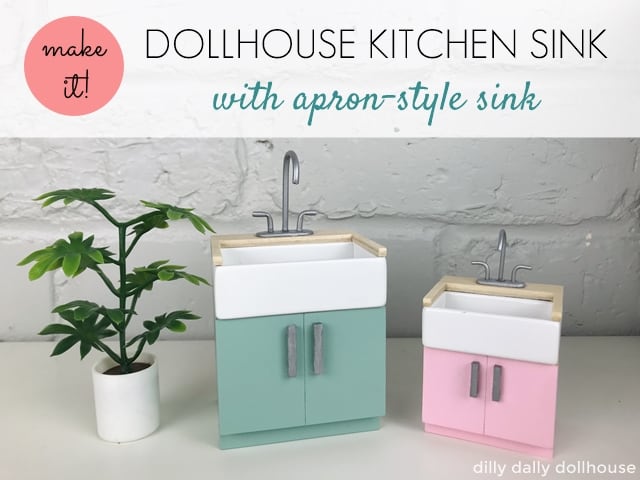
- Dollhouse kitchen sink cabinet with farmhouse-style apron sink
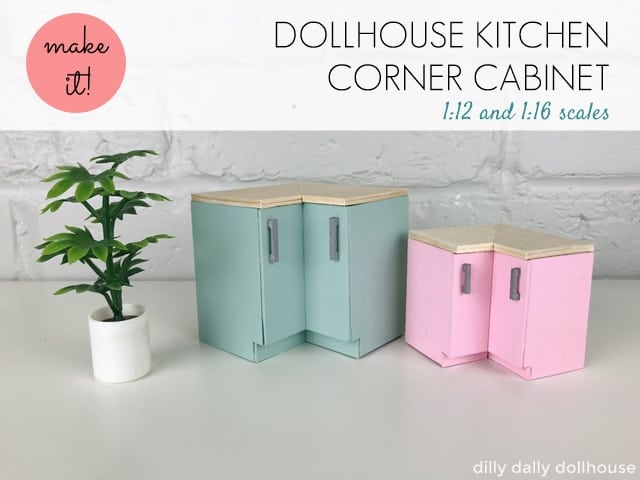
- Dollhouse kitchen corner cabinet
- Dollhouse kitchen lower cabinet
RELATED PROJECTS
Made your own? I’d love to know!
What motivates me the most is seeing you use my tutorials to make your own minis! There are many ways you can share your projects:
- comment below to let me know (or if you have any questions about it–for the benefit of others also!)
- link back to my site or this tutorial,
- tag me on Facebook or Instagram,
- share your version on my Facebook group!
Love free stuff? The Resource Library is where I keep my digital freebies… such as SVG cut files, dollhouse printables, and other miniature templates. It’s my thank you gift to my email subscribers! If you’re already a subscriber, you can refer to my latest email for the library password. Not a subcriber yet? You can sign up for free here!


Those appliances are just too cute!
Thank you, Sherrill! After making them, I feel like I can make anything now – LOL