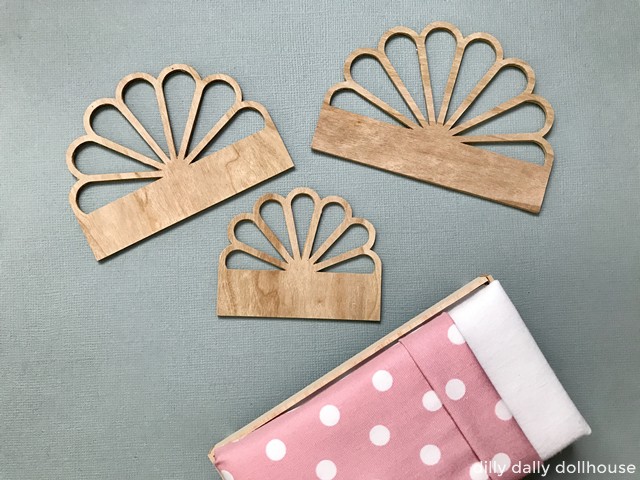
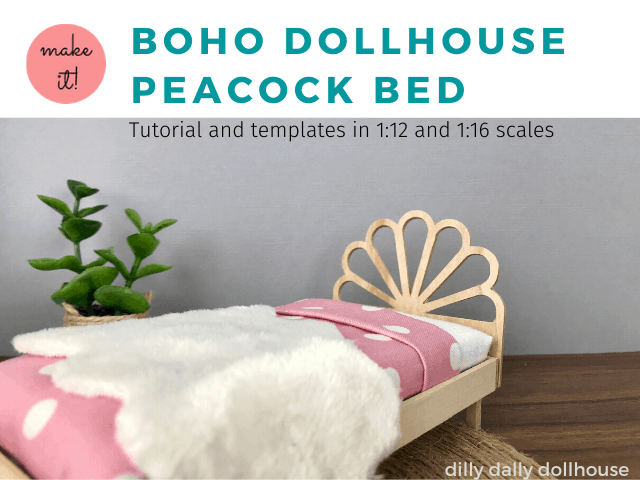
I love the fun, playful silhouette of peacock headboards. Even though it’s boho-inspired, the simple design of this peacock dollhouse bed works with any modern style miniature scenes.
The headboard itself is very quick to make with cardstock or basswood, but don’t forget to have a basic bed ready to pair it with. You can choose to attach it permanently to the bed, or as a removable headboard so you can change it up later!
Need to make the headboard taller?
If your dollhouse mattress is on the thick side and you’d like to heighten the headboard to accommodate it, check out this video on how to do that in Cricut Design Space! You can also click here to watch it on YouTube.
Materials to Make Peacock Dollhouse Bed
Option 1: Cardstock (recommended)
I found this thing called wood cardstock while searching for veneer sheets, as an alternate to basswood. It’s basically a very thin veneer backed with kraft cardstock, but it’s still real wood (you can even stain it!). It works out great for this headboard design since I think it looks better in wood color.
I compared the cherry vs. the birch to see which one looks better with the natural basswood. The cherry is favored almost unanimously! The birch looks yellow compared to basswood, while cherry seems to be in the same color family as the basswood, albeit darker.
- Wood cardstock
- Cut 1 using heavy cardstock 100lb setting (I did two passes)
- Kraft cardstock, I used this specific “Paper Bag” color to try to best blend with the cherry wood cardstock
- Cut 3 using heavy cardstock 100lb setting (I did two passes)
- Cricut Maker or other cutting machines
- Green StandardGrip mat
- Fine-point blade that should come with your Cricut
- Craft-bond glue stick
- Glue Dots or similar removable adhesive, for removable headboard option
- Wood glue for permanent headboard option
- Primer and paint, or stain (optional)
Option 2: Basswood
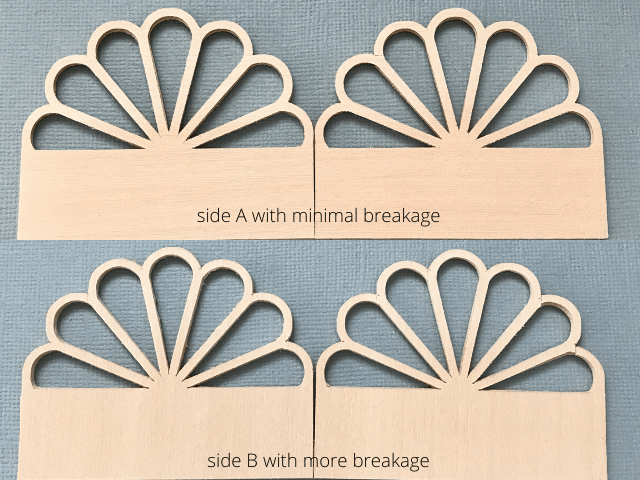
When I tested using basswood, small pieces broke off around the curves. It is possible to put them back together very carefully, so that the broken edges blend in (almost) seamlessly. This would be an option if you want to match the bed and headboard natural basswood colors exactly. I ended up preferring the wood cardstock version because it’s close enough and faster to cut.
- 1/32″ basswood sheet (I recommend Midwest Products brand, this one is 4″ wide on eBay)
- Cut 2 at perpendicular grain direction
- Cricut Maker or other cutting machines that can cut basswood
- Purple StrongGrip mat
- Knife blade
- Wood glue
For giggles, here’s a picture of my basswood prototype. The curve lines are thinner here, contributing to the breakage. The final design has slightly thicker curve lines to hopefully reduce the fragility.
Template for Peacock Dollhouse Headboard
Download the PDF template/pattern guide in 1:12 scale or 1:16 scale. Each one has the twin/single, full/double, and queen, so there’s plenty to choose from.
Download the SVG files from the resource library (you will need a password).
Love free stuff? The Resource Library is where I keep my digital freebies… such as SVG cut files, dollhouse printables, and other miniature templates. It’s my thank you gift to my email subscribers! If you’re already a subscriber, you can refer to my latest email for the library password. Not a subcriber yet? You can sign up for free here!
Assembly Instructions
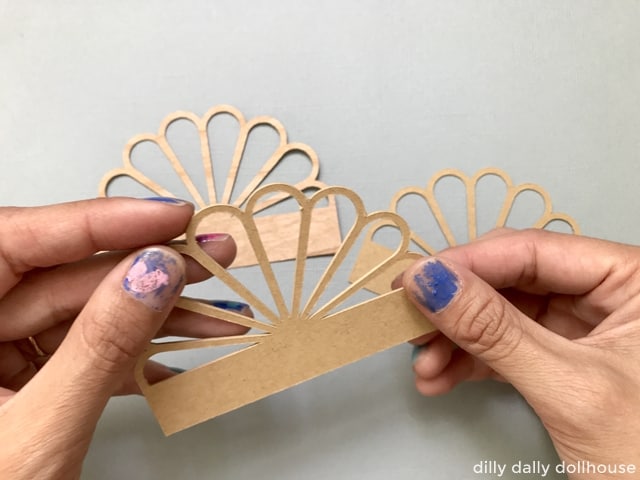
Step 1: Cut the headboard template using your preferred material. Glue each layer one by one. Clean up excess glue that gets in the corners.
Step 2: Make a basic dollhouse bed.
Step 3: Attach the peacock headboard to the bed, either permanently or removable.
PERMANENT HEADBOARD OPTION
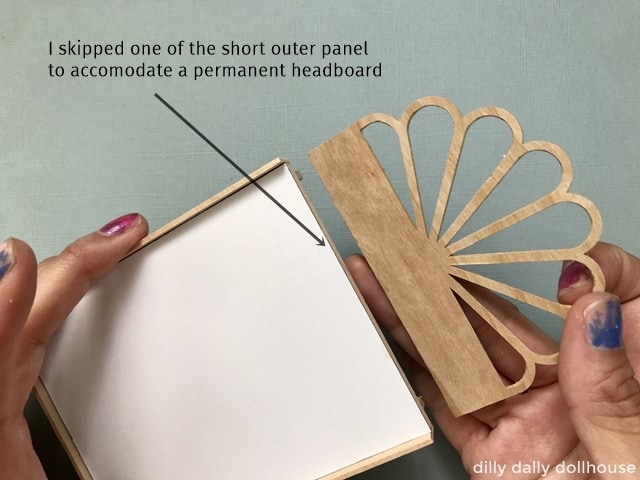
Here you can choose to omit one of the short outer panel of the bed, and glue the headboard directly to the bed.
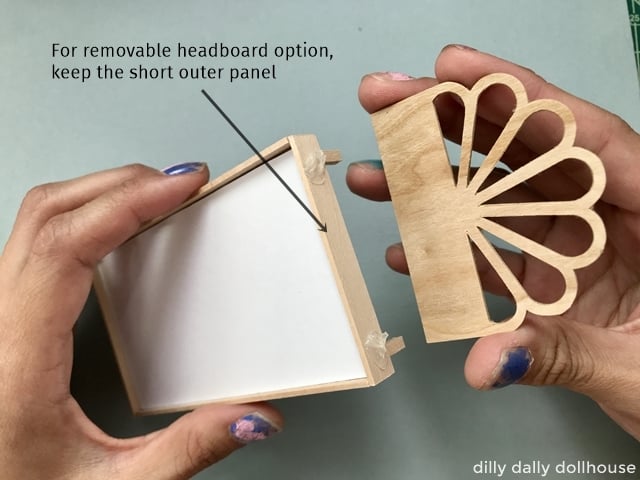
REMOVABLE HEADBOARD OPTION
Simply attach the headboard to the bed using Glue Dots. Keep the short outer panel of the bed so that the Glue Dots have more surface to adhere to, making the headboard less likely to fall off.
Complete!
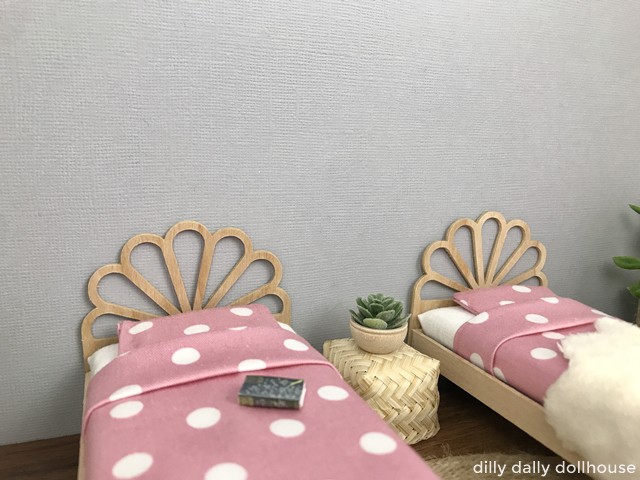
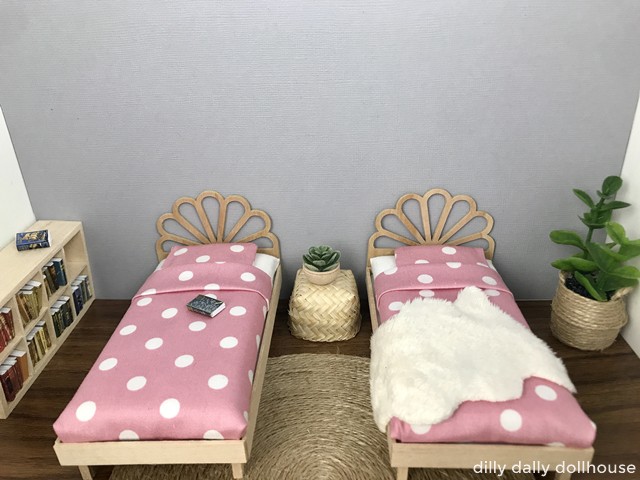
I love two single beds side by side like this, for a children’s room scene. These twin headboards are removable, so I can use the beds for future headboard projects.
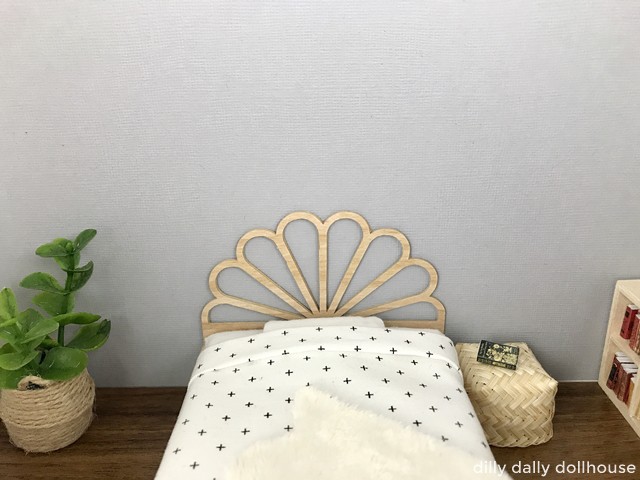
And this queen headboard is permanent.
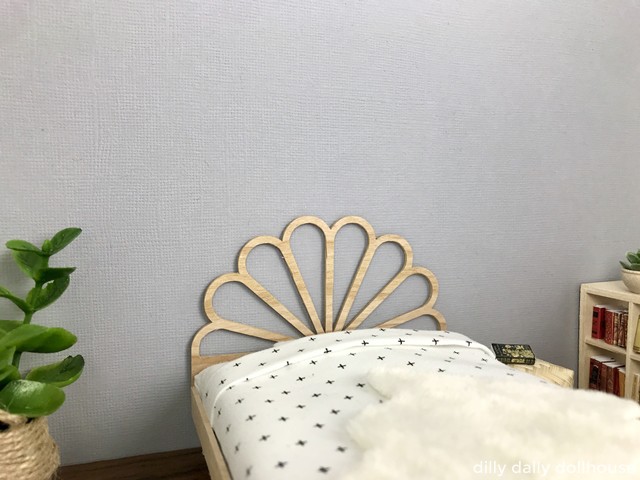
Made your own? I’d love to know!
What motivates me the most is seeing you use my tutorials to make your own minis! There are many ways you can share your projects:
- comment below to let me know (or if you have any questions about it–for the benefit of others also!)
- link back to my site or this tutorial,
- tag me on Facebook or Instagram,
- share your version on my Facebook group!

So fresh and cute! Thanks for the tip about Cardstock Warehouse, they have some interesting things. ( btw… the wood cardstock link gave the kraft cardstock page.) Also, I love your nail polish, my granddaughter gave me a similar manicure several years ago 😉.
Thanks Sherrill! The correct link is now there (oops)
Would you sell an unassaembled queen bed to me. Idont want to go to the expense of a cricket. I would appreciate it. I just Love the peacock headboard. I would even buy 2 twin beds I. Love the headboards so much. Thank you.